I have always been tinkering and making things. A number of these experiments can be found here. Usually, much of my process involves figuring out how to actually make the thing I want. Often this process is filled with play in the medium I tend to work with. The other half of the process is tuning it to be better over time.
My making transcends any particular medium. Instead, it follows my curiosity, and the materials available at hand.
Below is a small selection of things I have designed and realized as objects in the world.
Fly Vice
With an increasing interest in the portability of Tenkara fly fishing, I decided to learn how to tie my own flies. I started with a pair of vice grips clamped to my bench, and after catching a few fish (surprising even me), I decided to make my own fly vice to make tying easier.
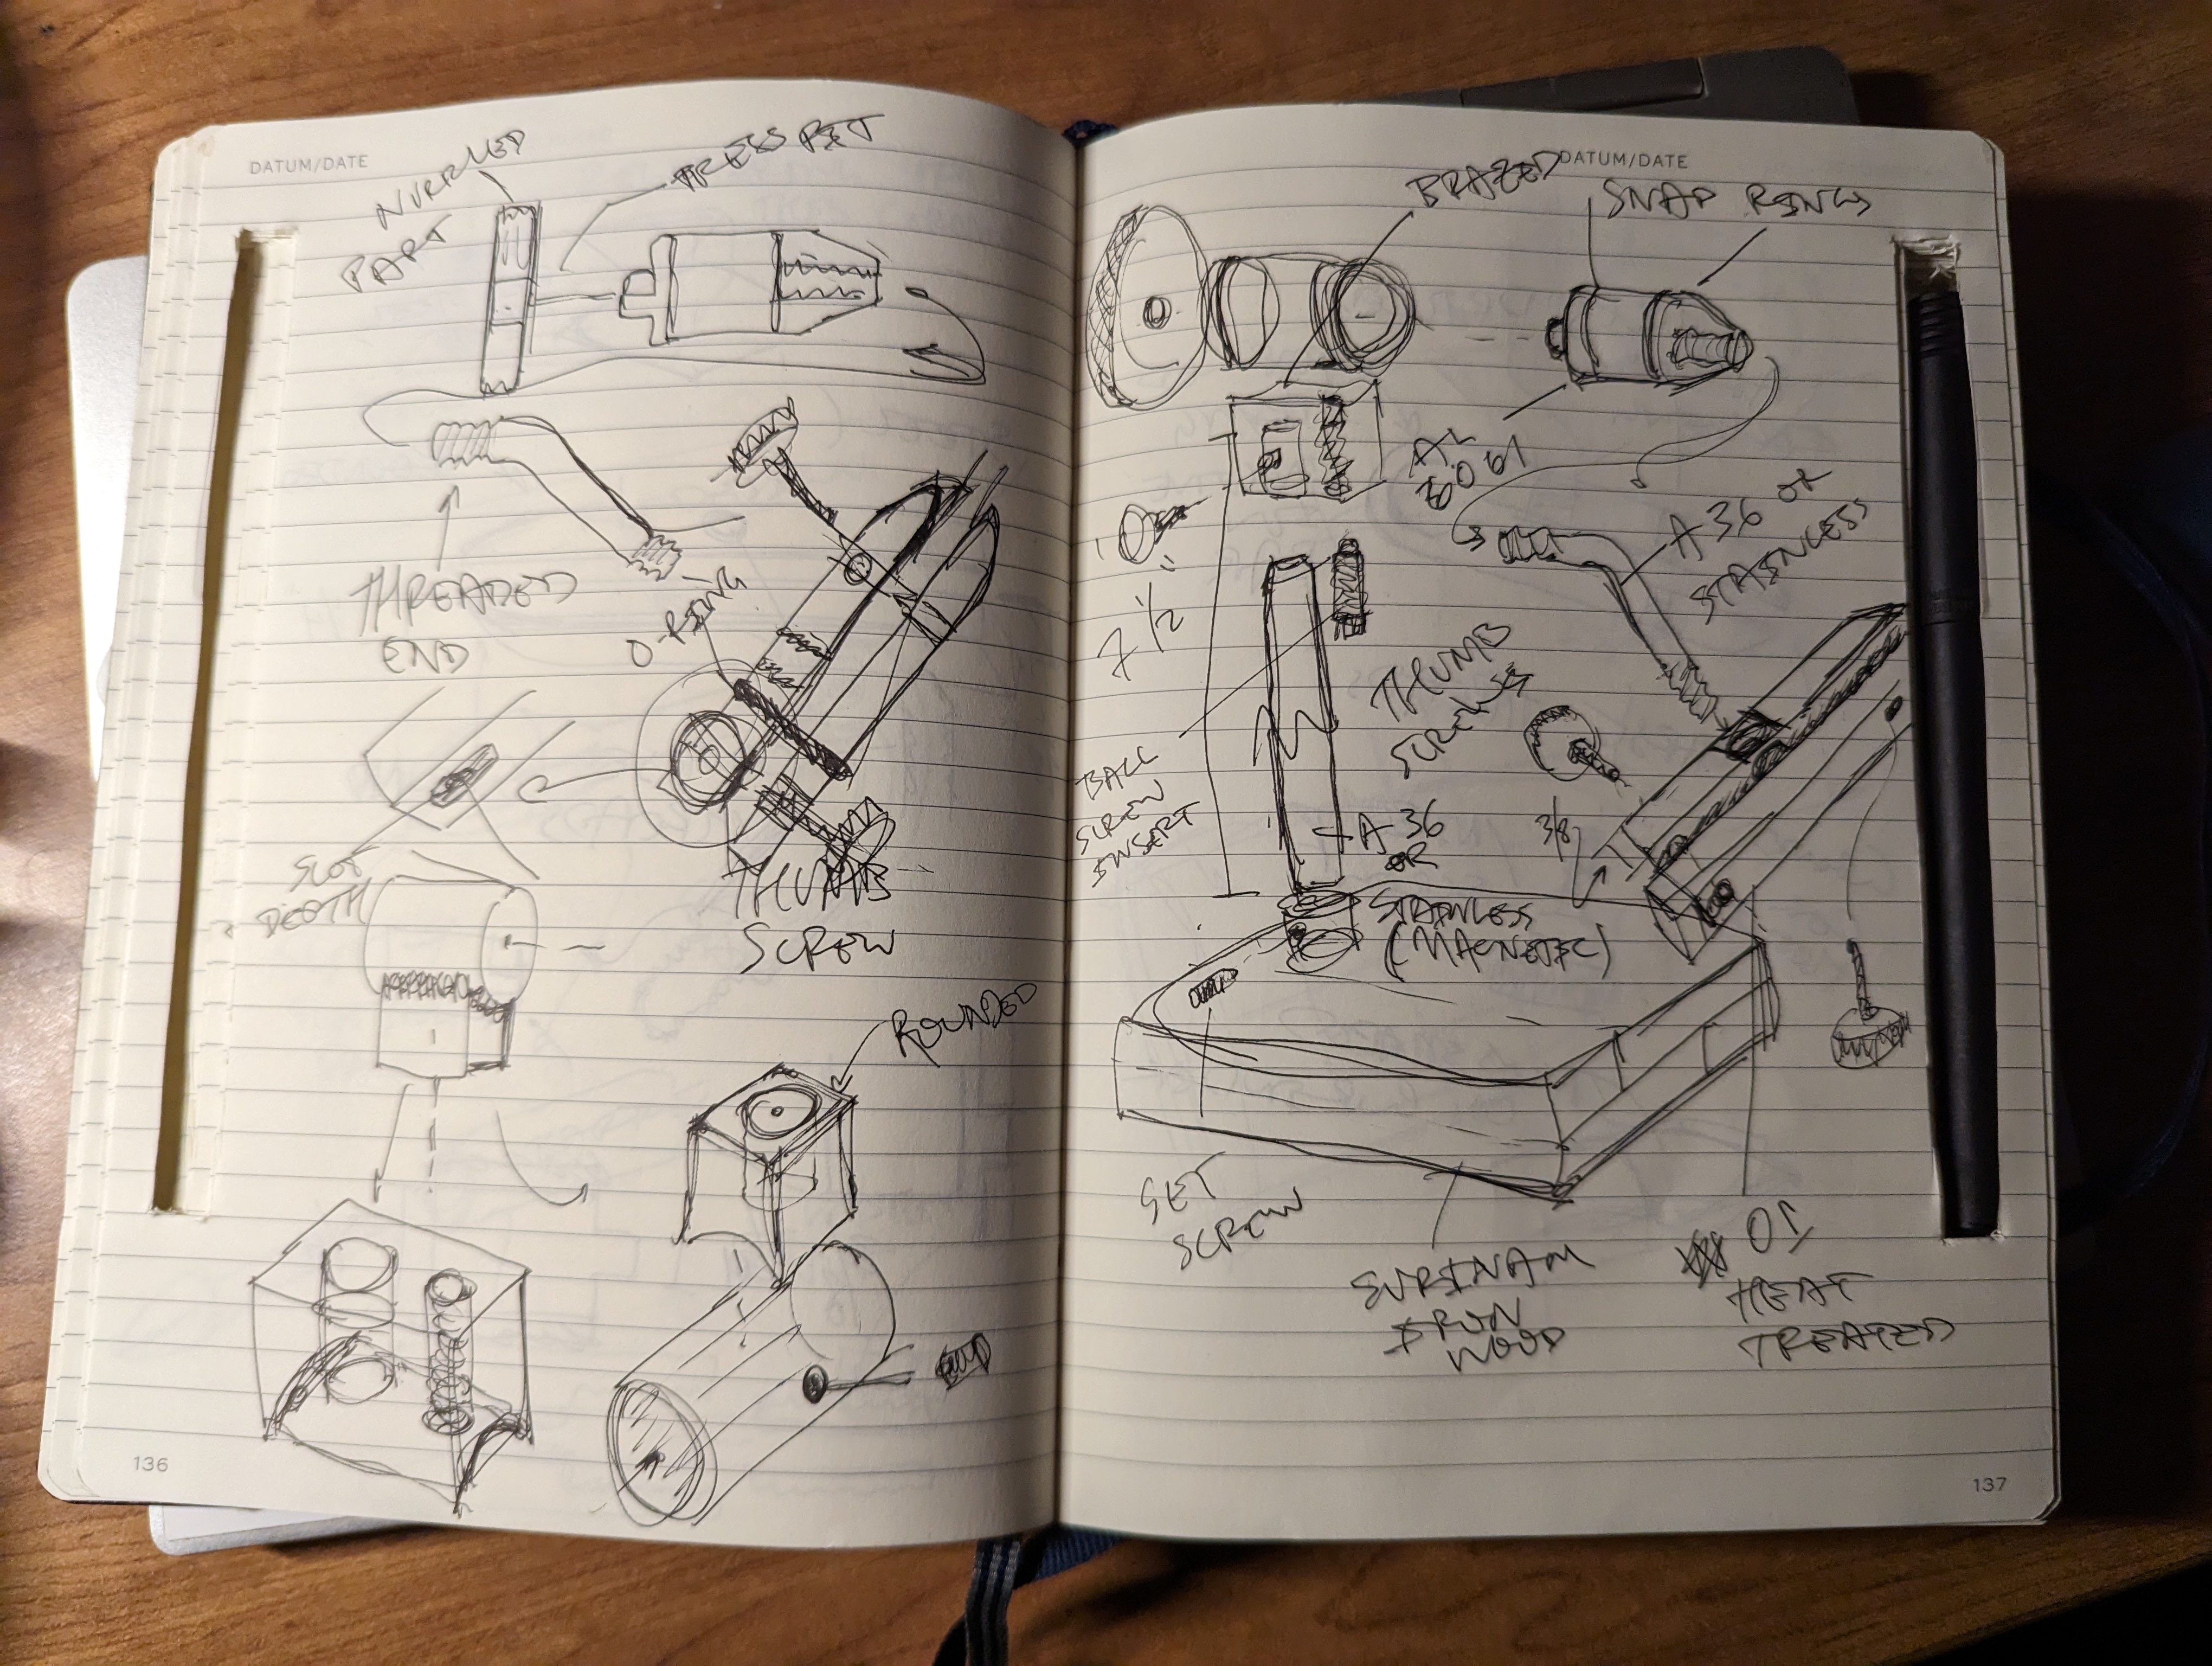
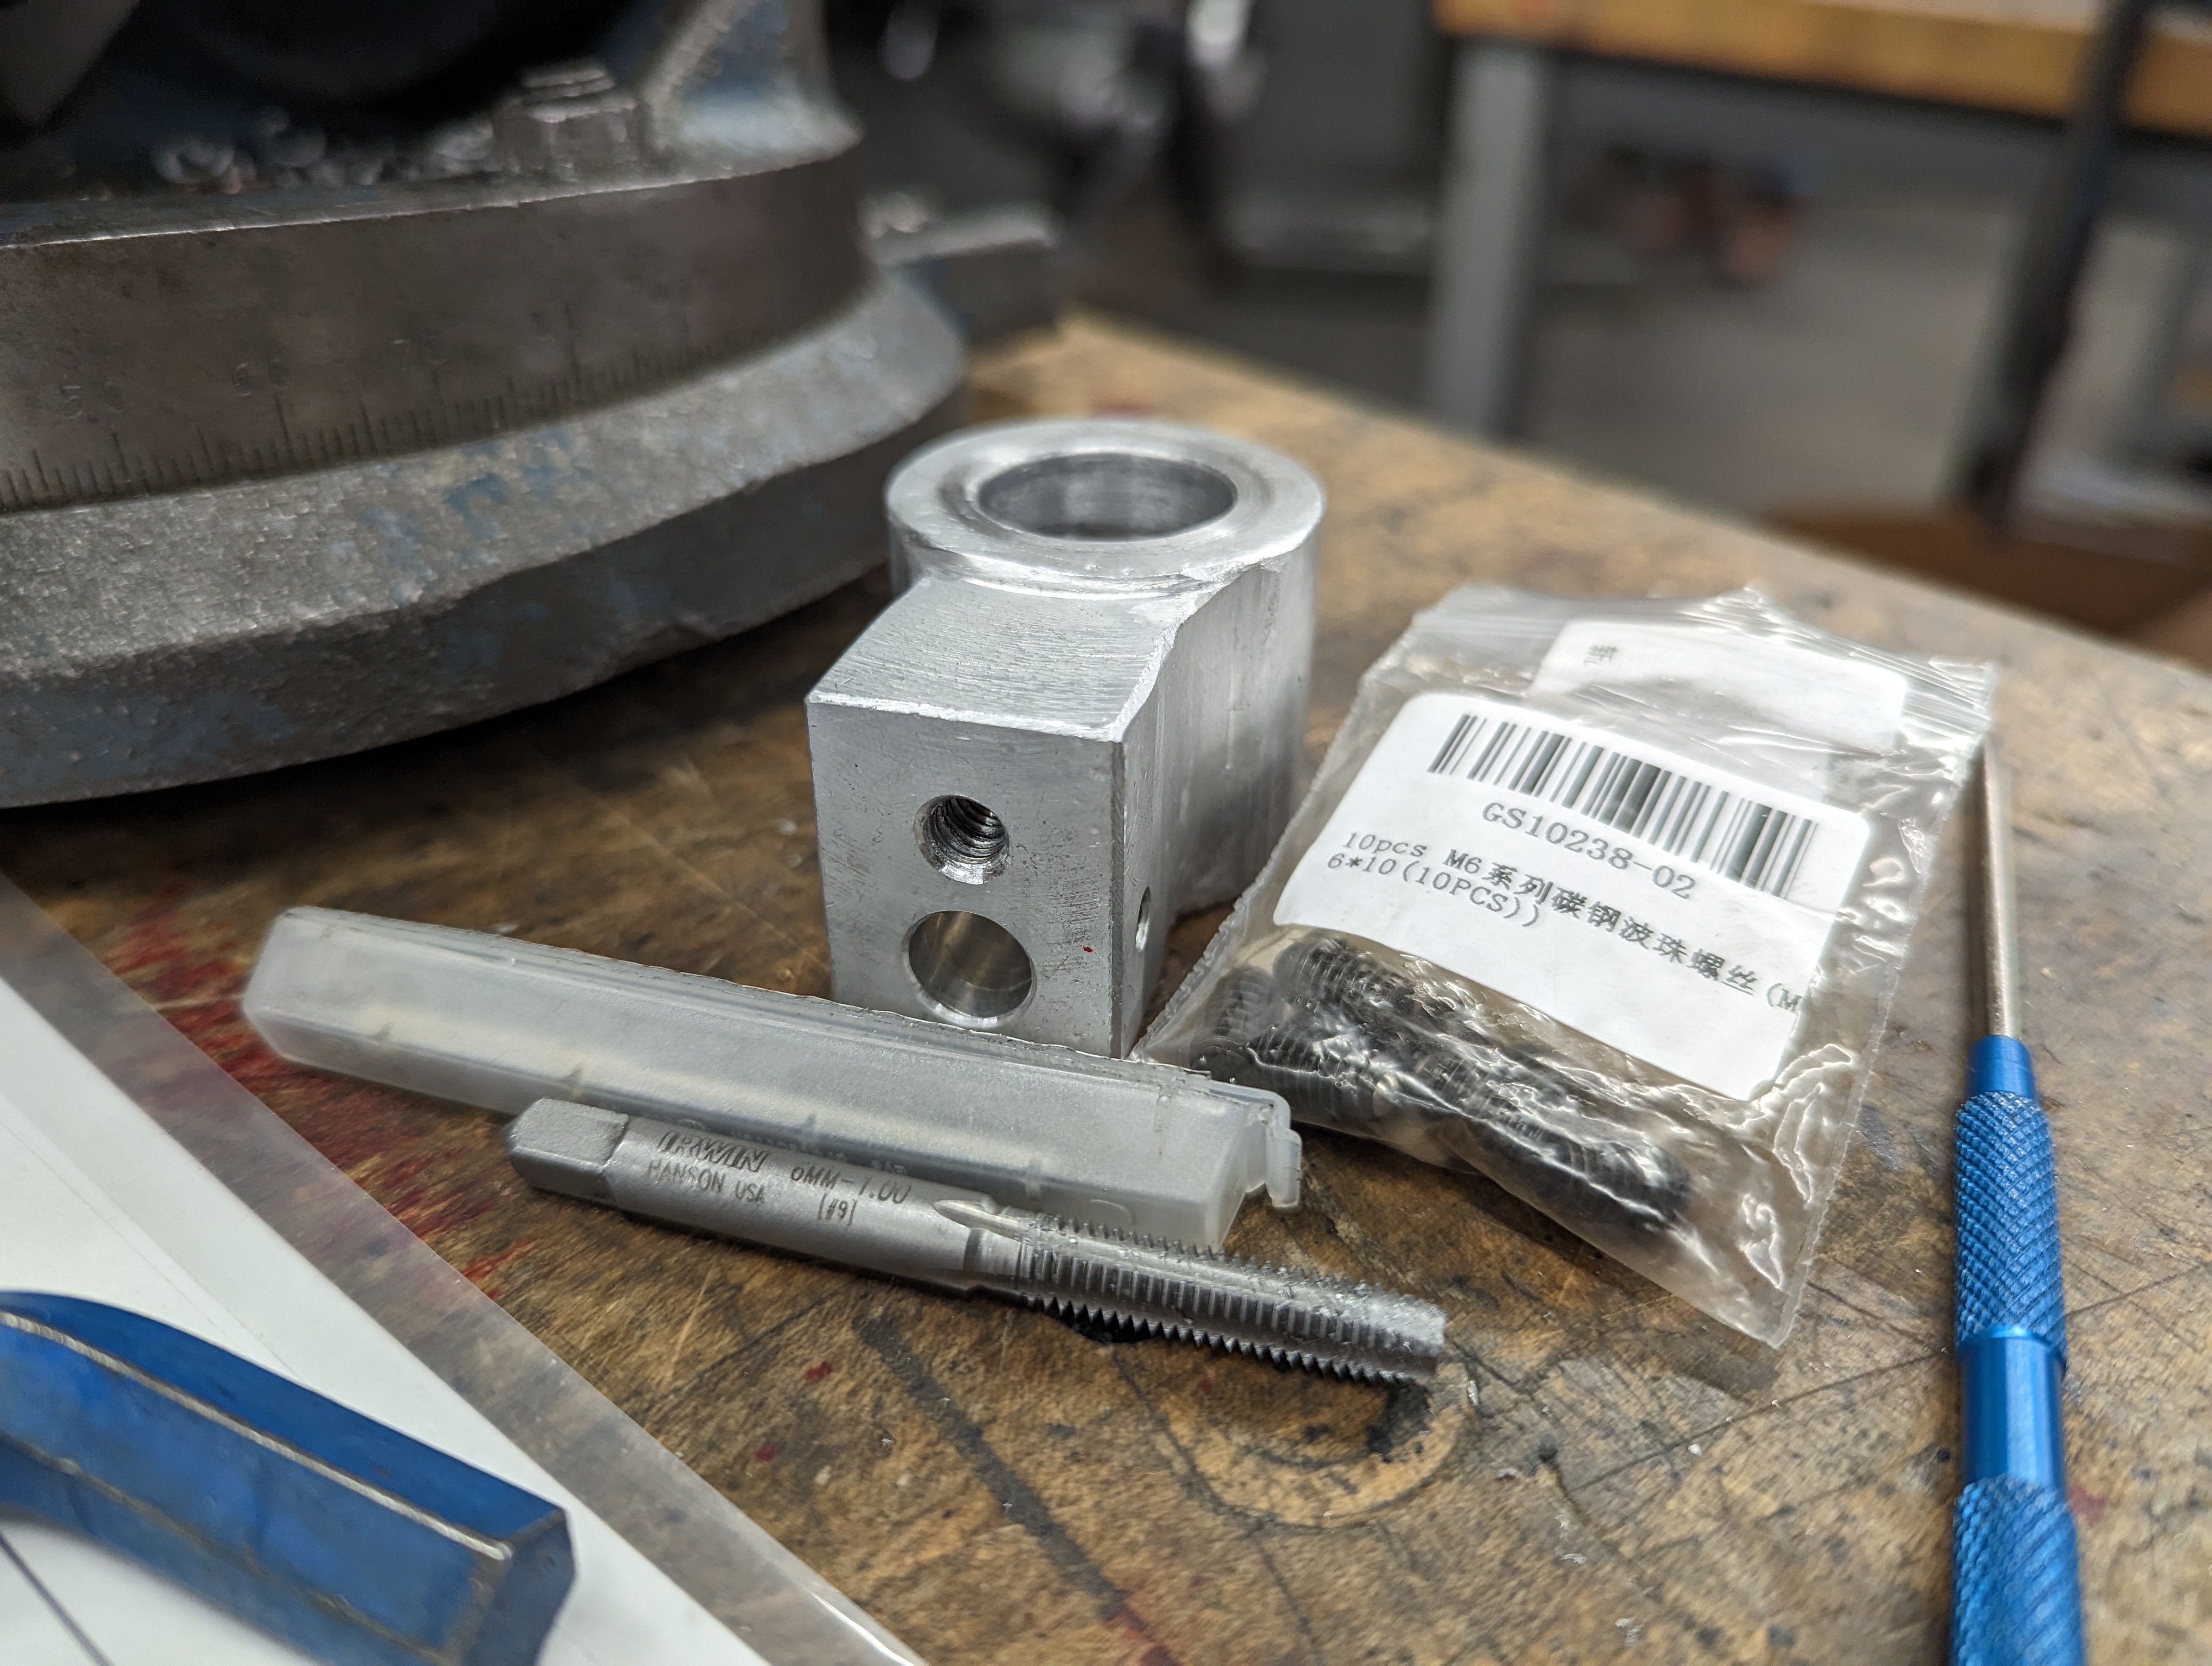
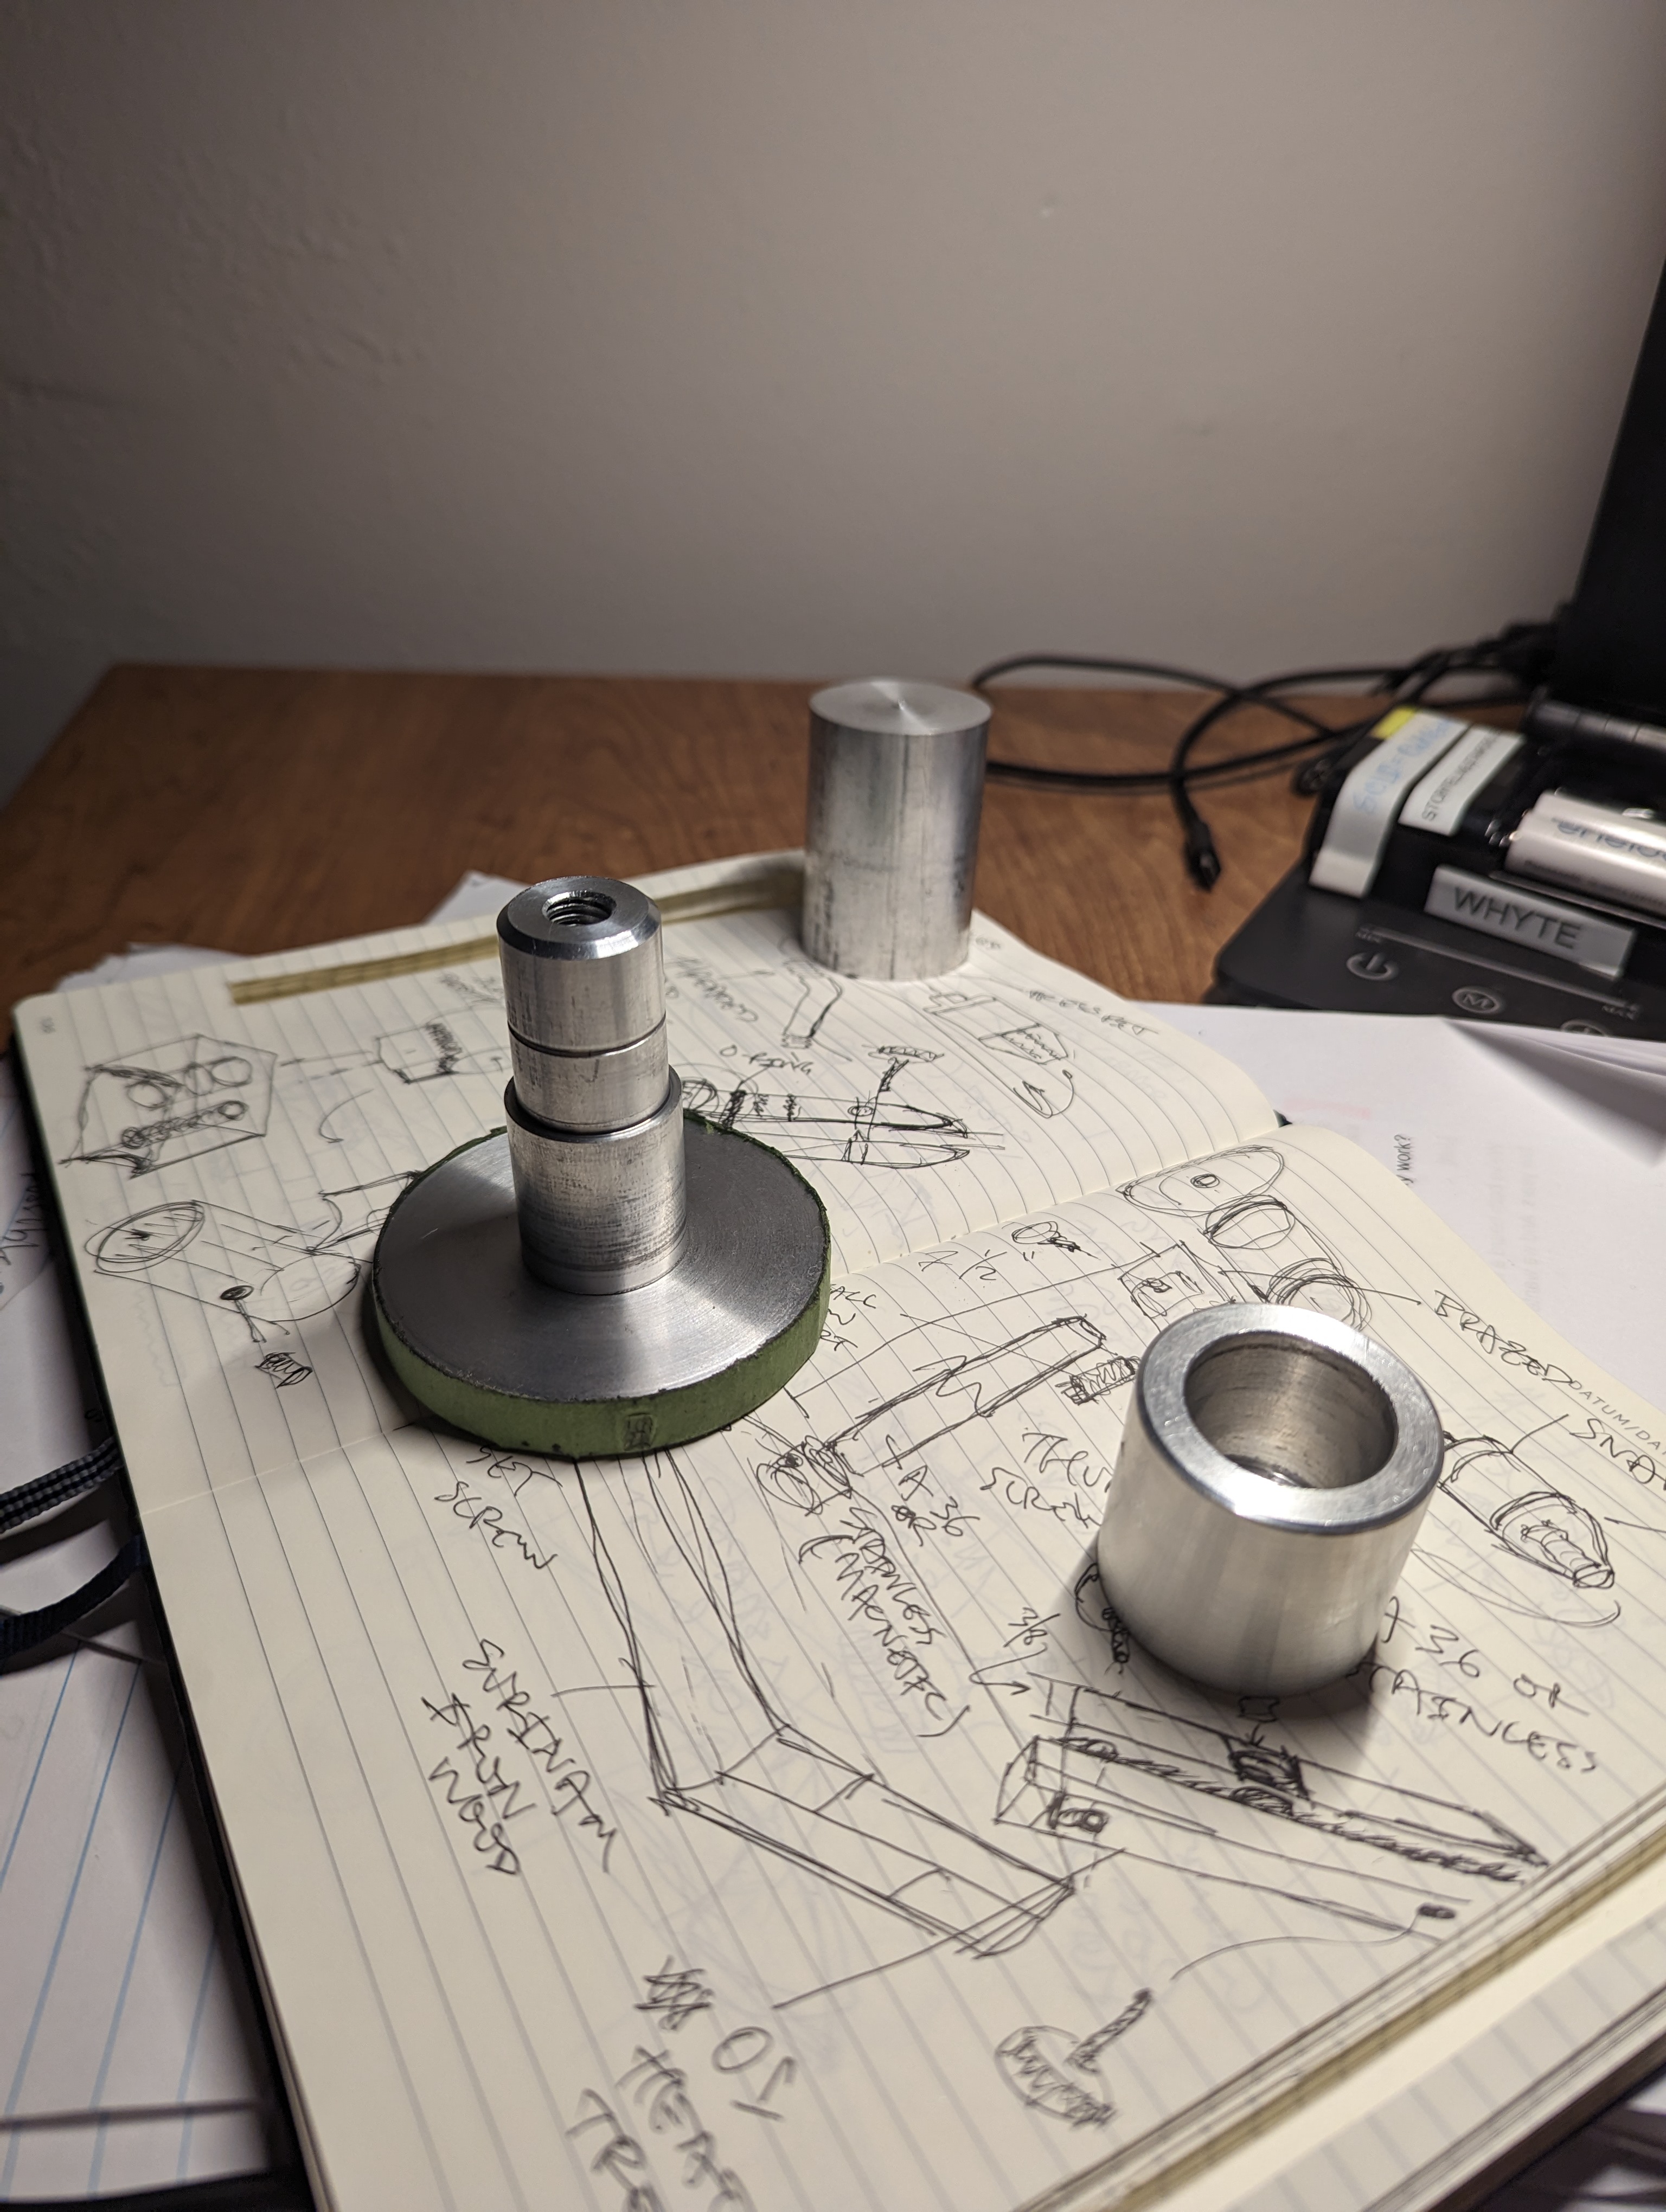
I began with some prototyping for the project, trying to determine the mechanism I could use to make the vice actually work.
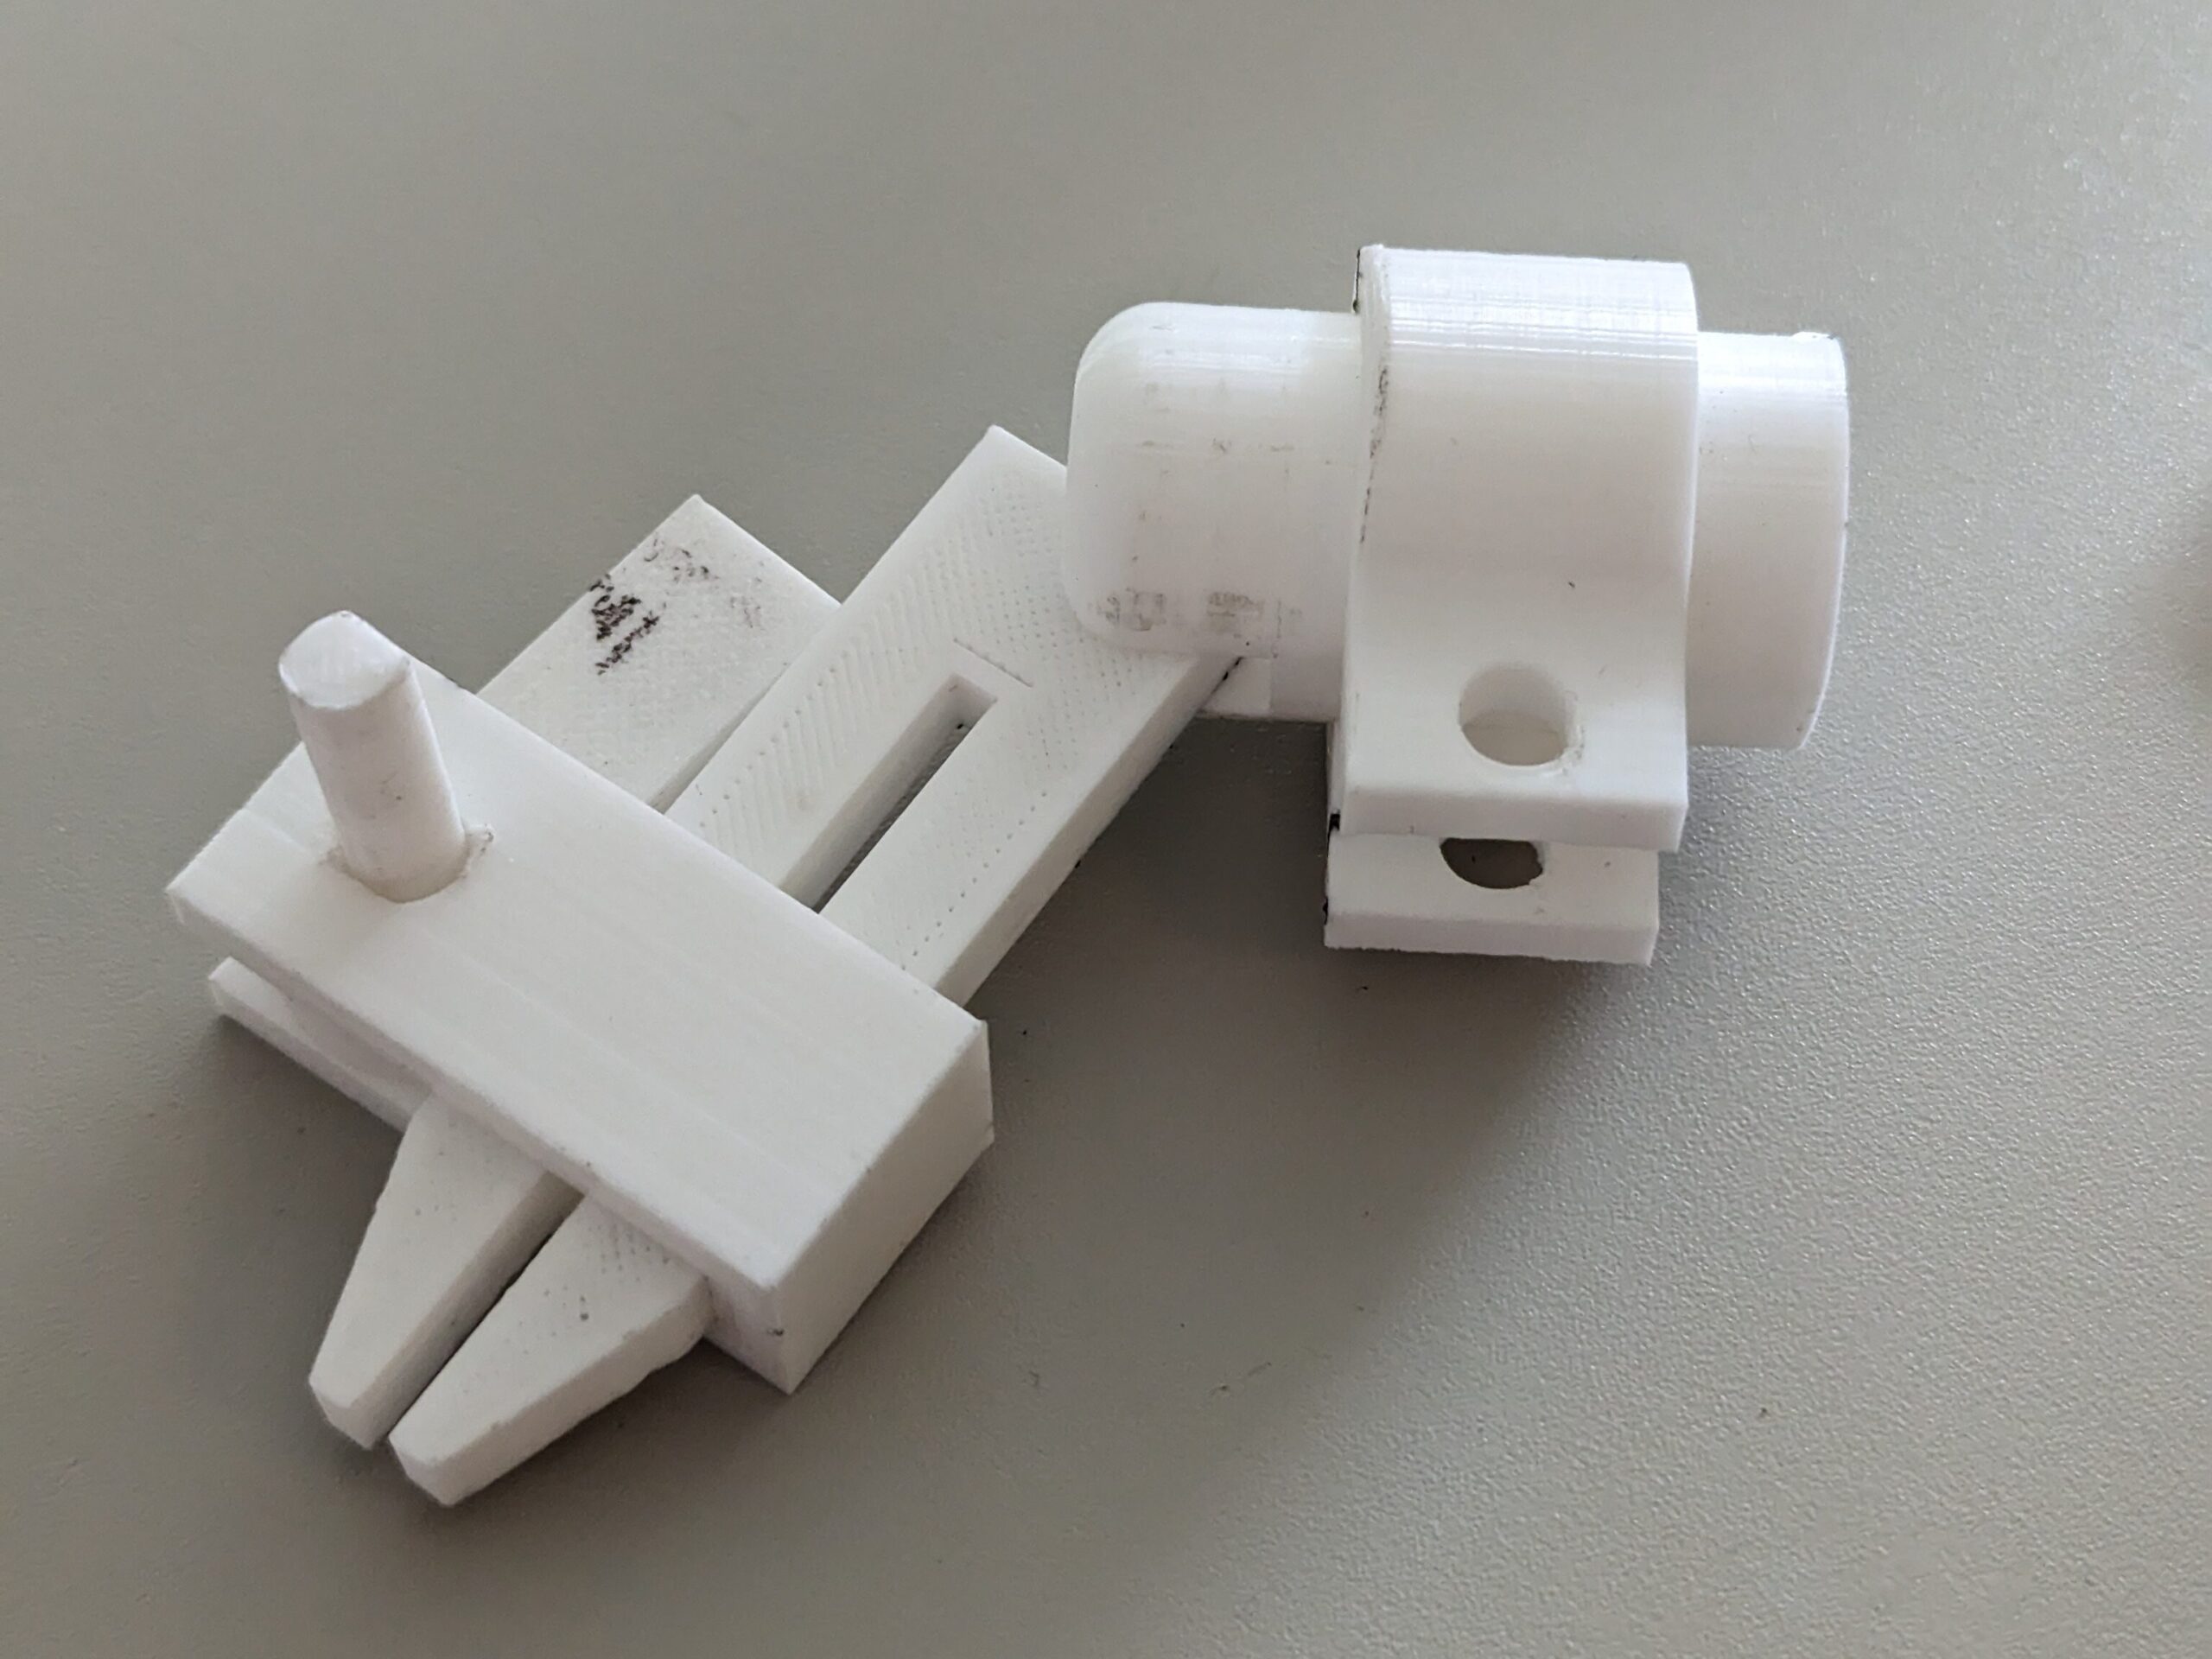
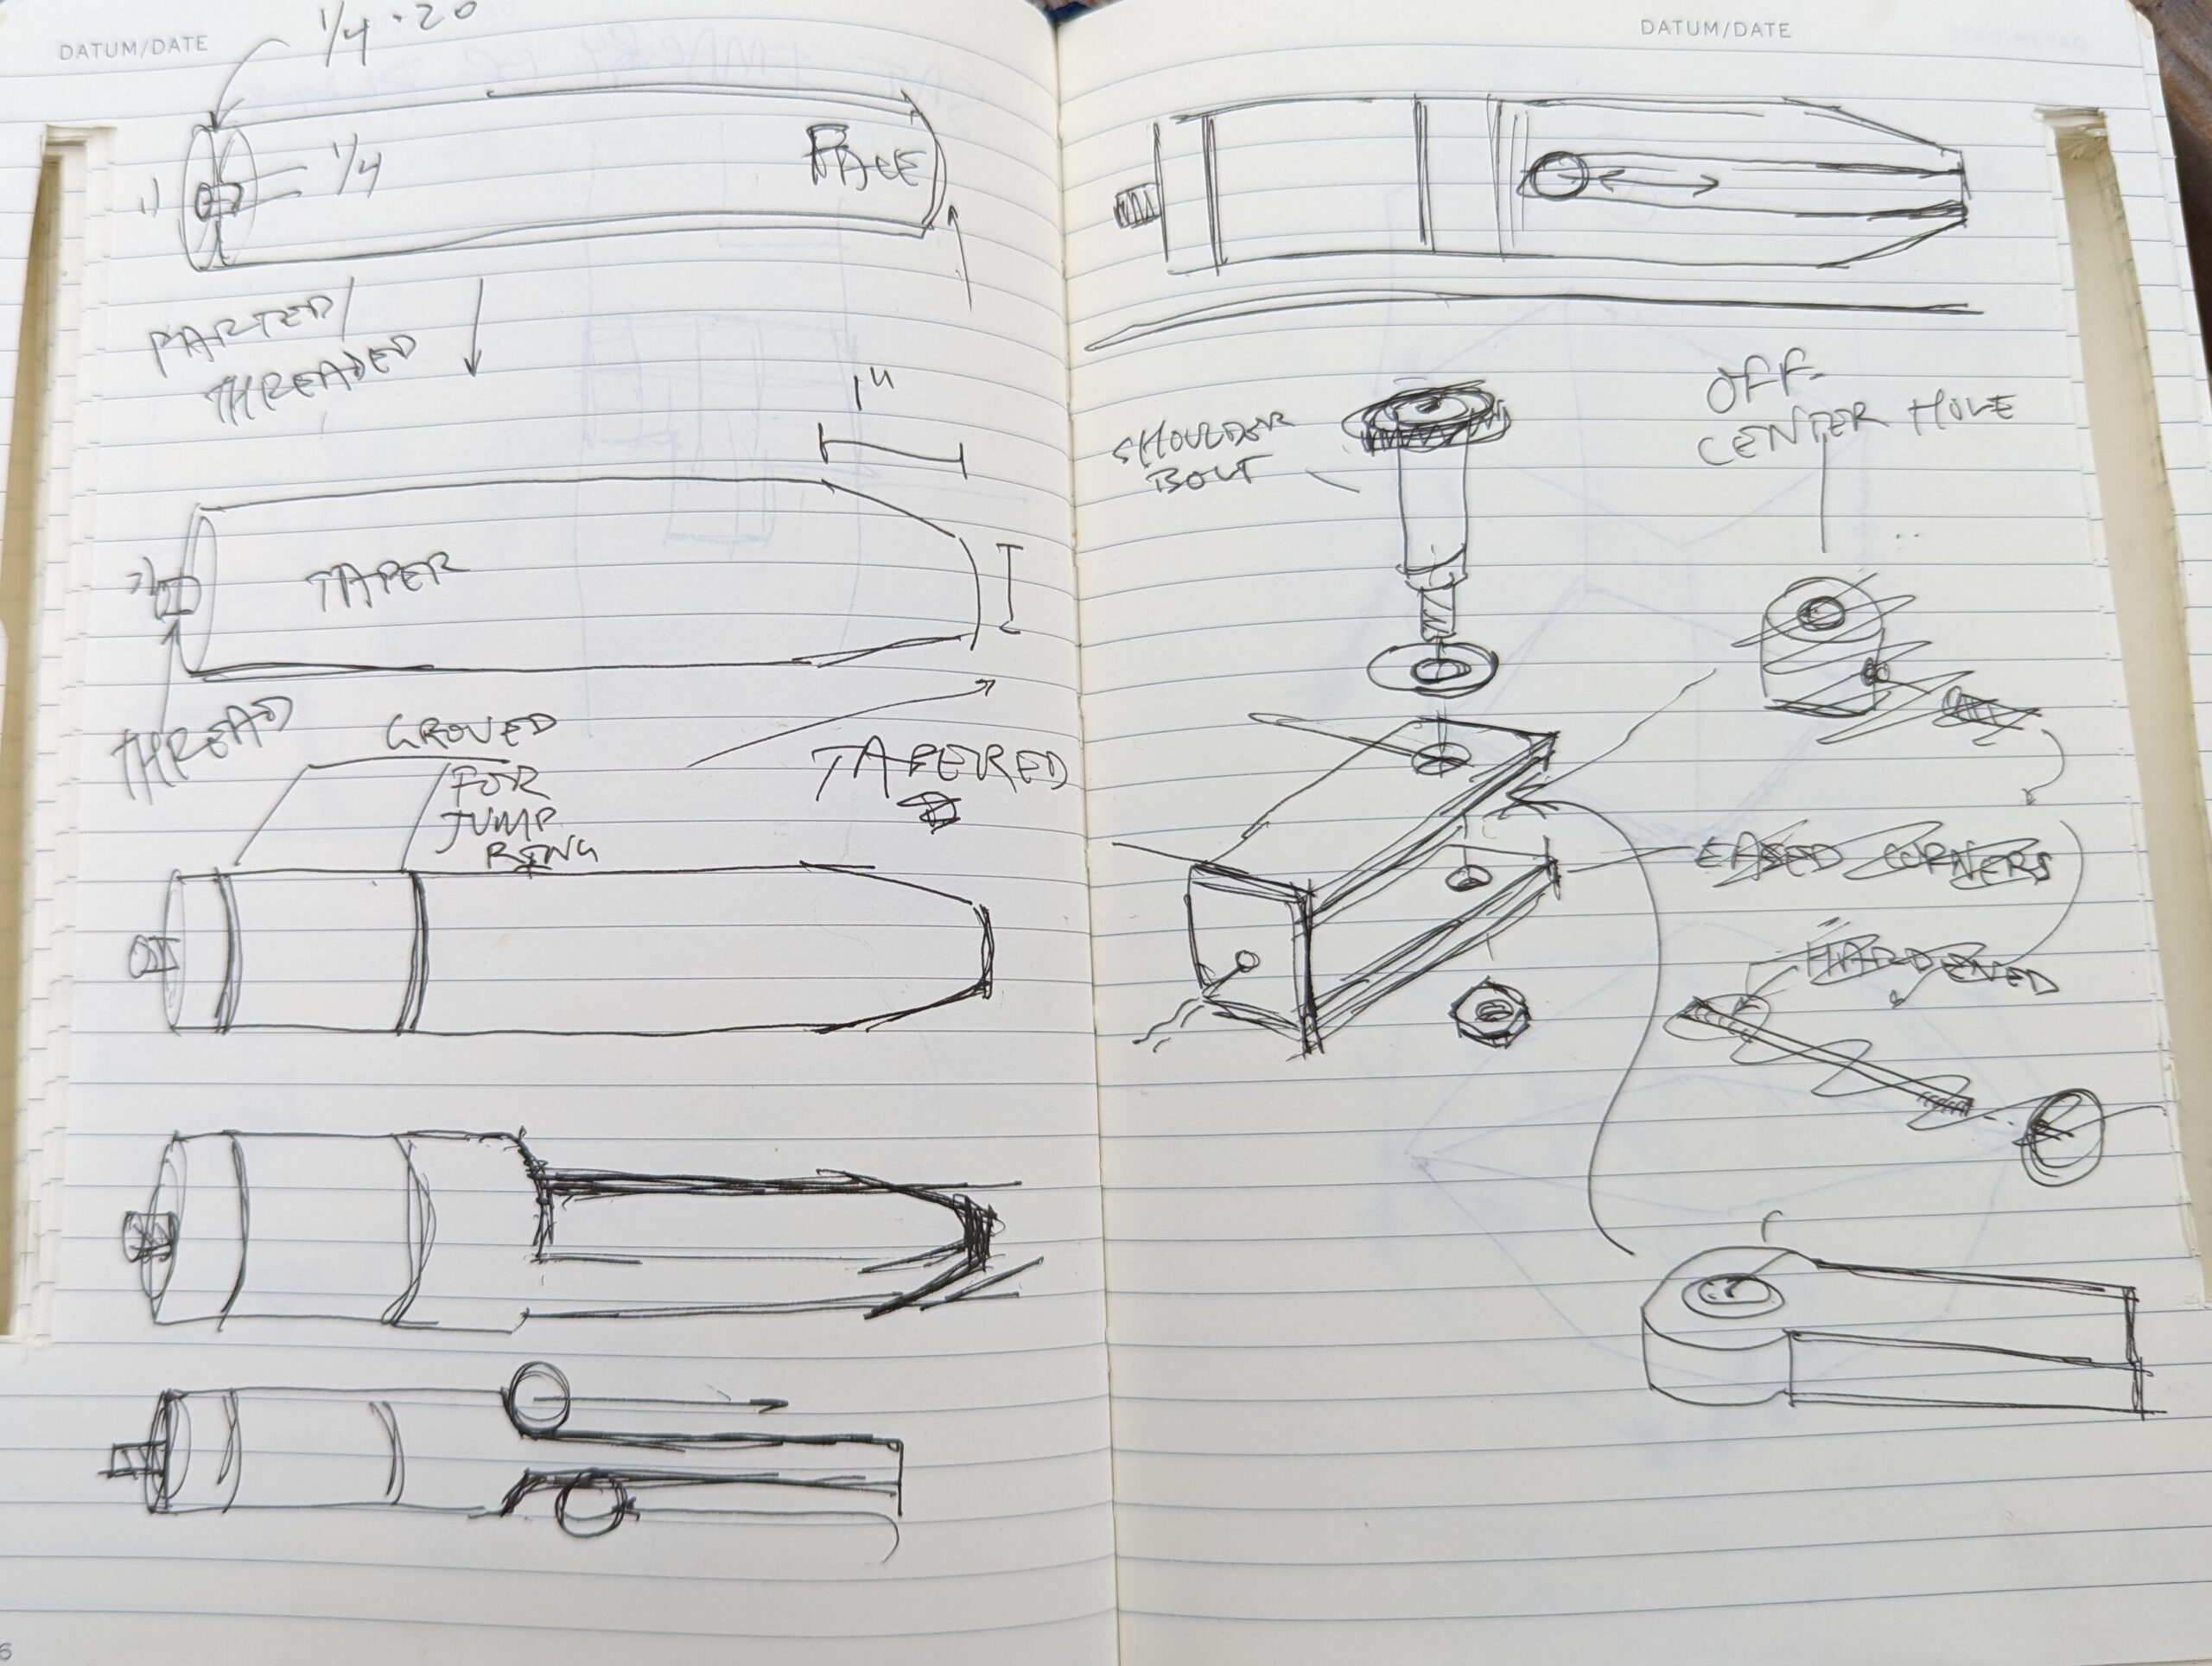
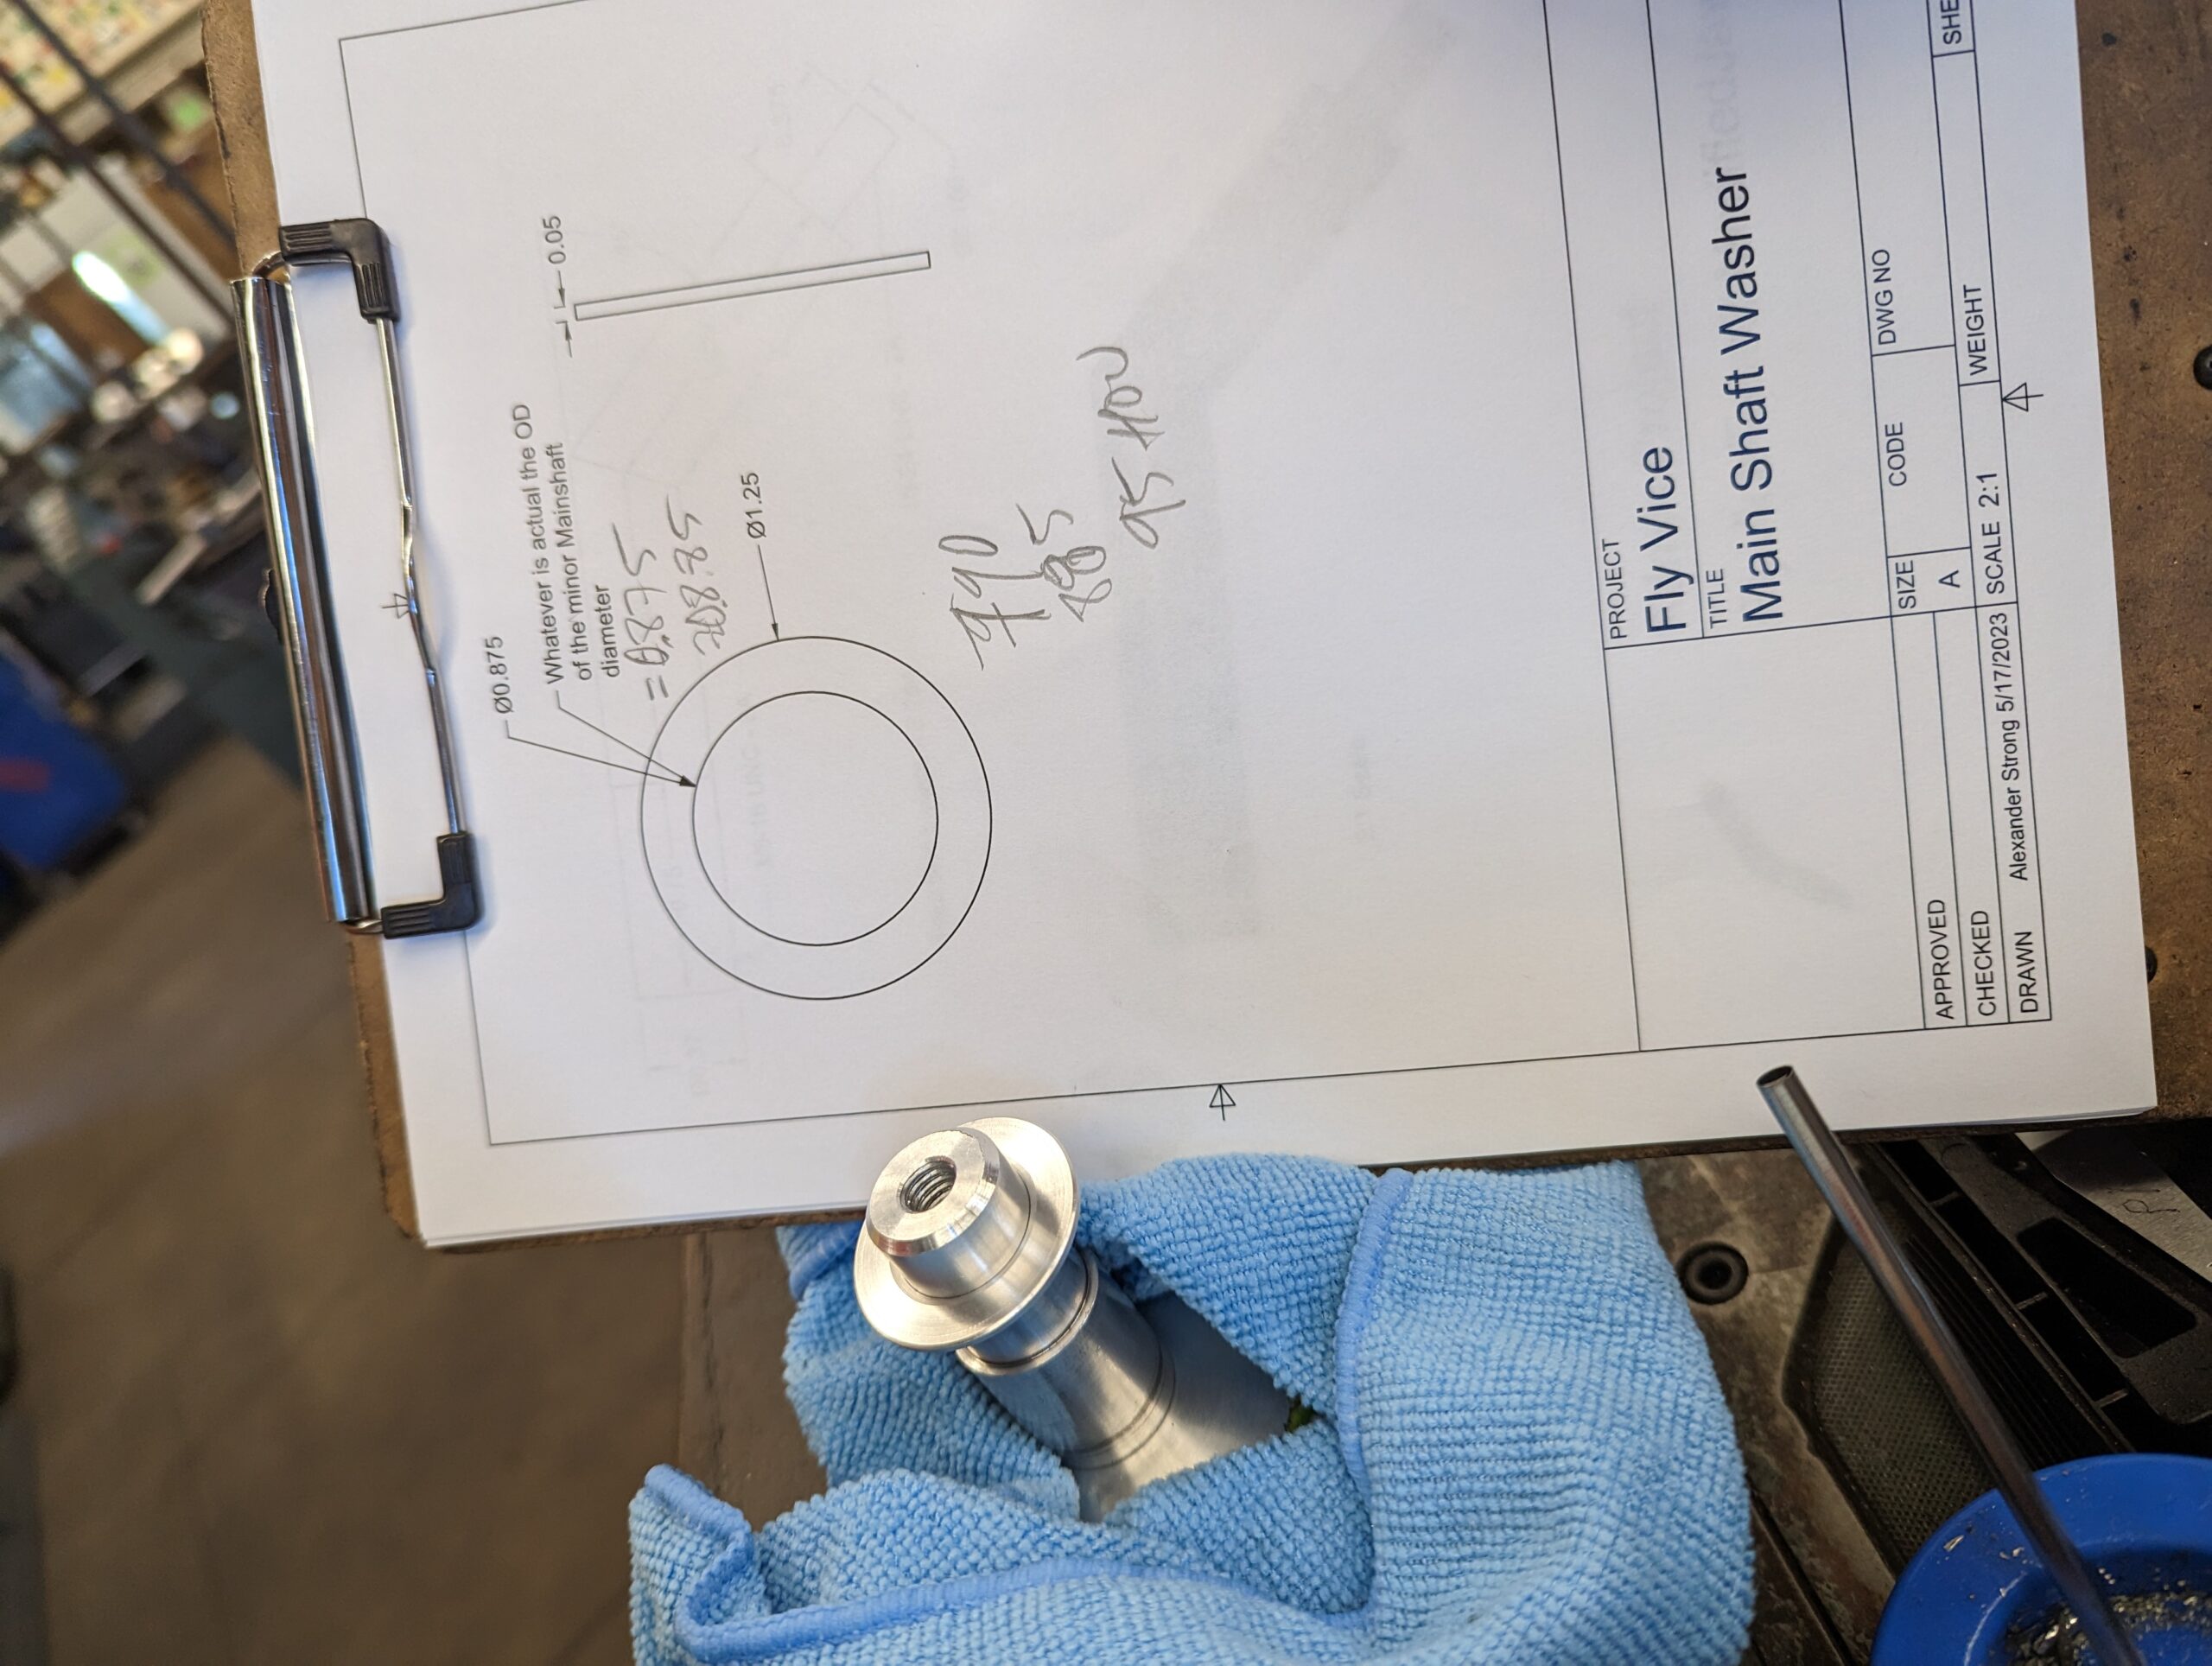
This initial idea for making the vice – using the springy characteristics of the Aluminum – proved to be unsuccessful. The prototype vice retained too much rigidity. I was back to the drawing board. Most of the work was done in Fusion 360, but some drawings were very helpful in the earlier process of making the parts.
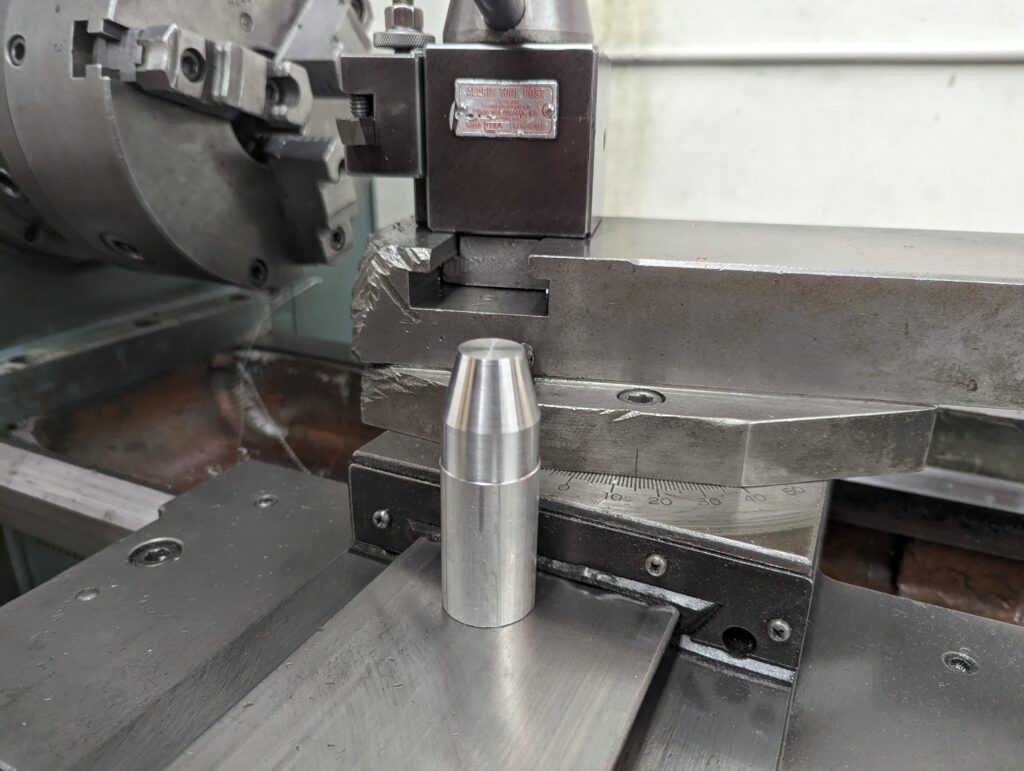
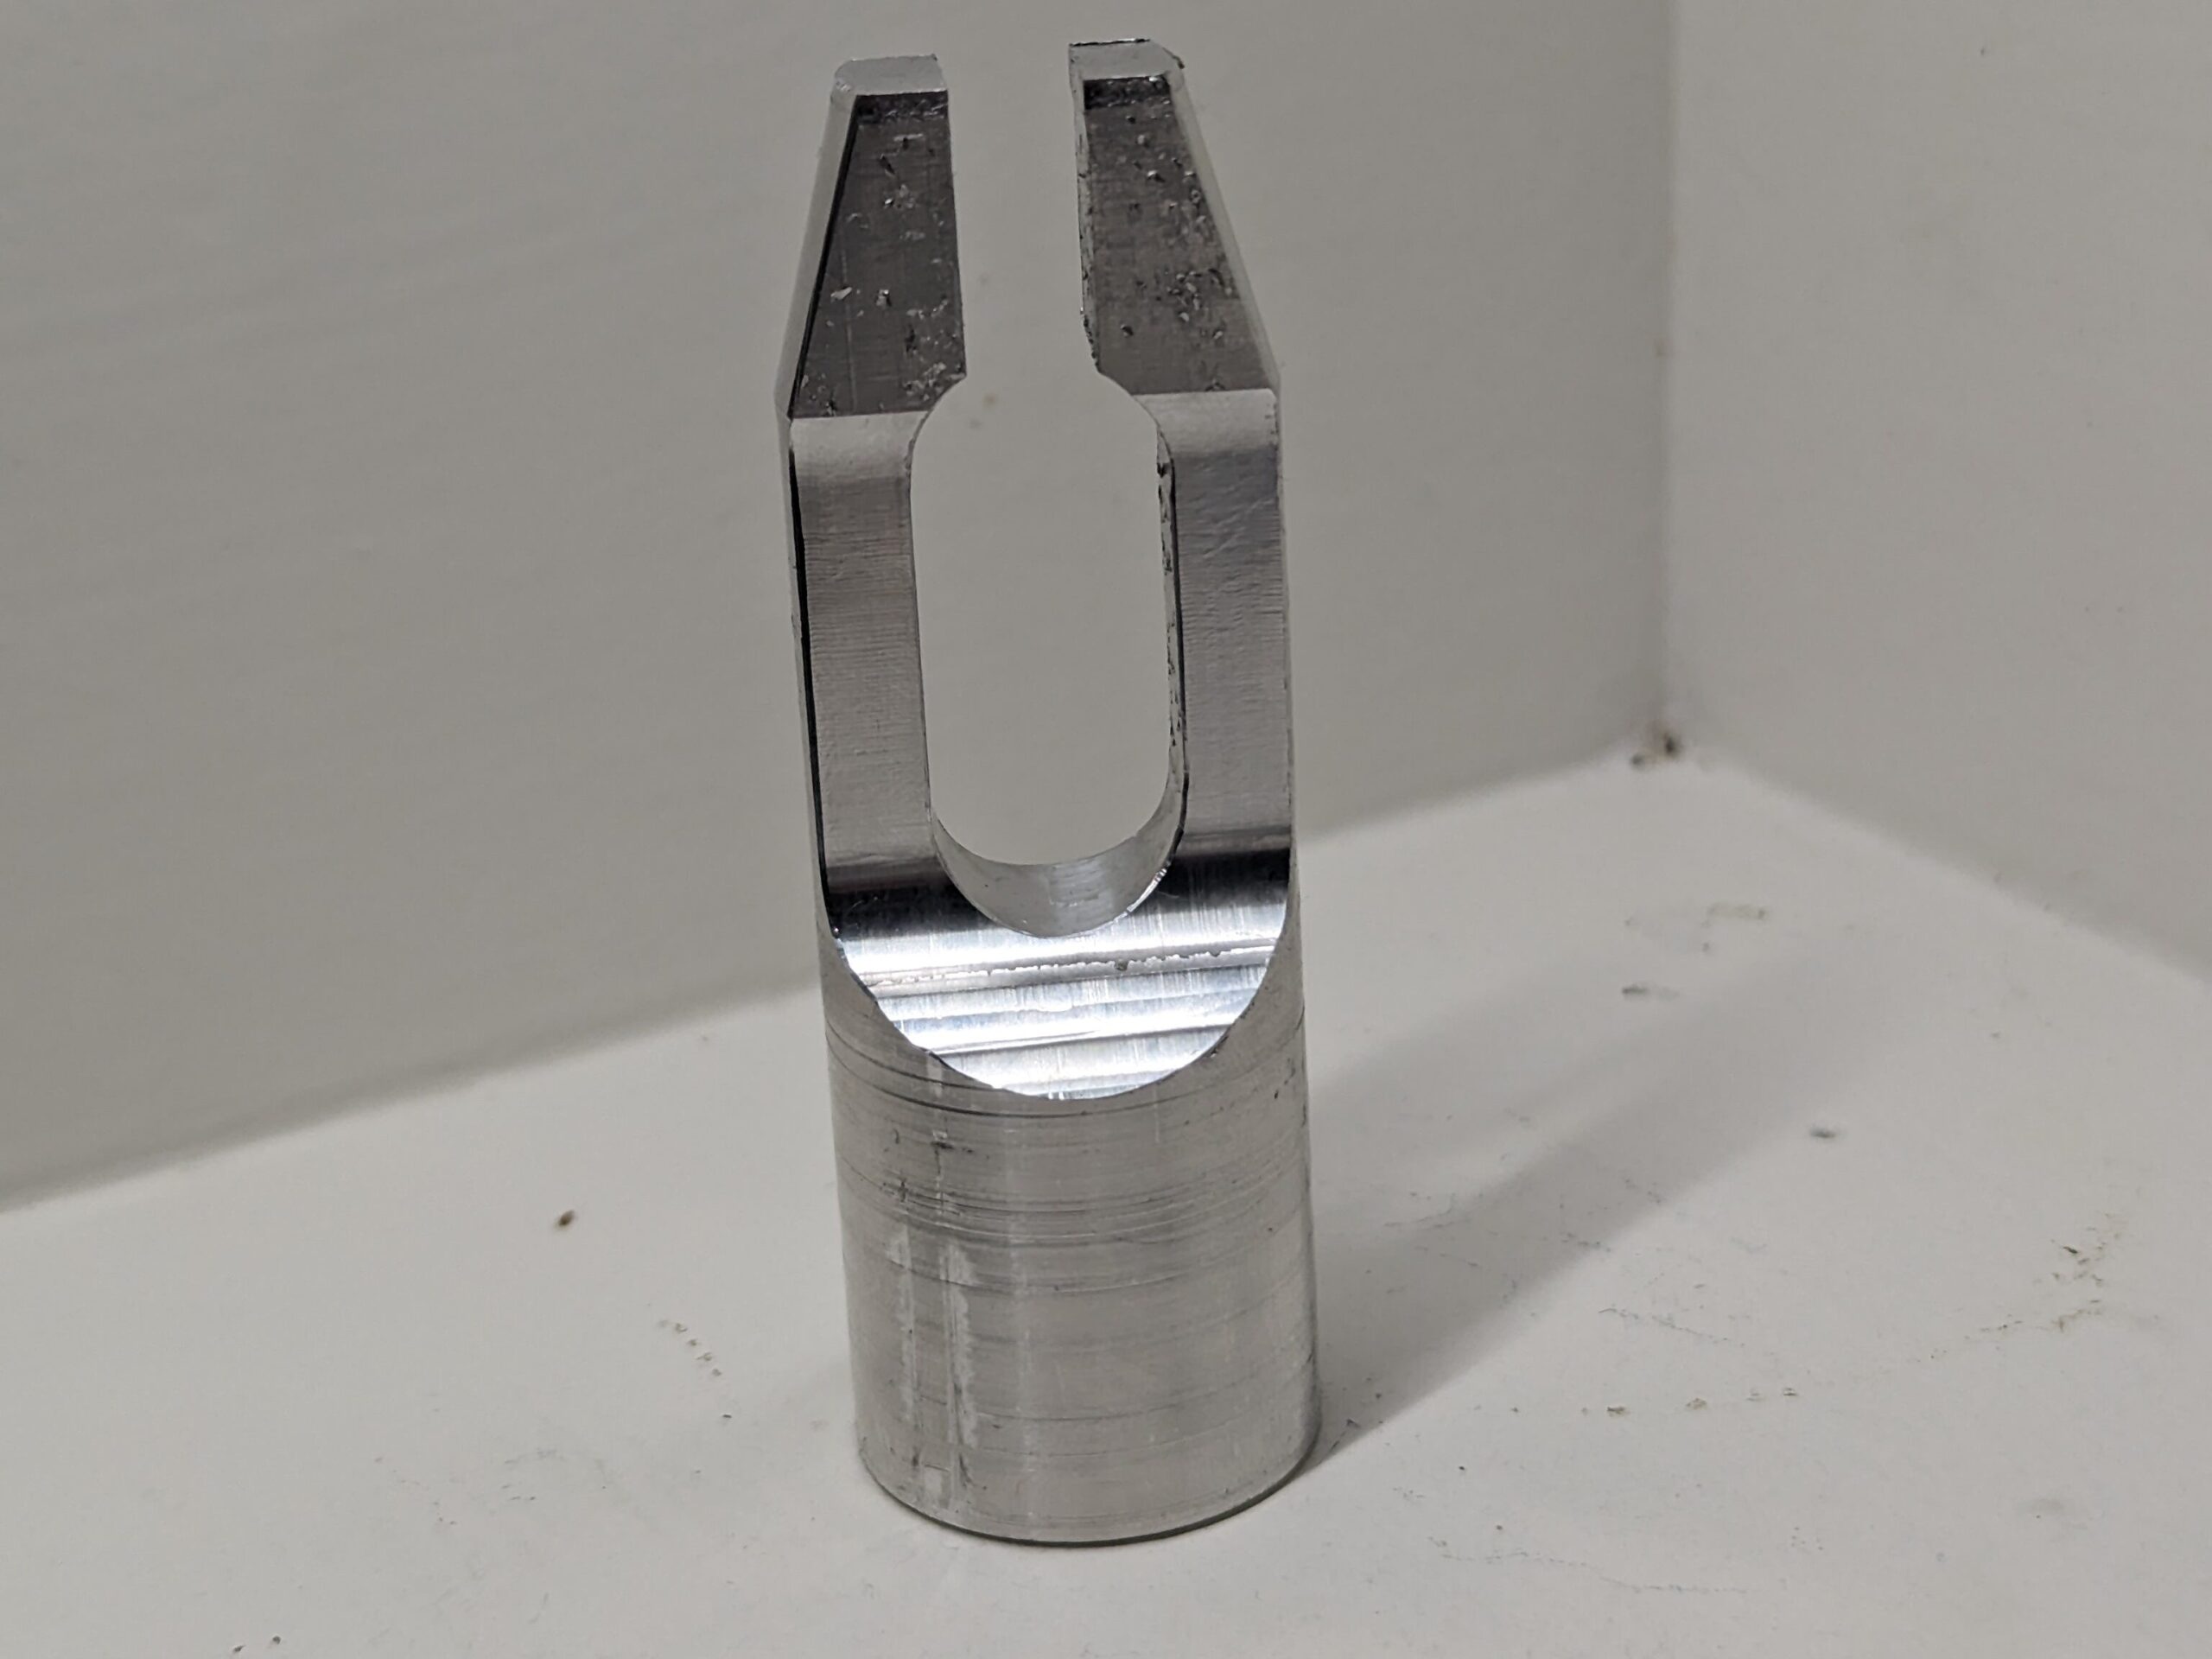
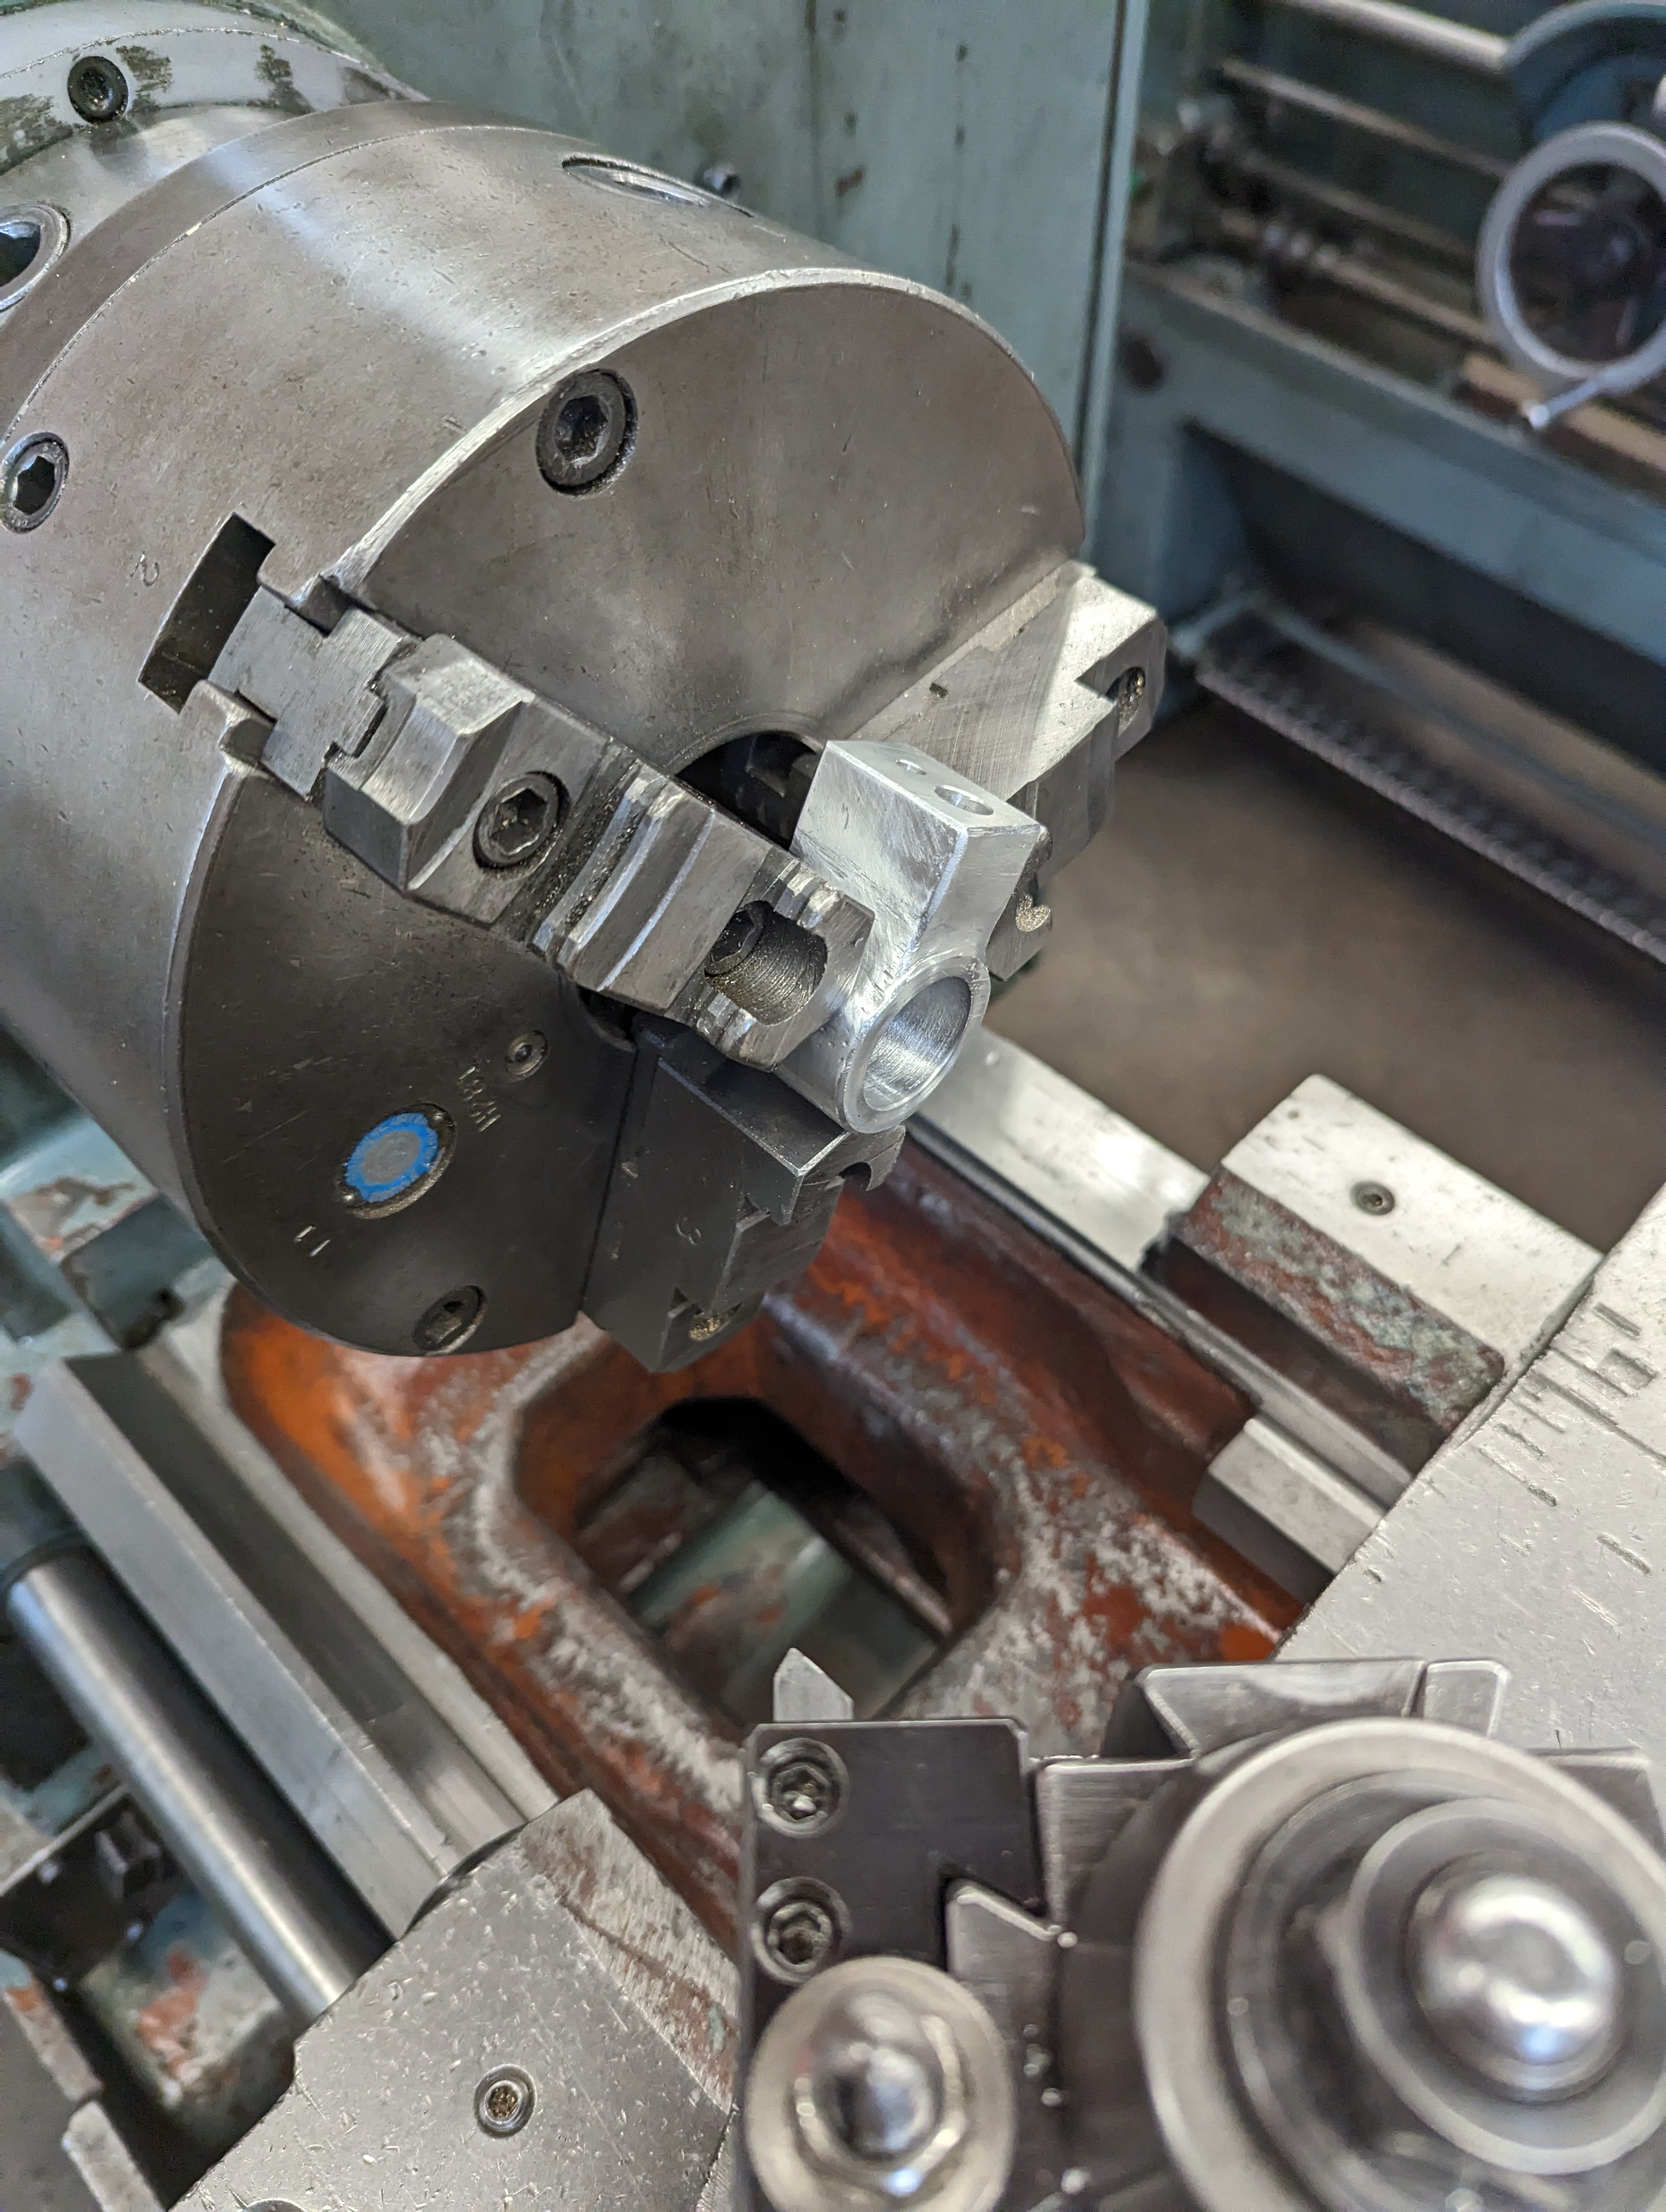
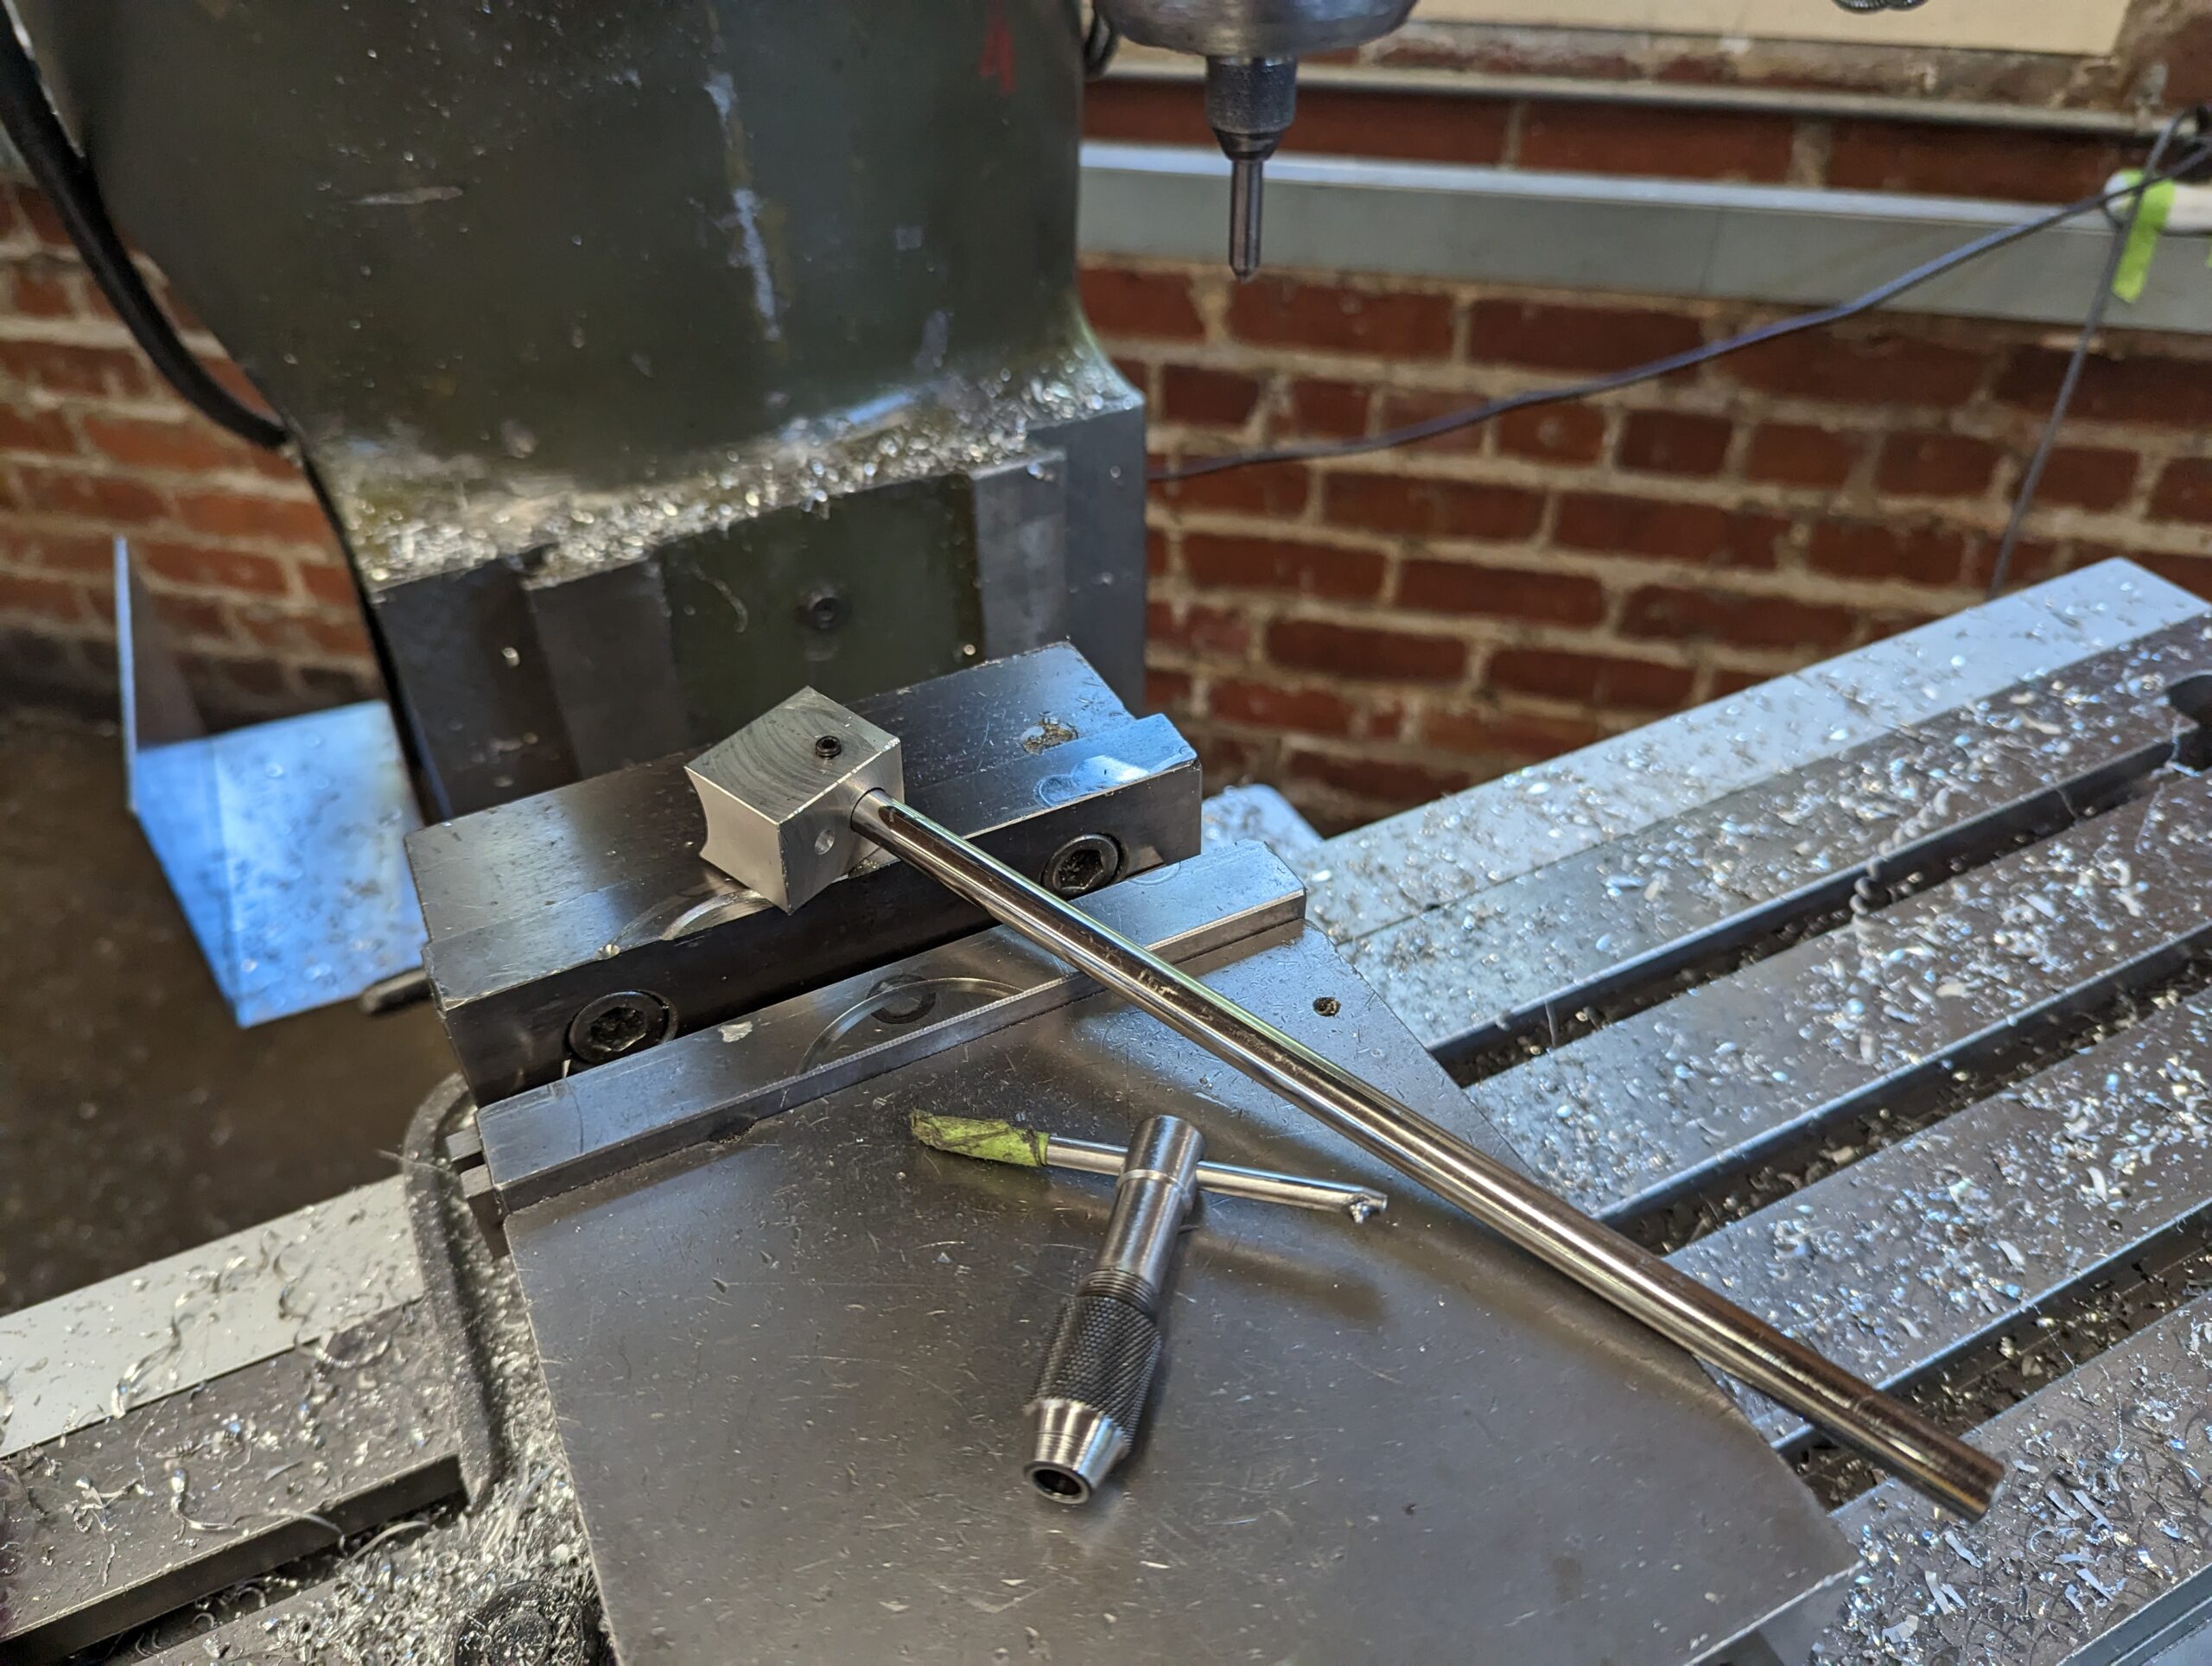
After a meeting with a shop CA, and some thinking on it myself, I determined a direction I could machine and make real.
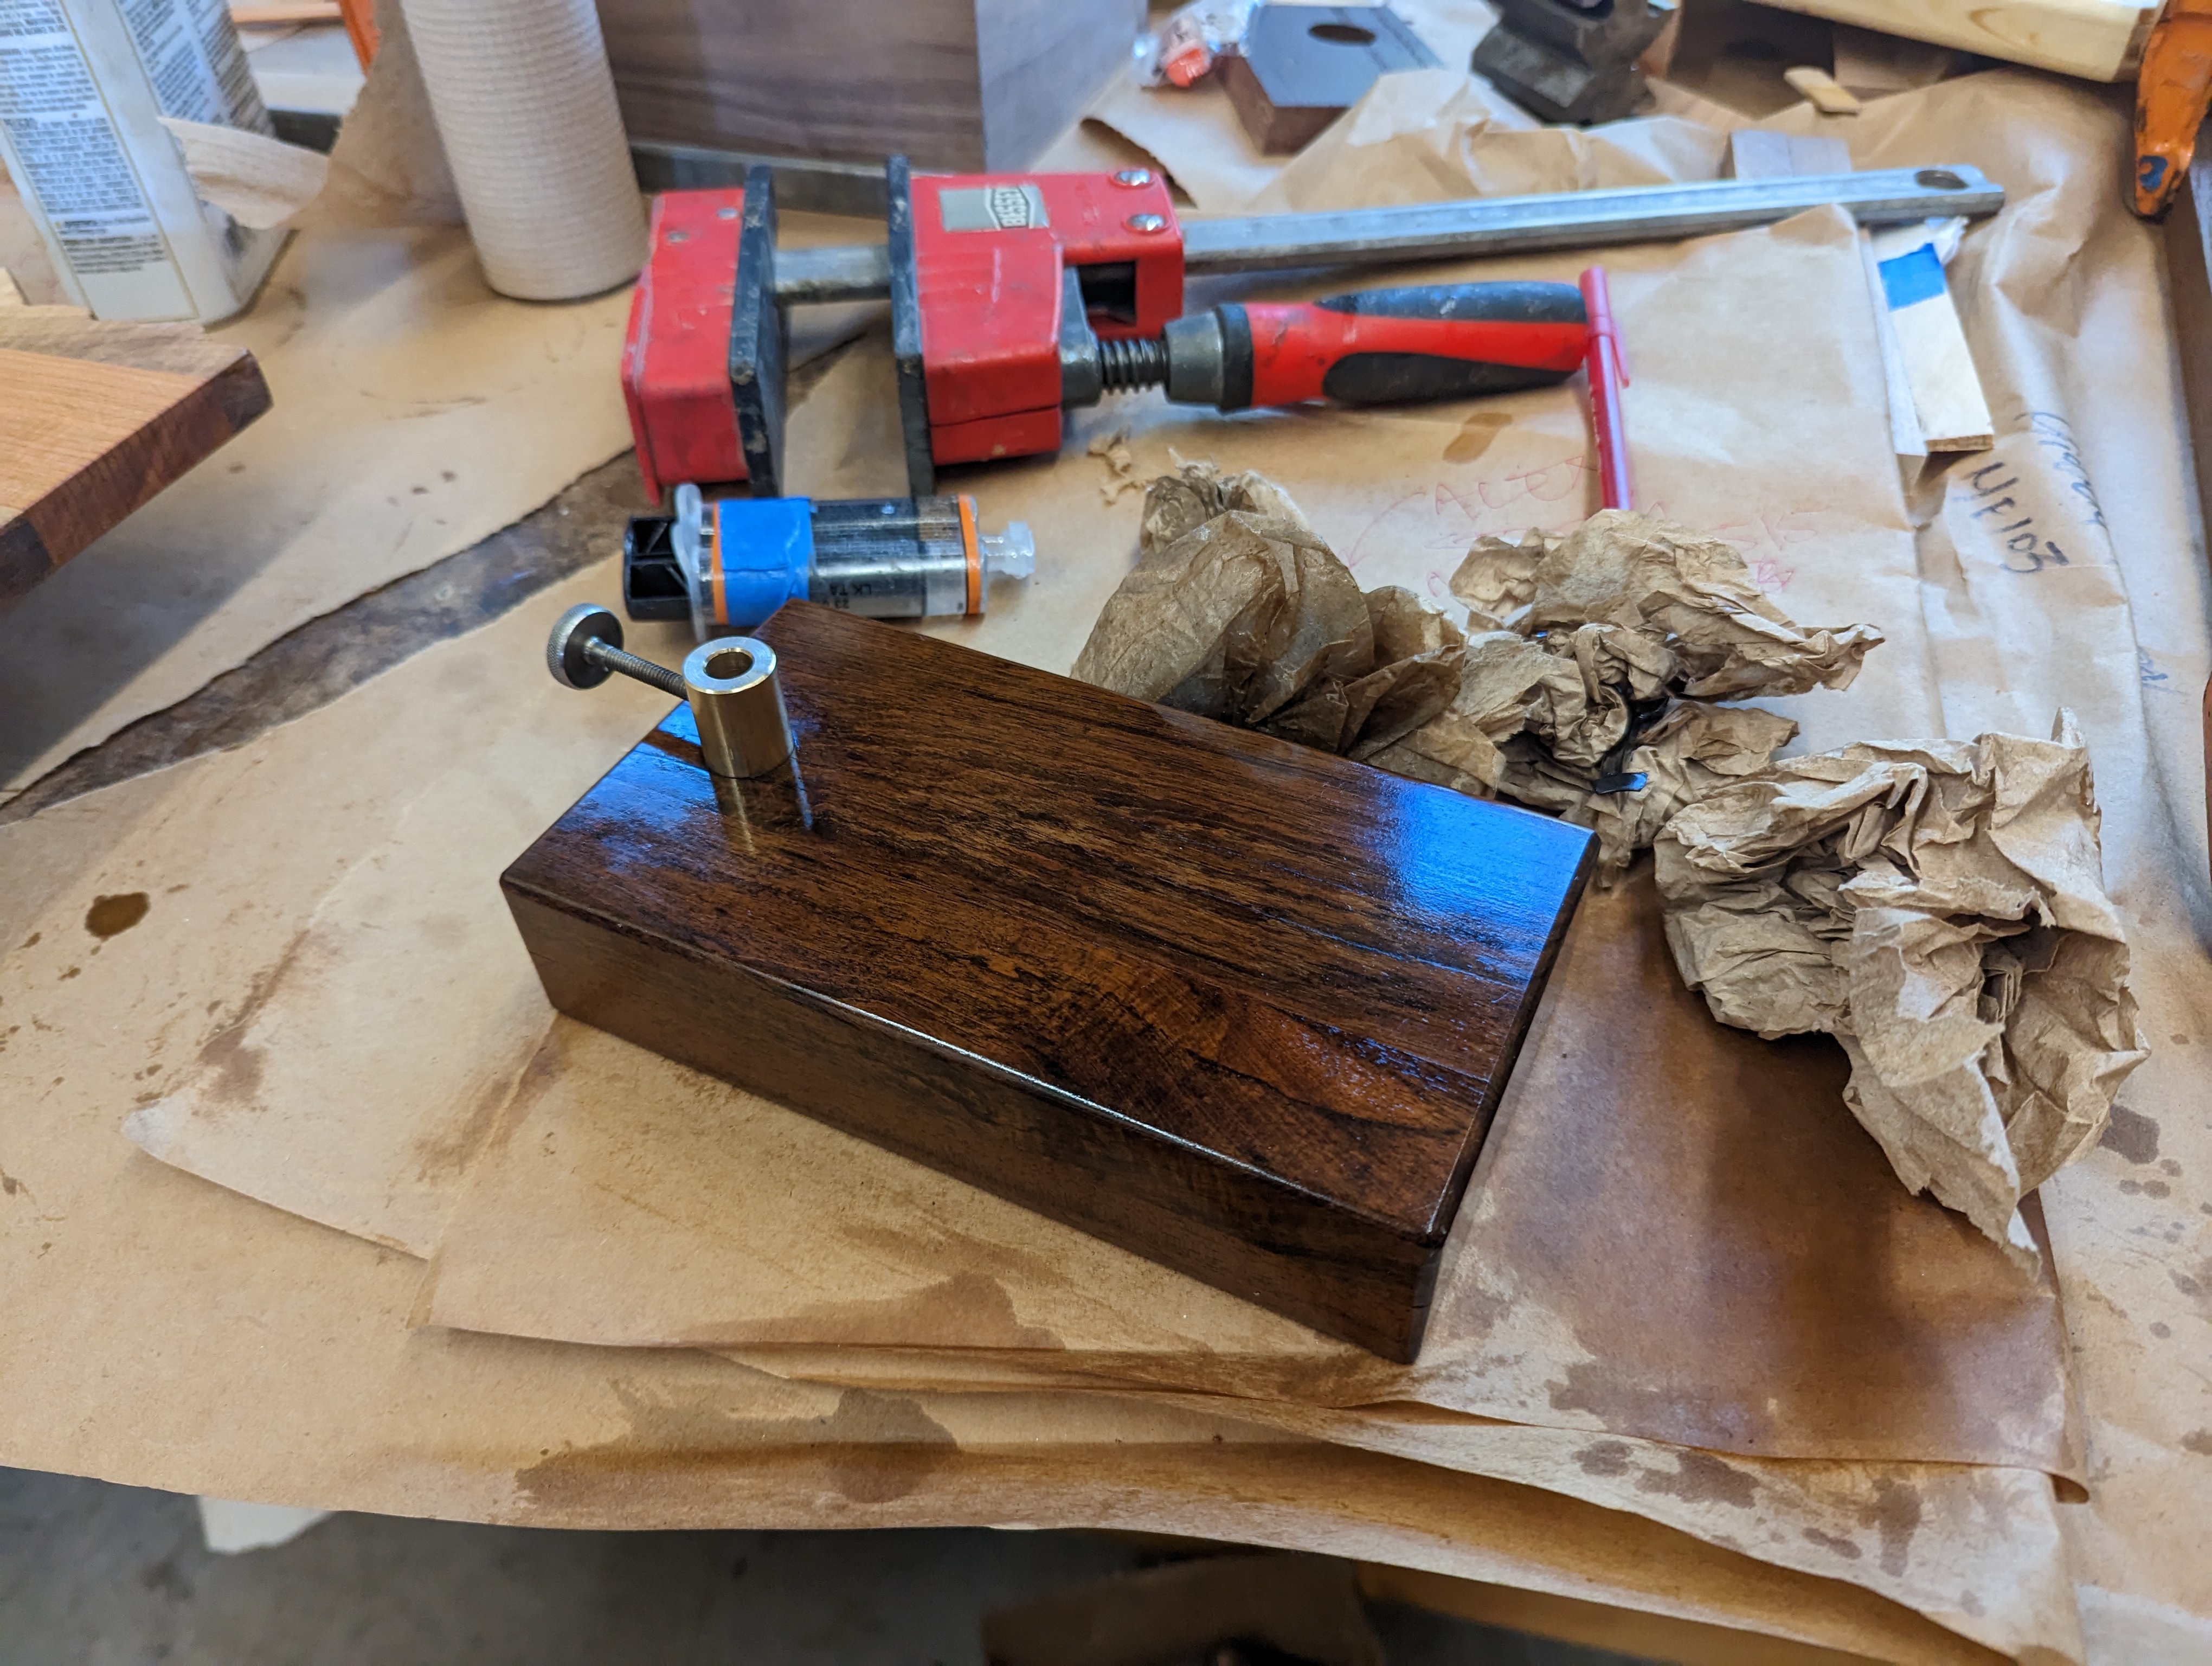
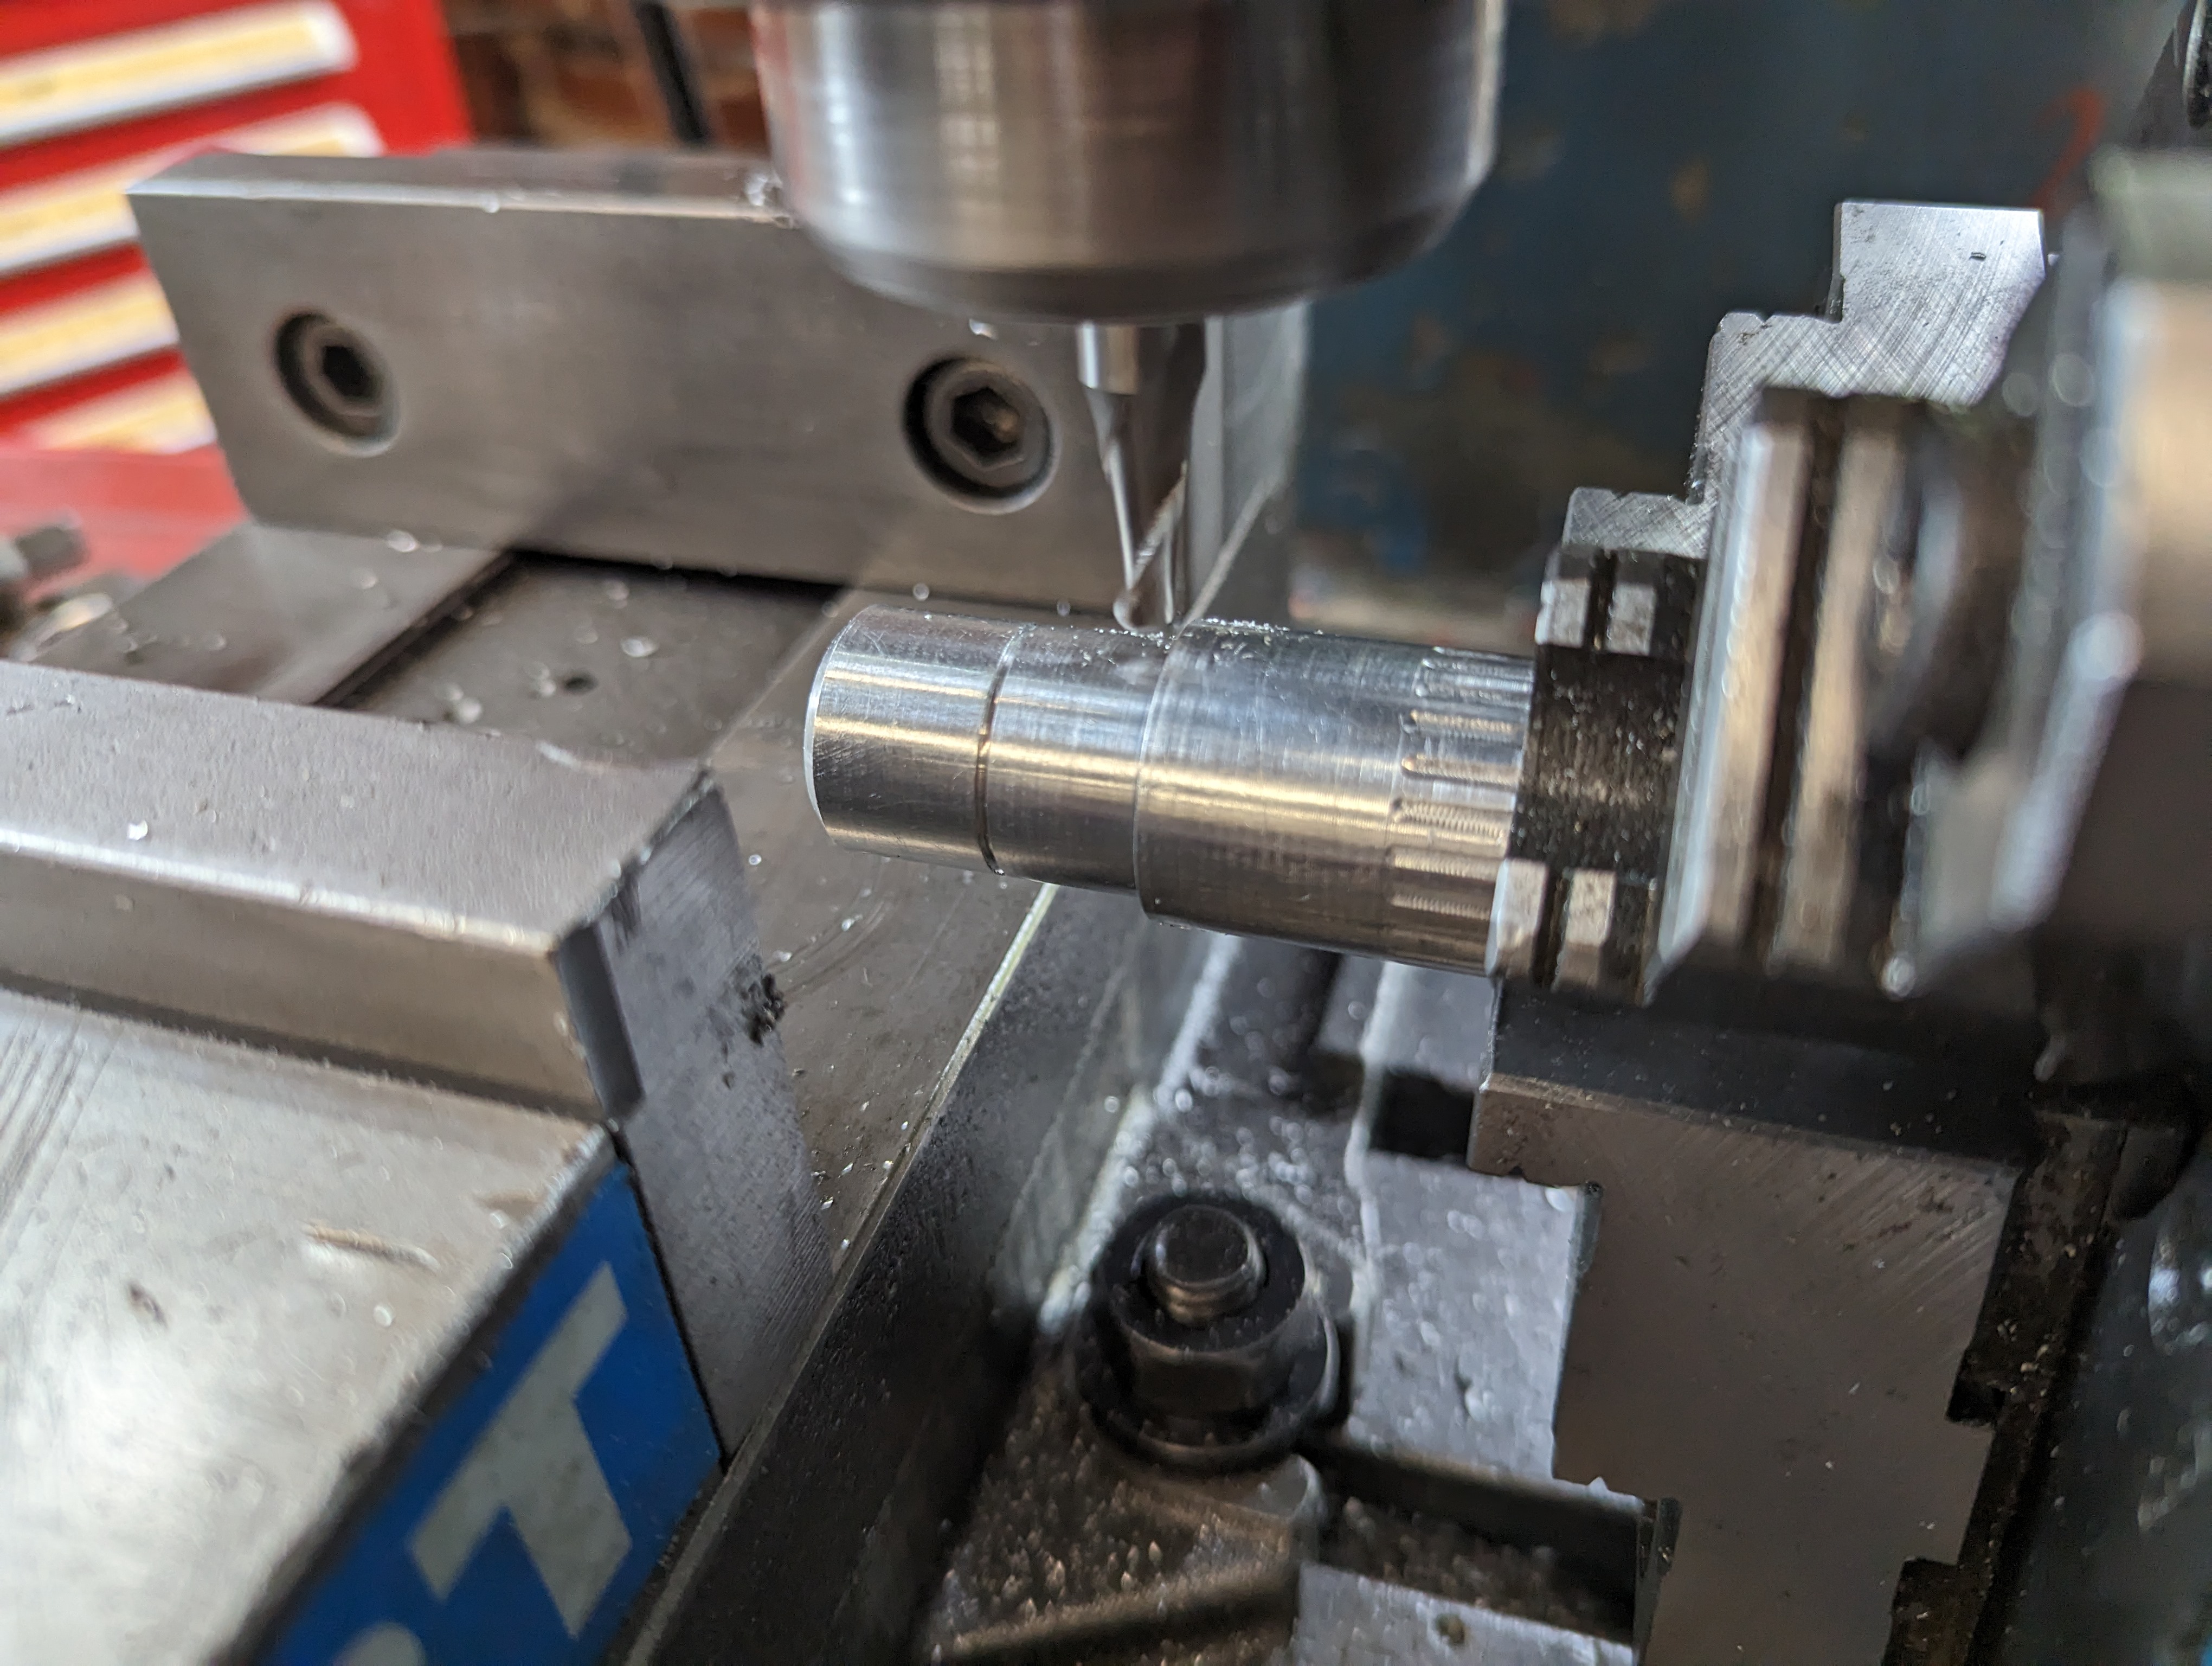
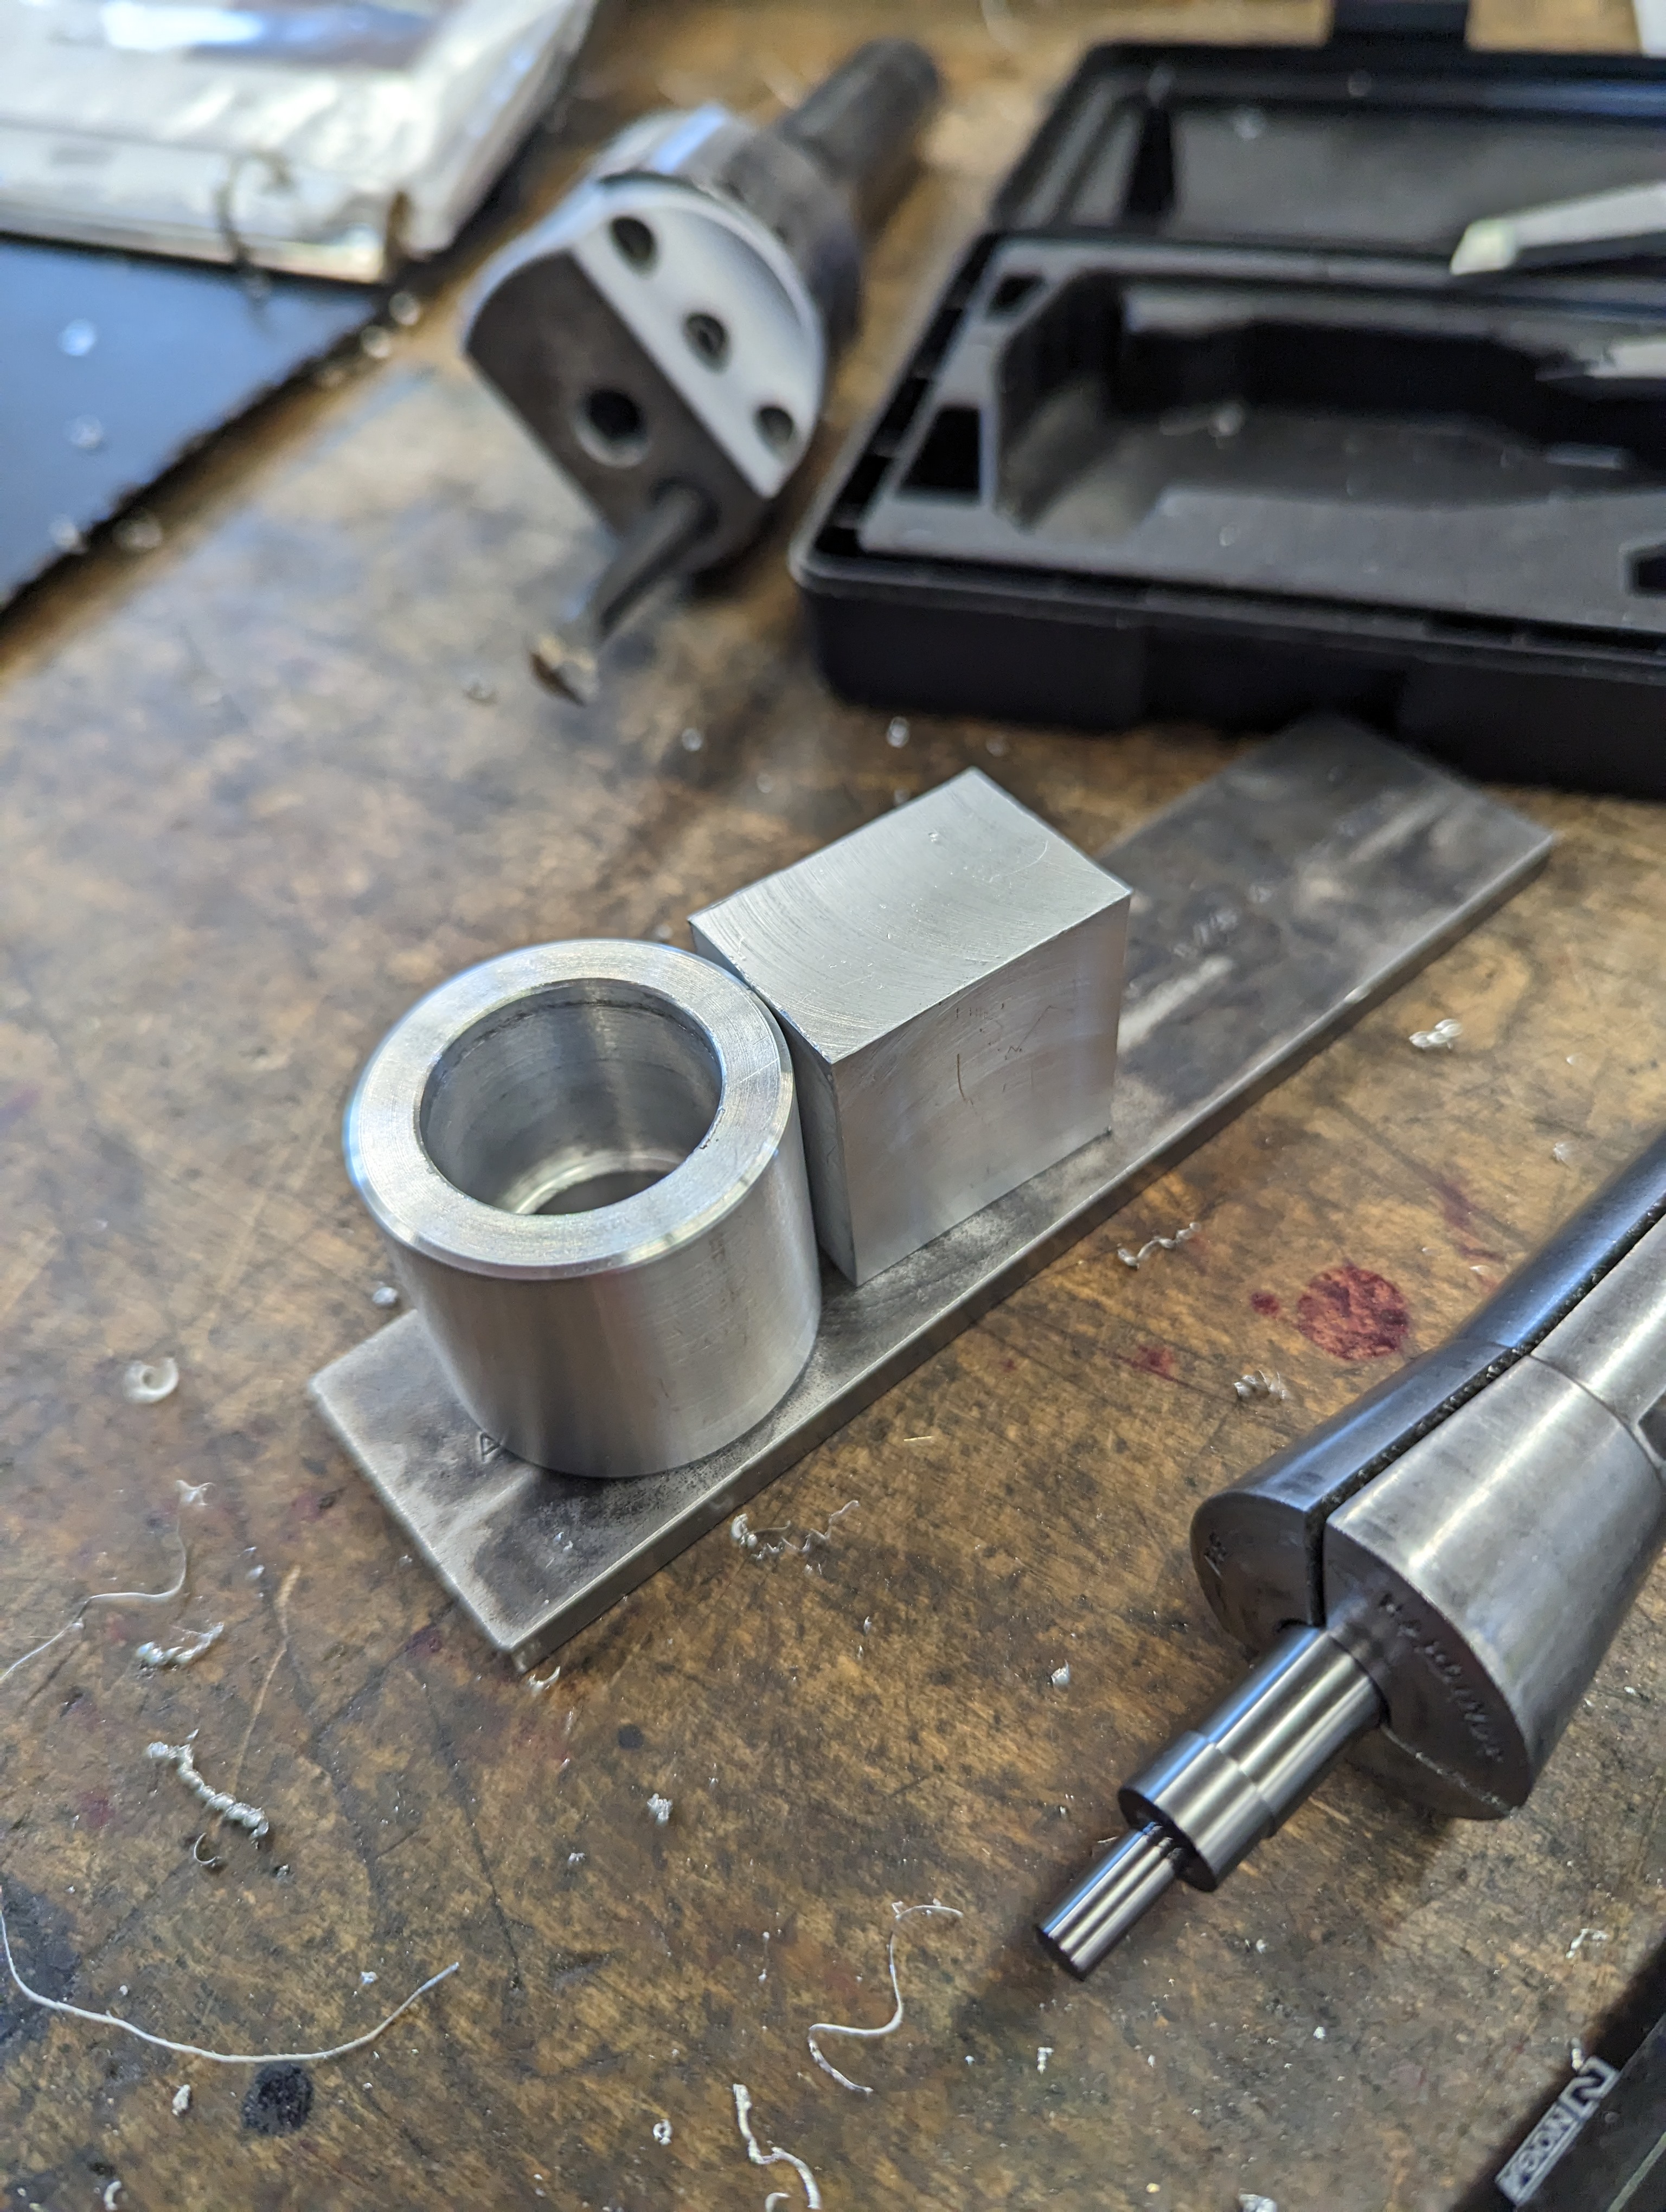
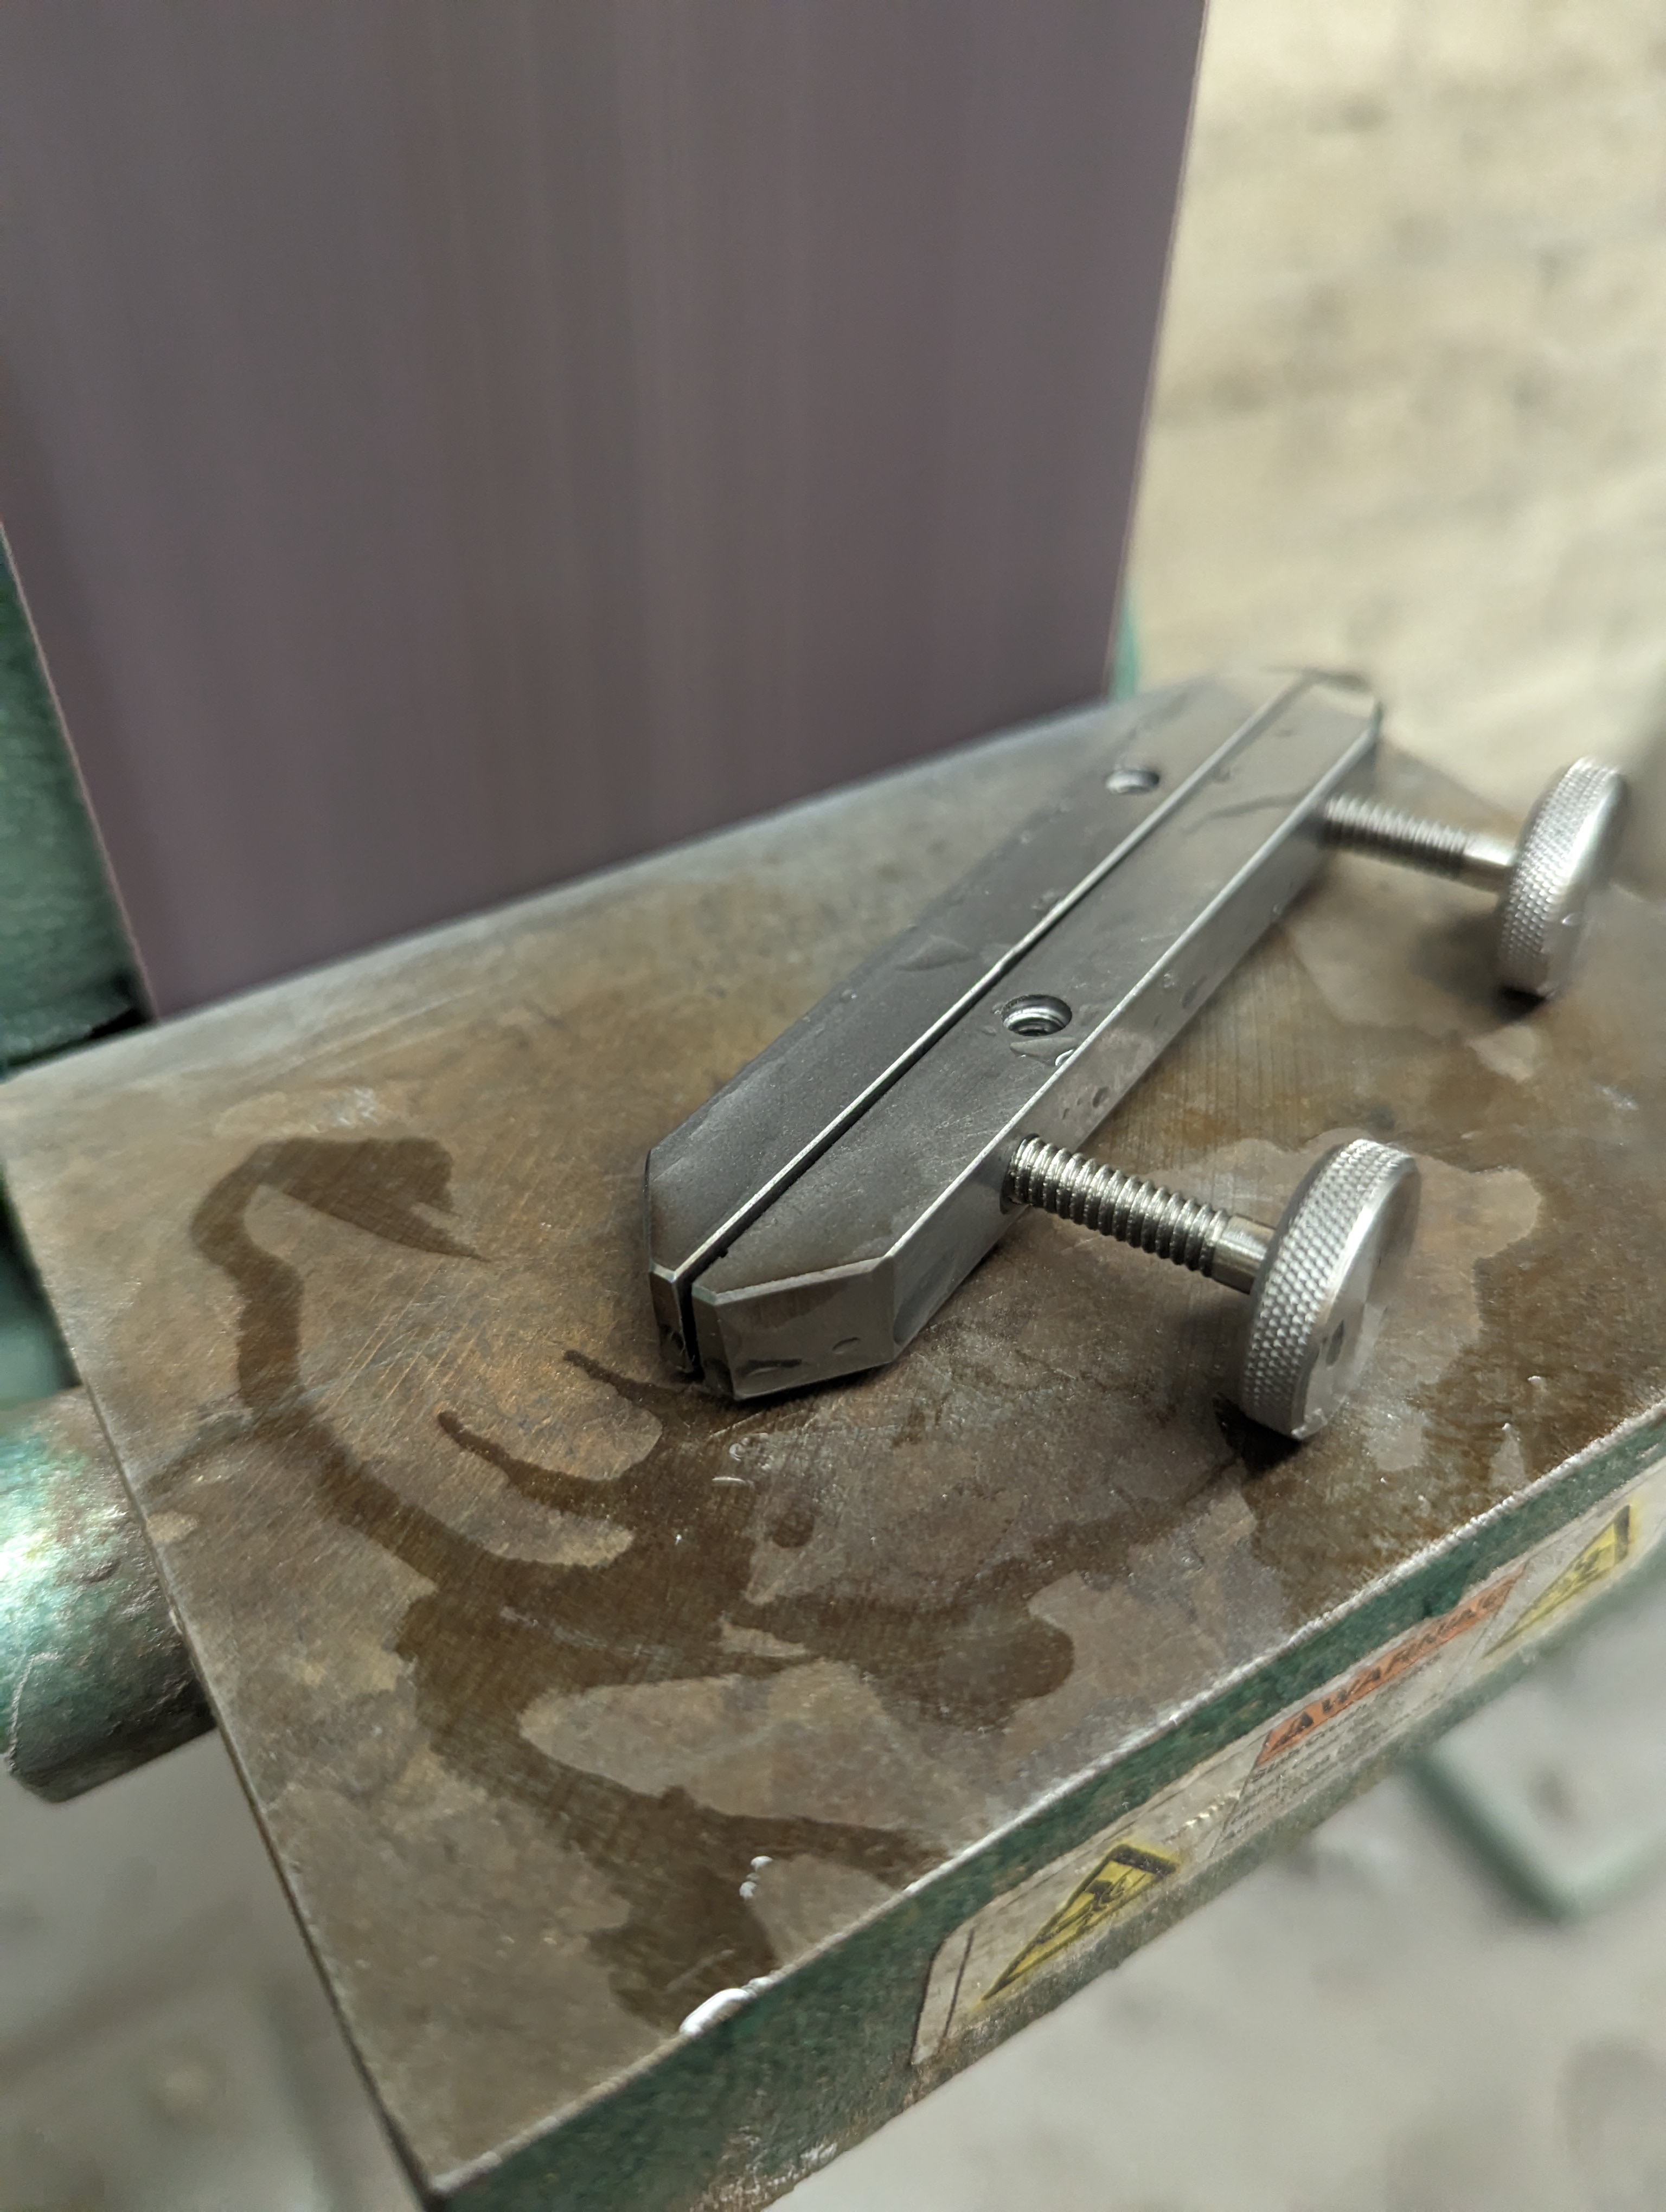
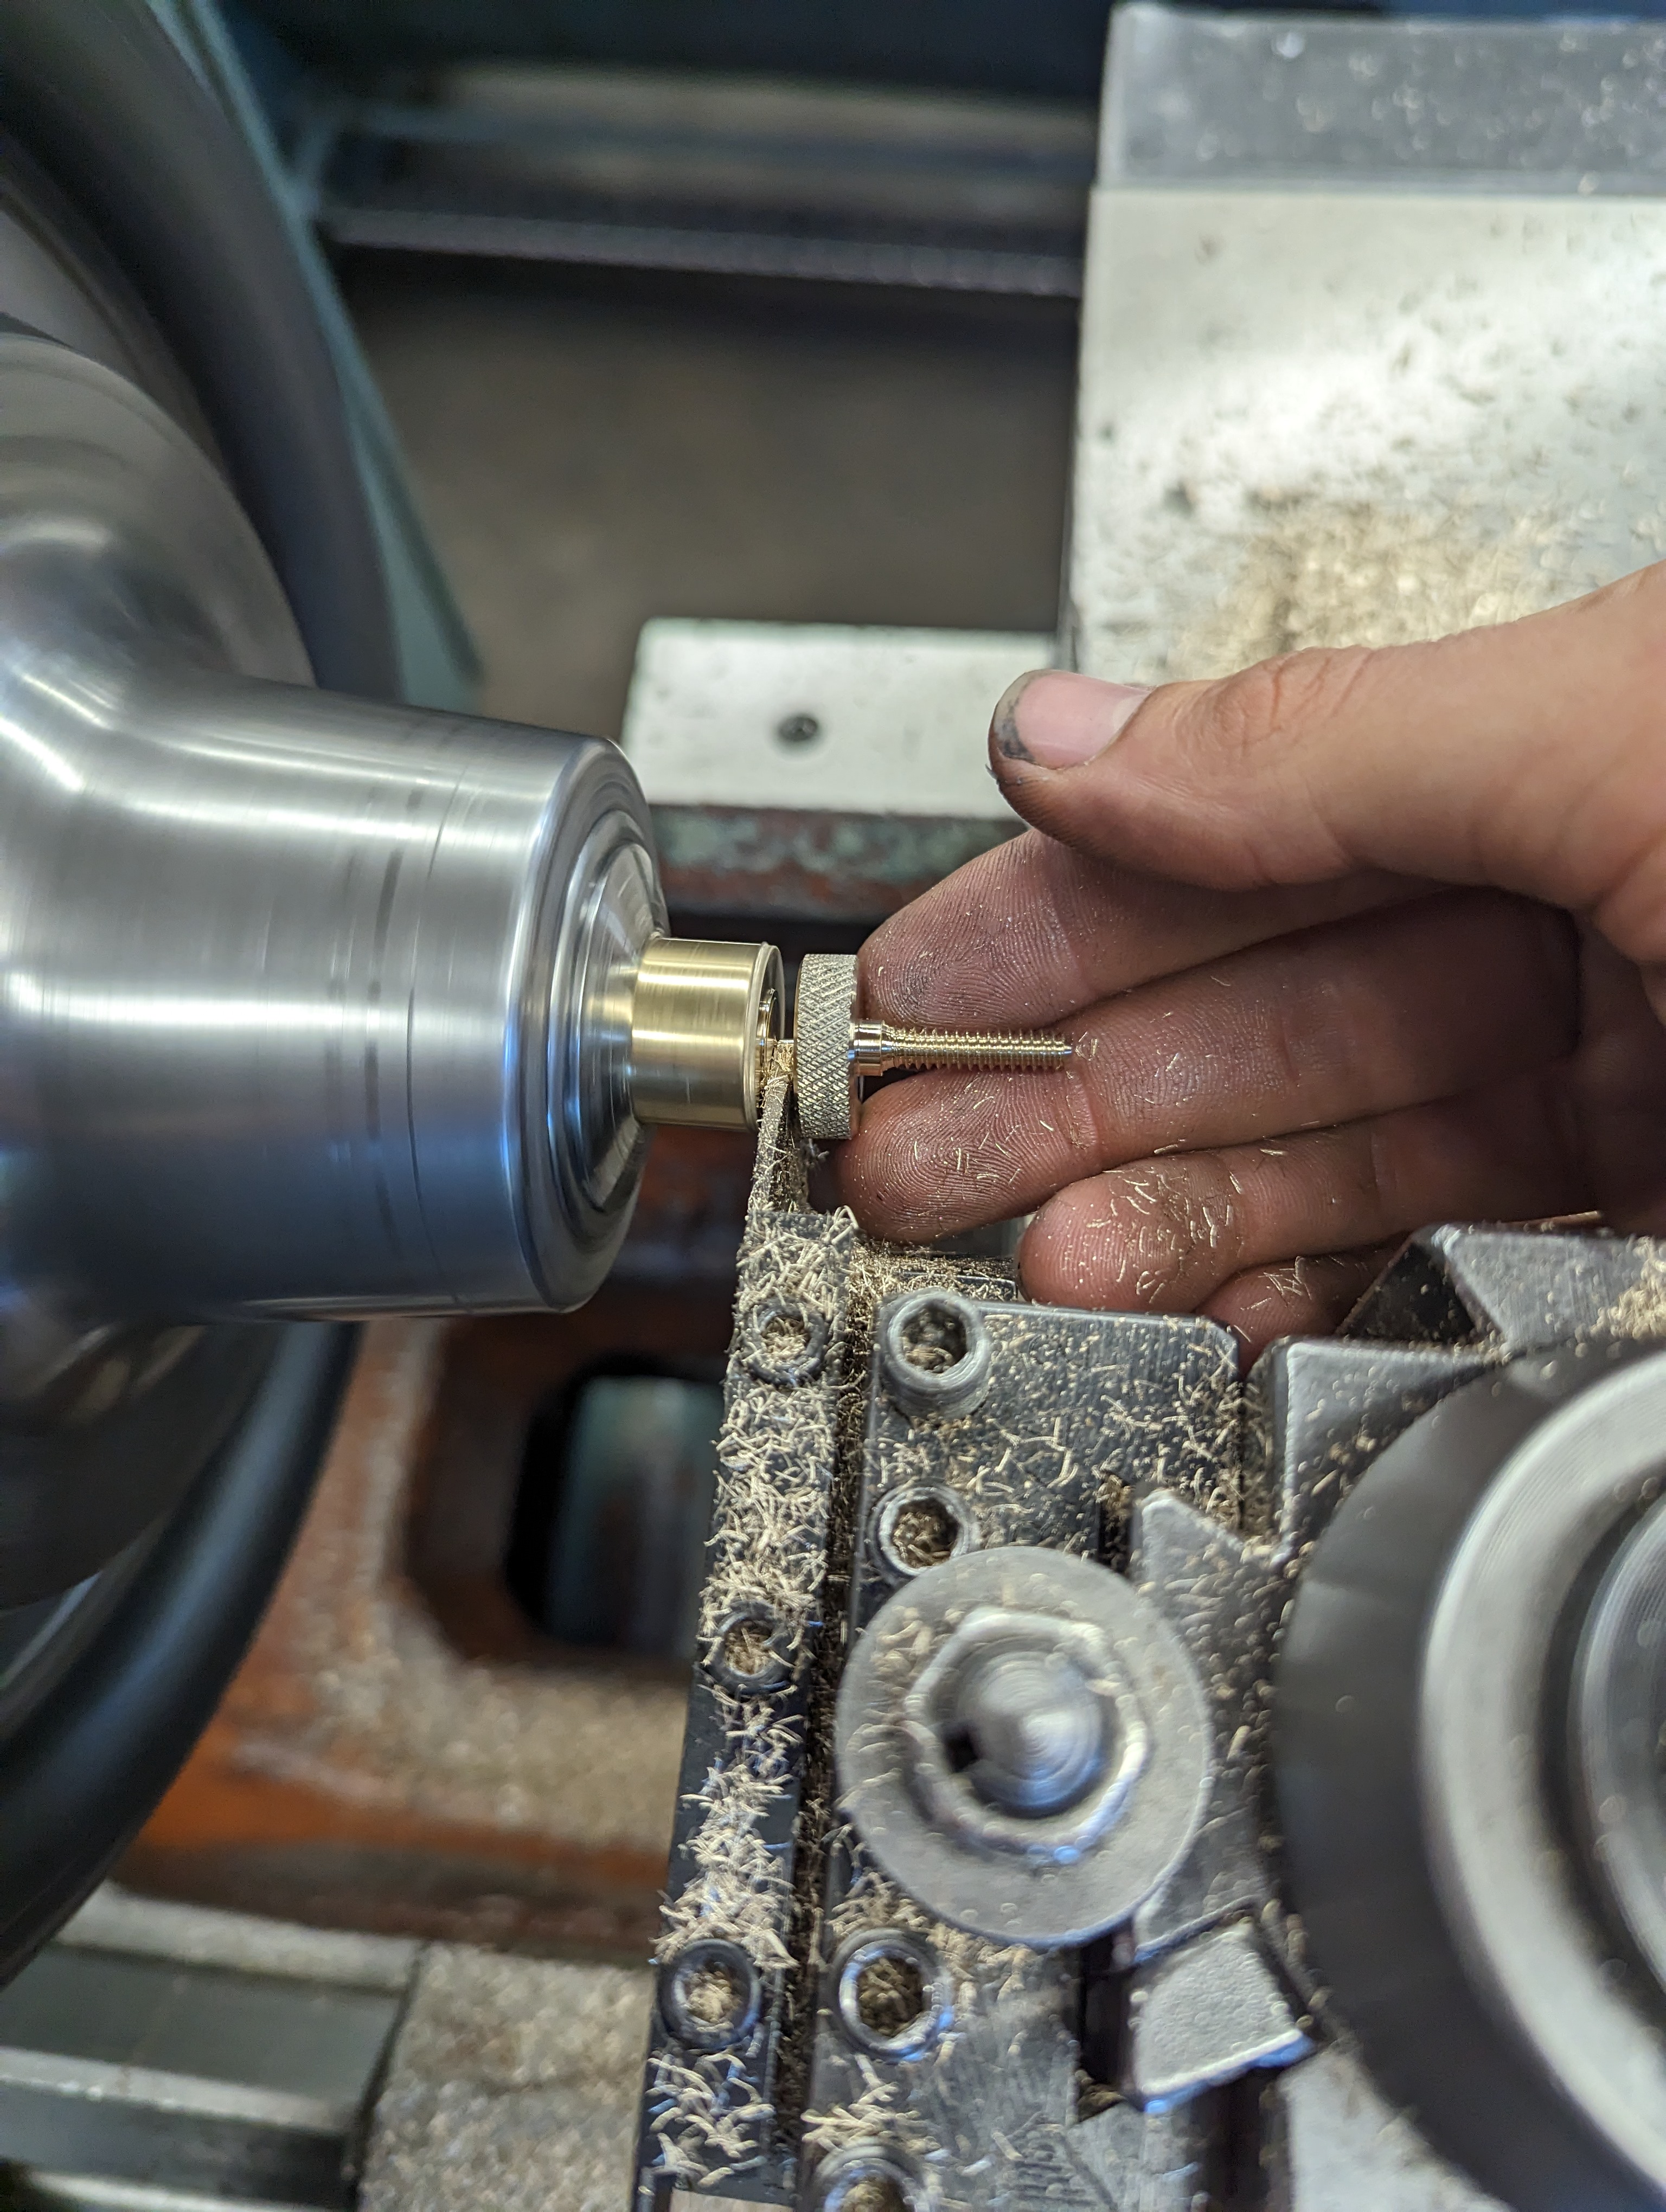
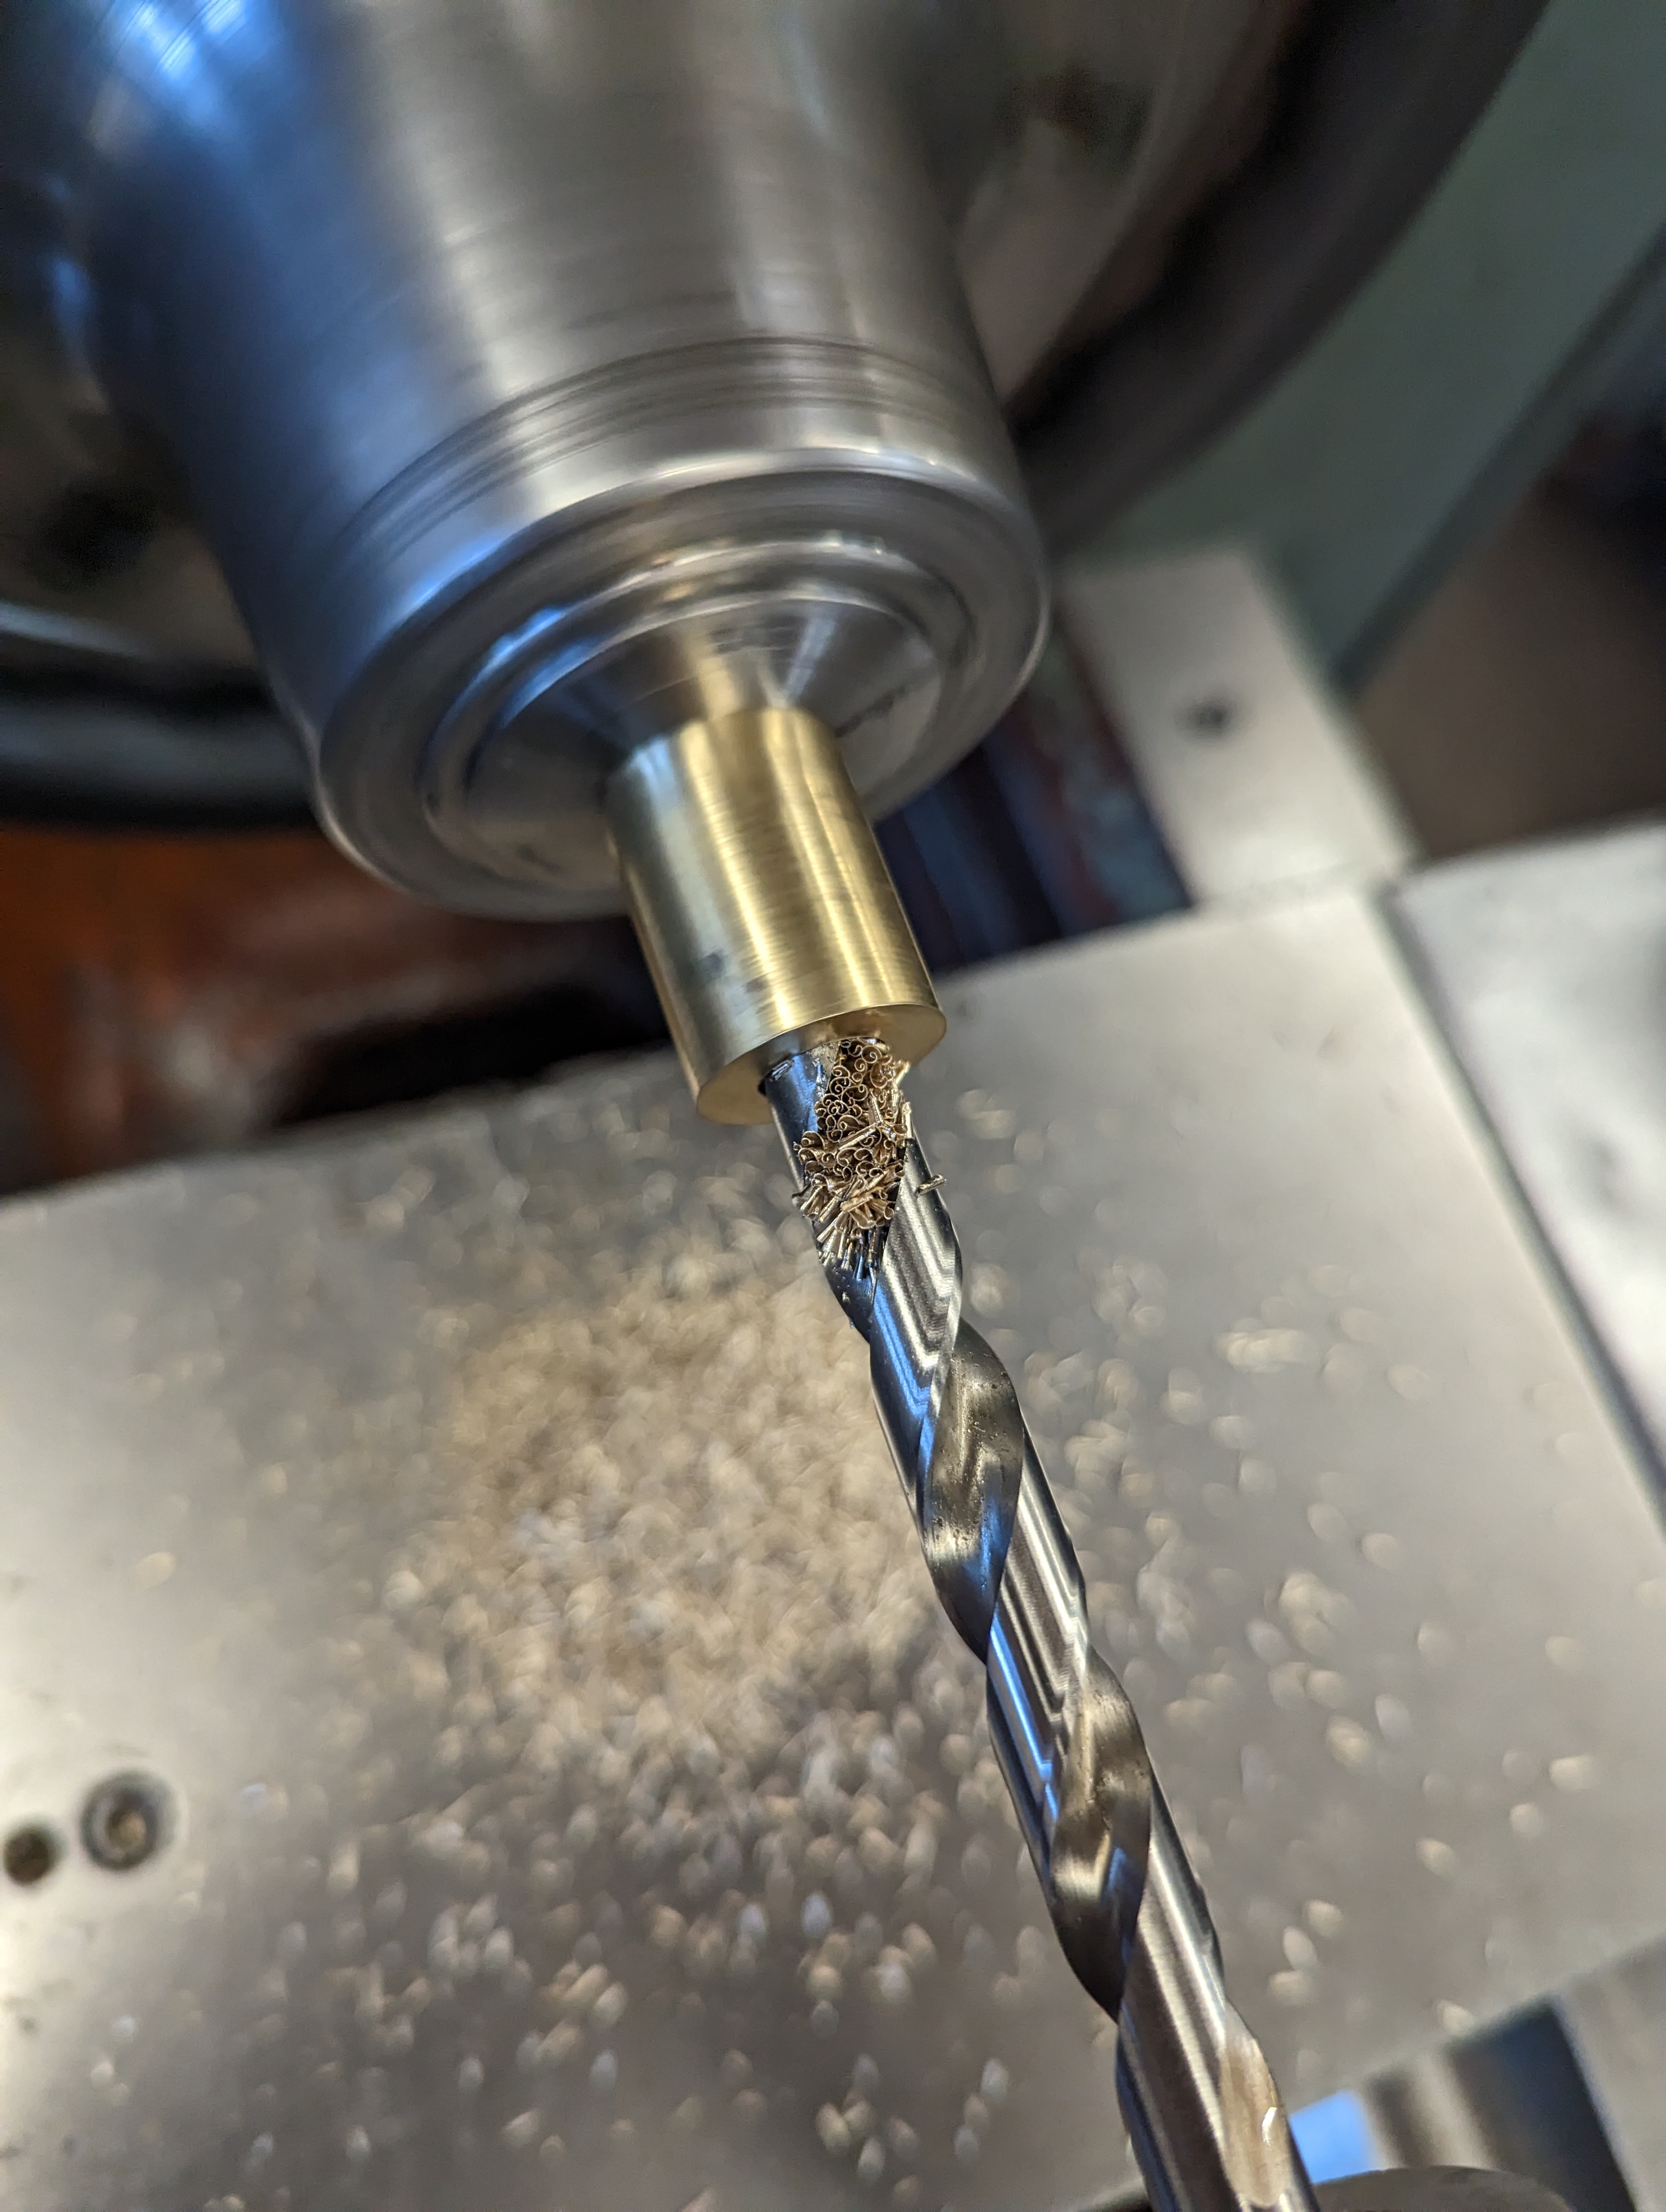
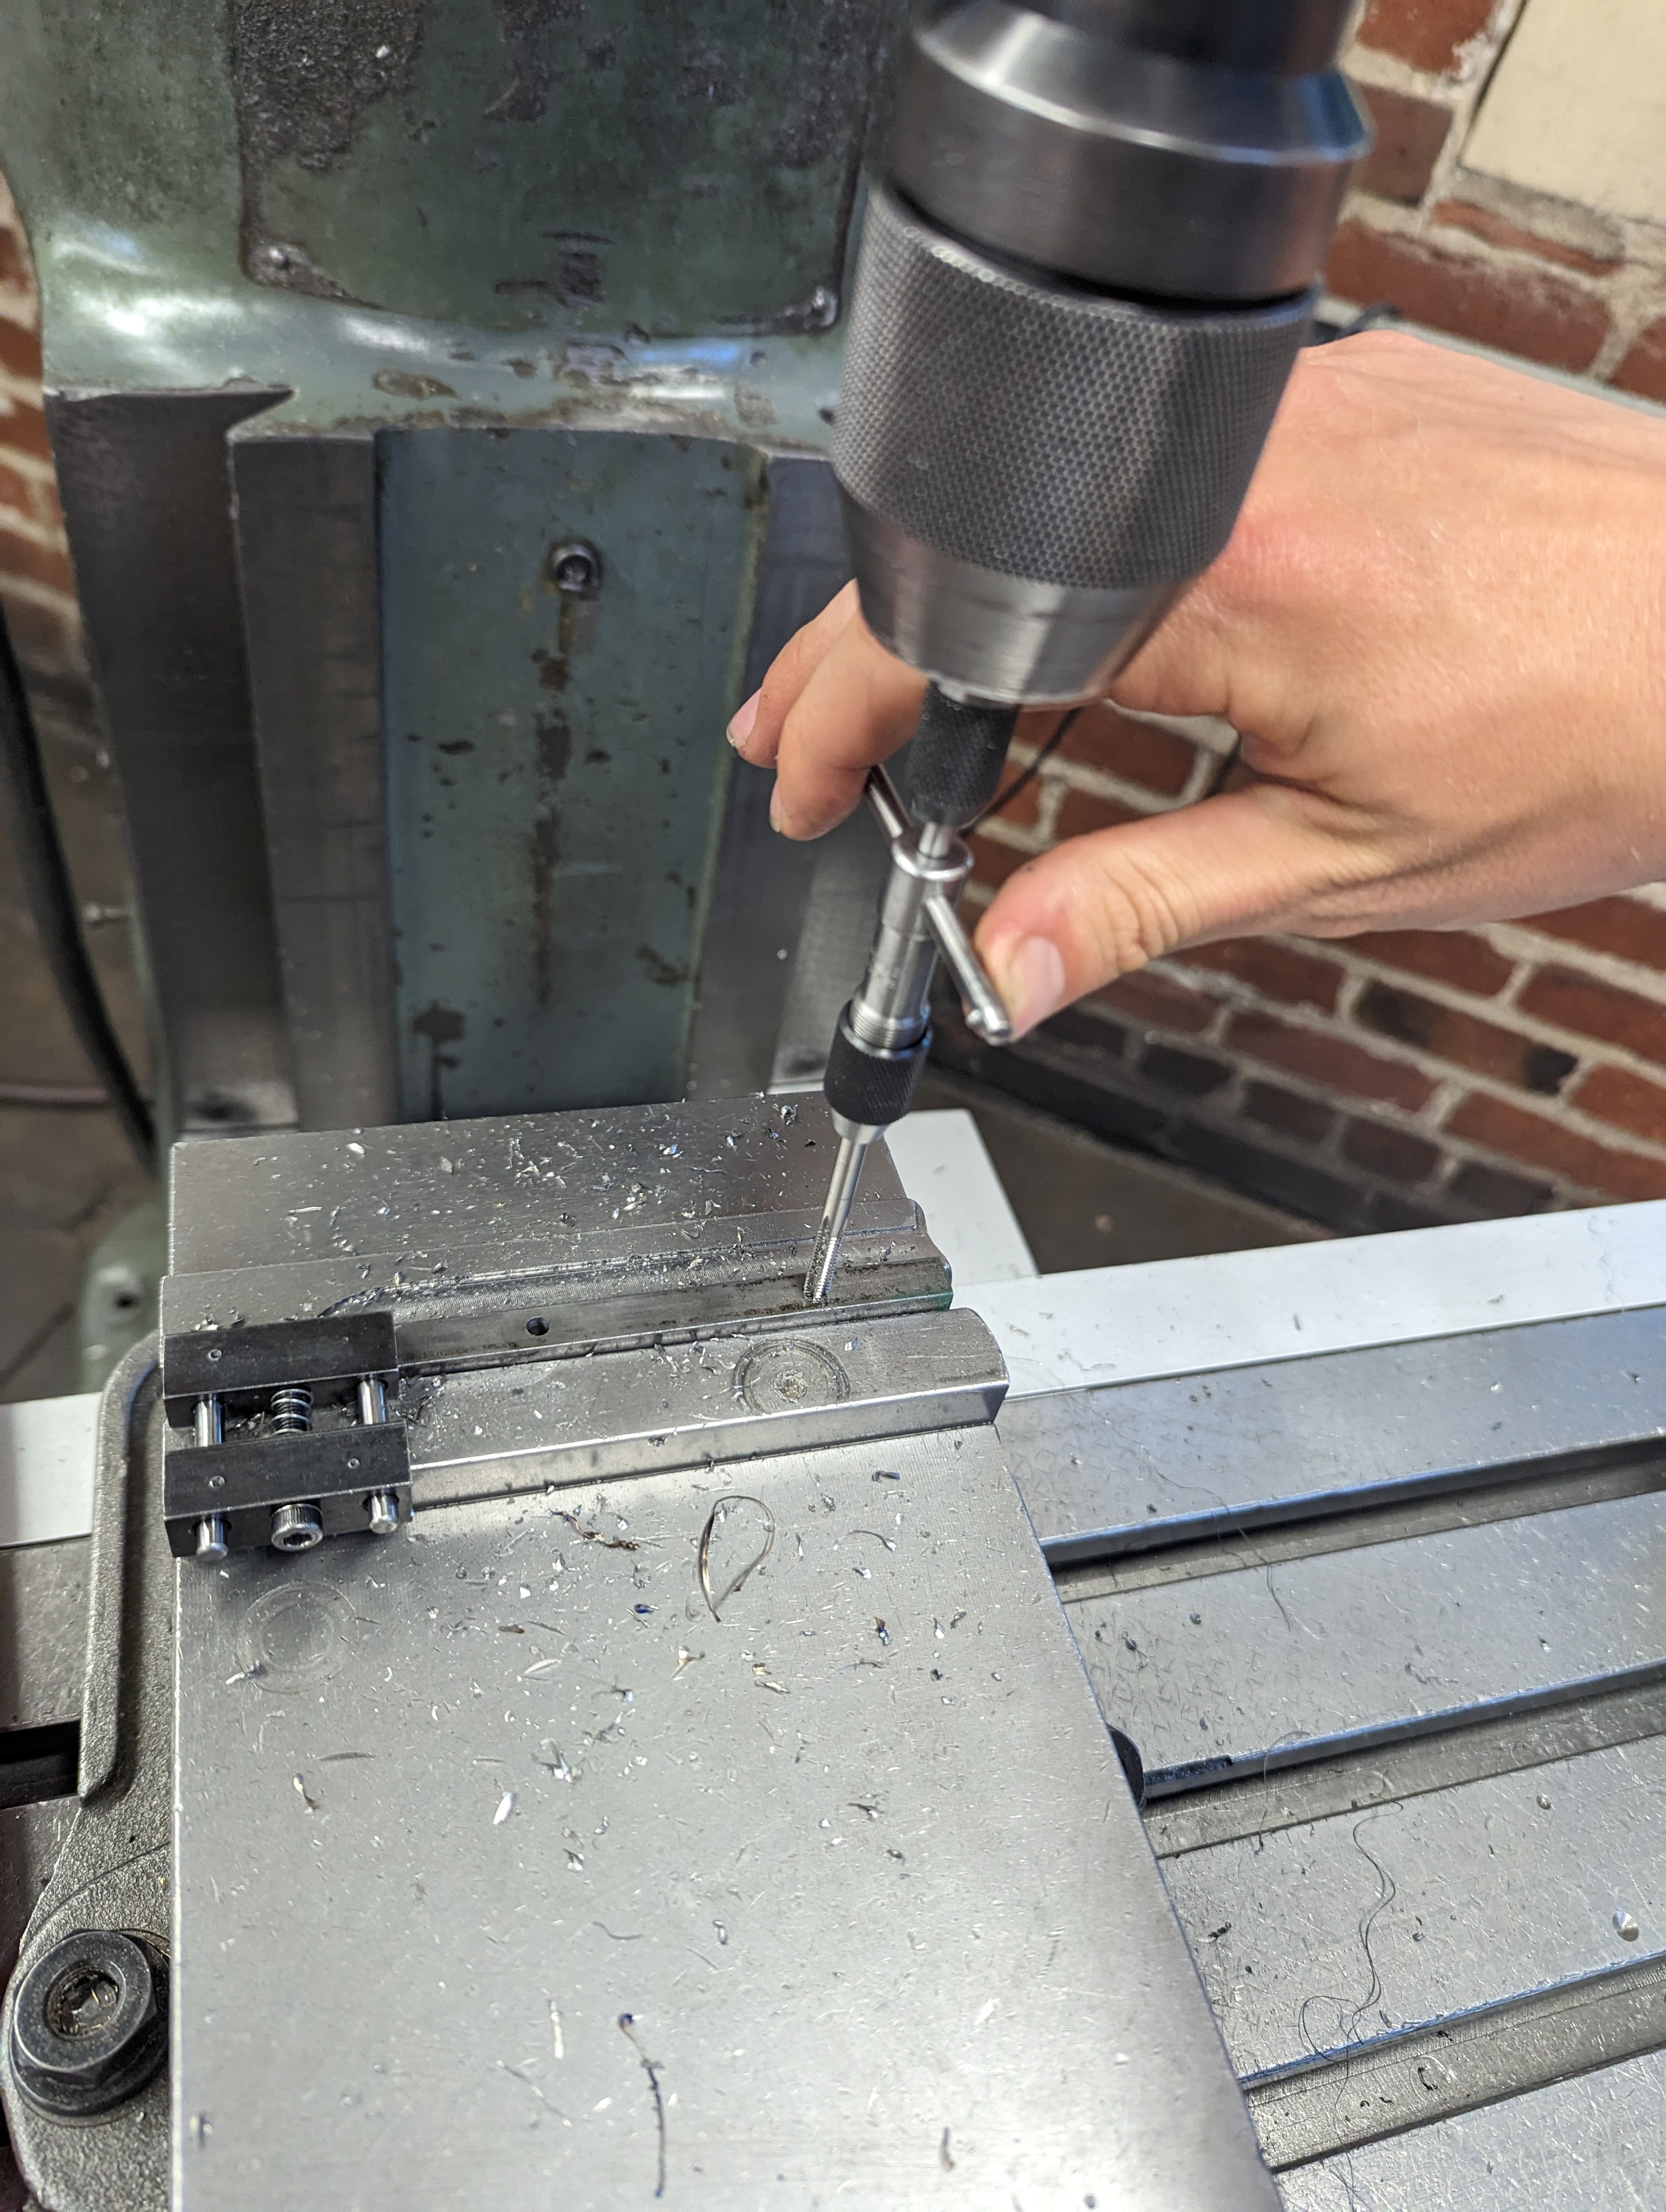
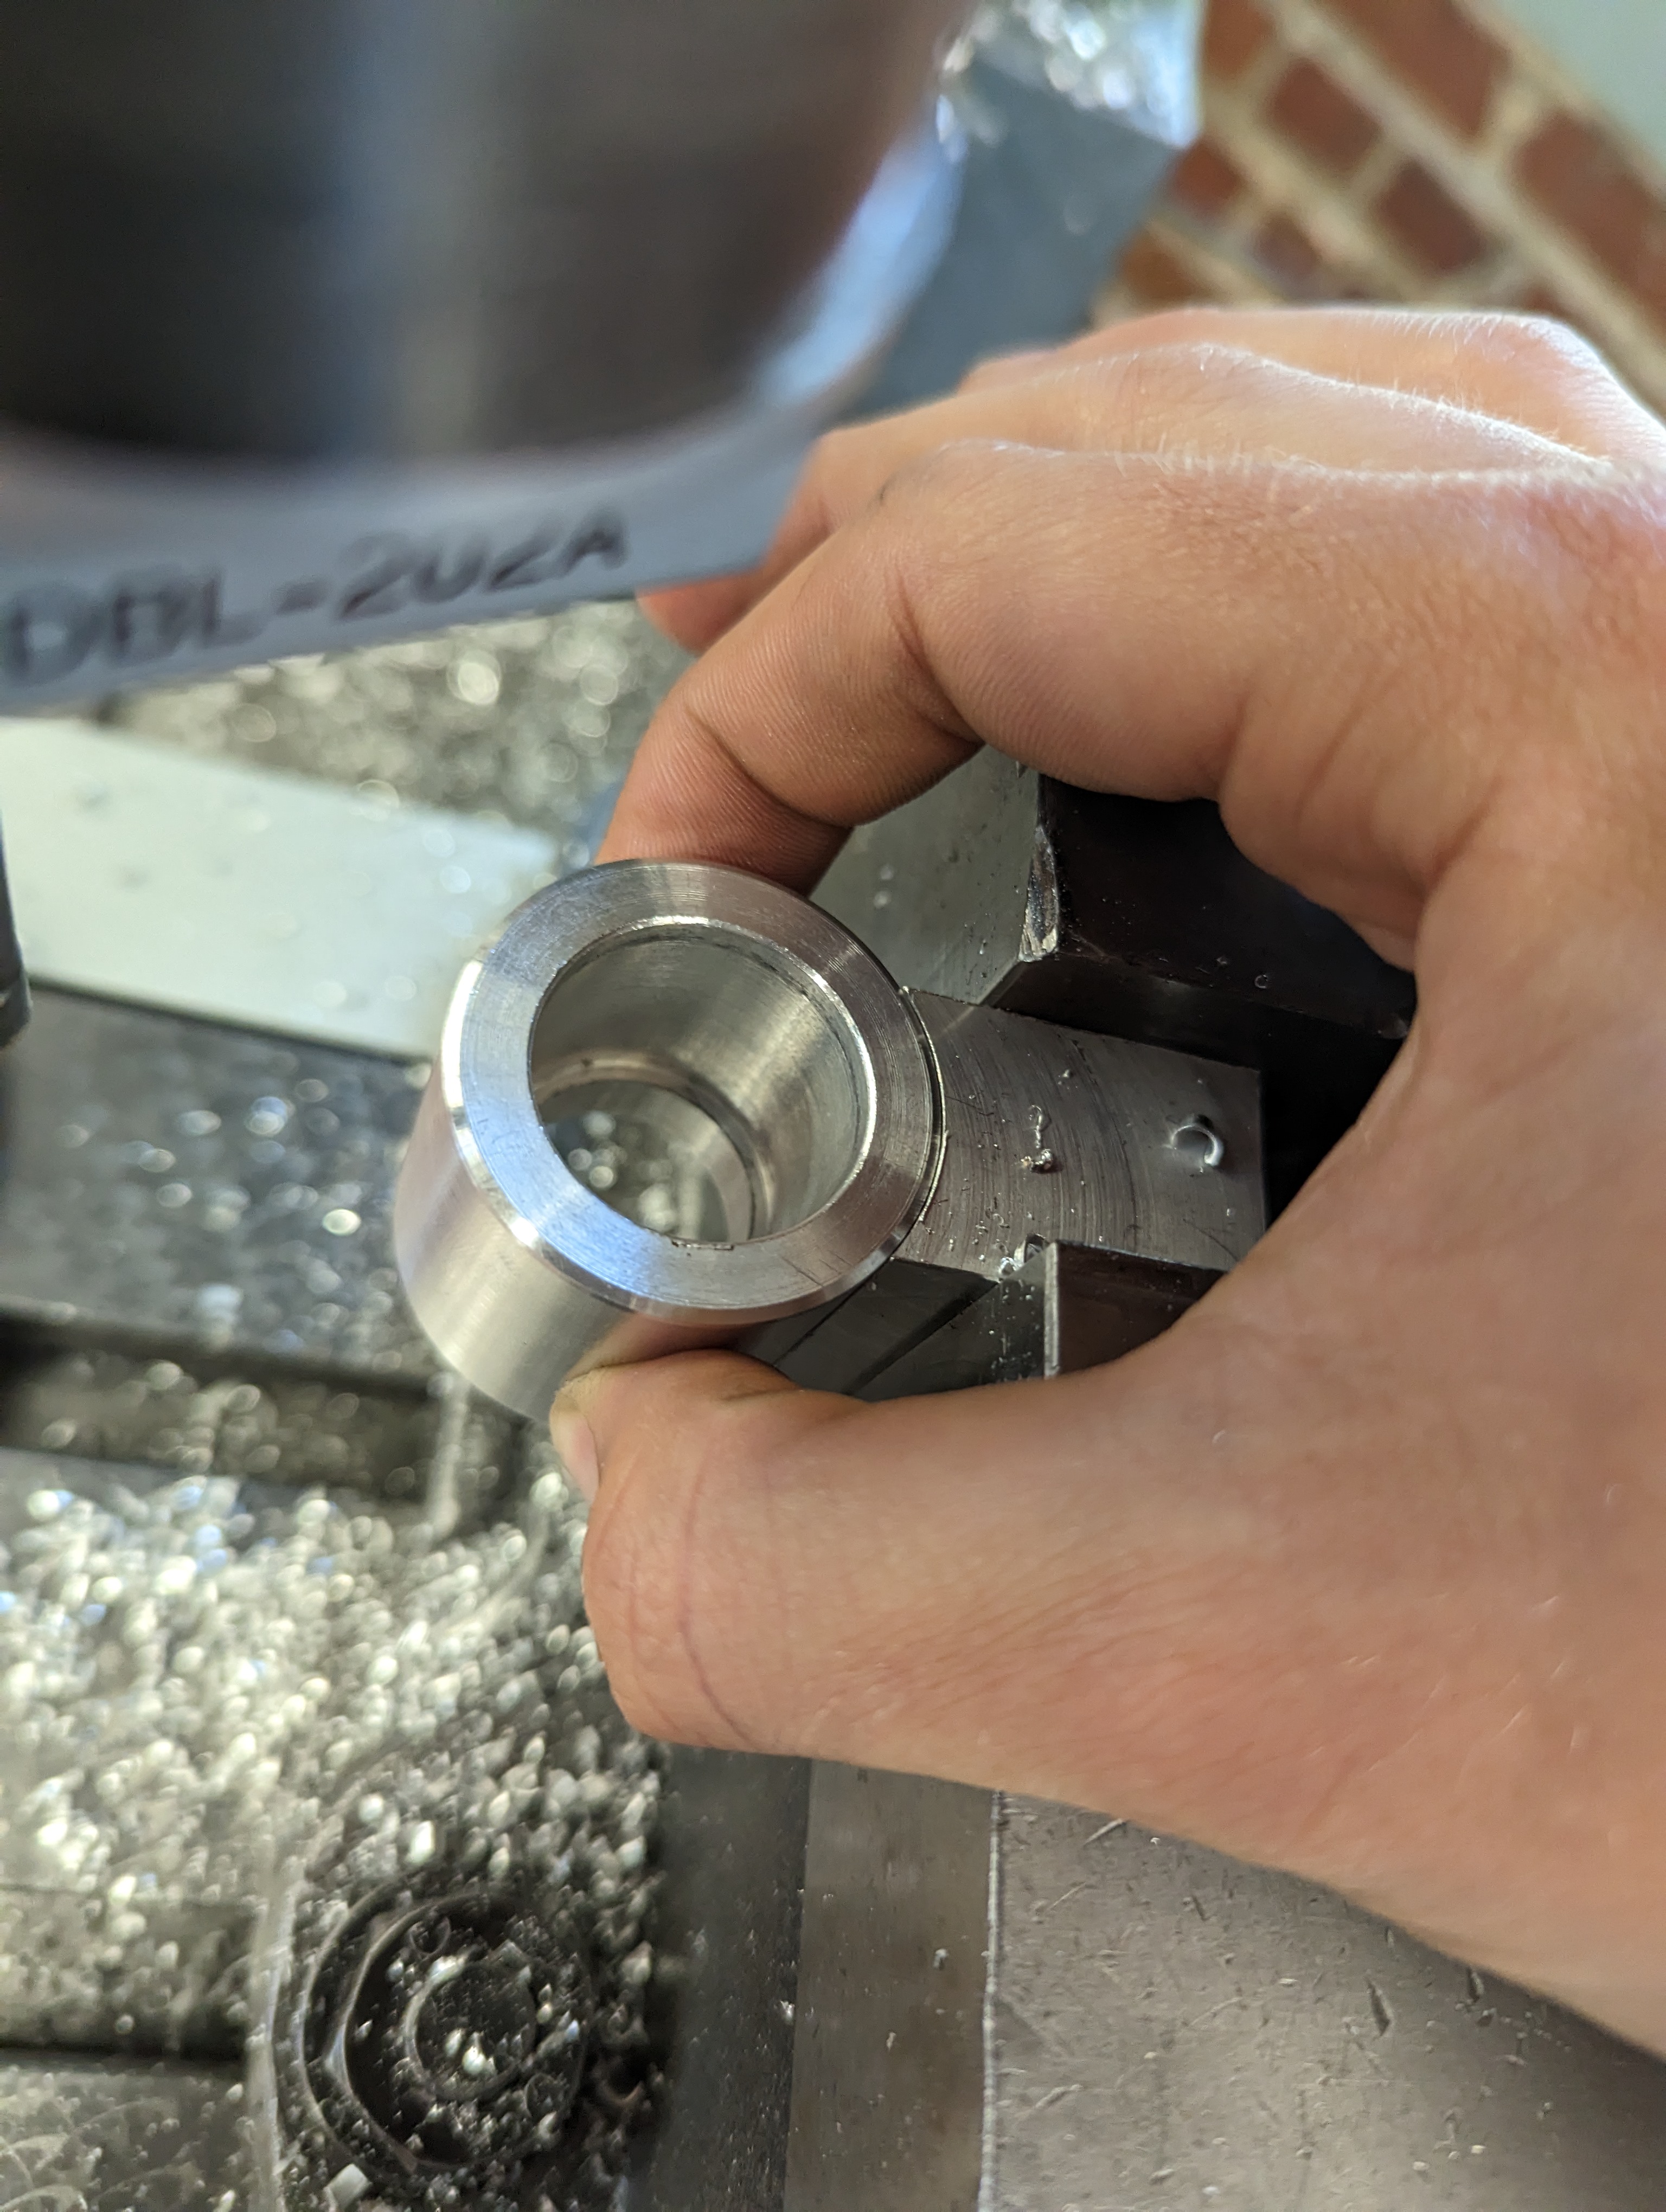
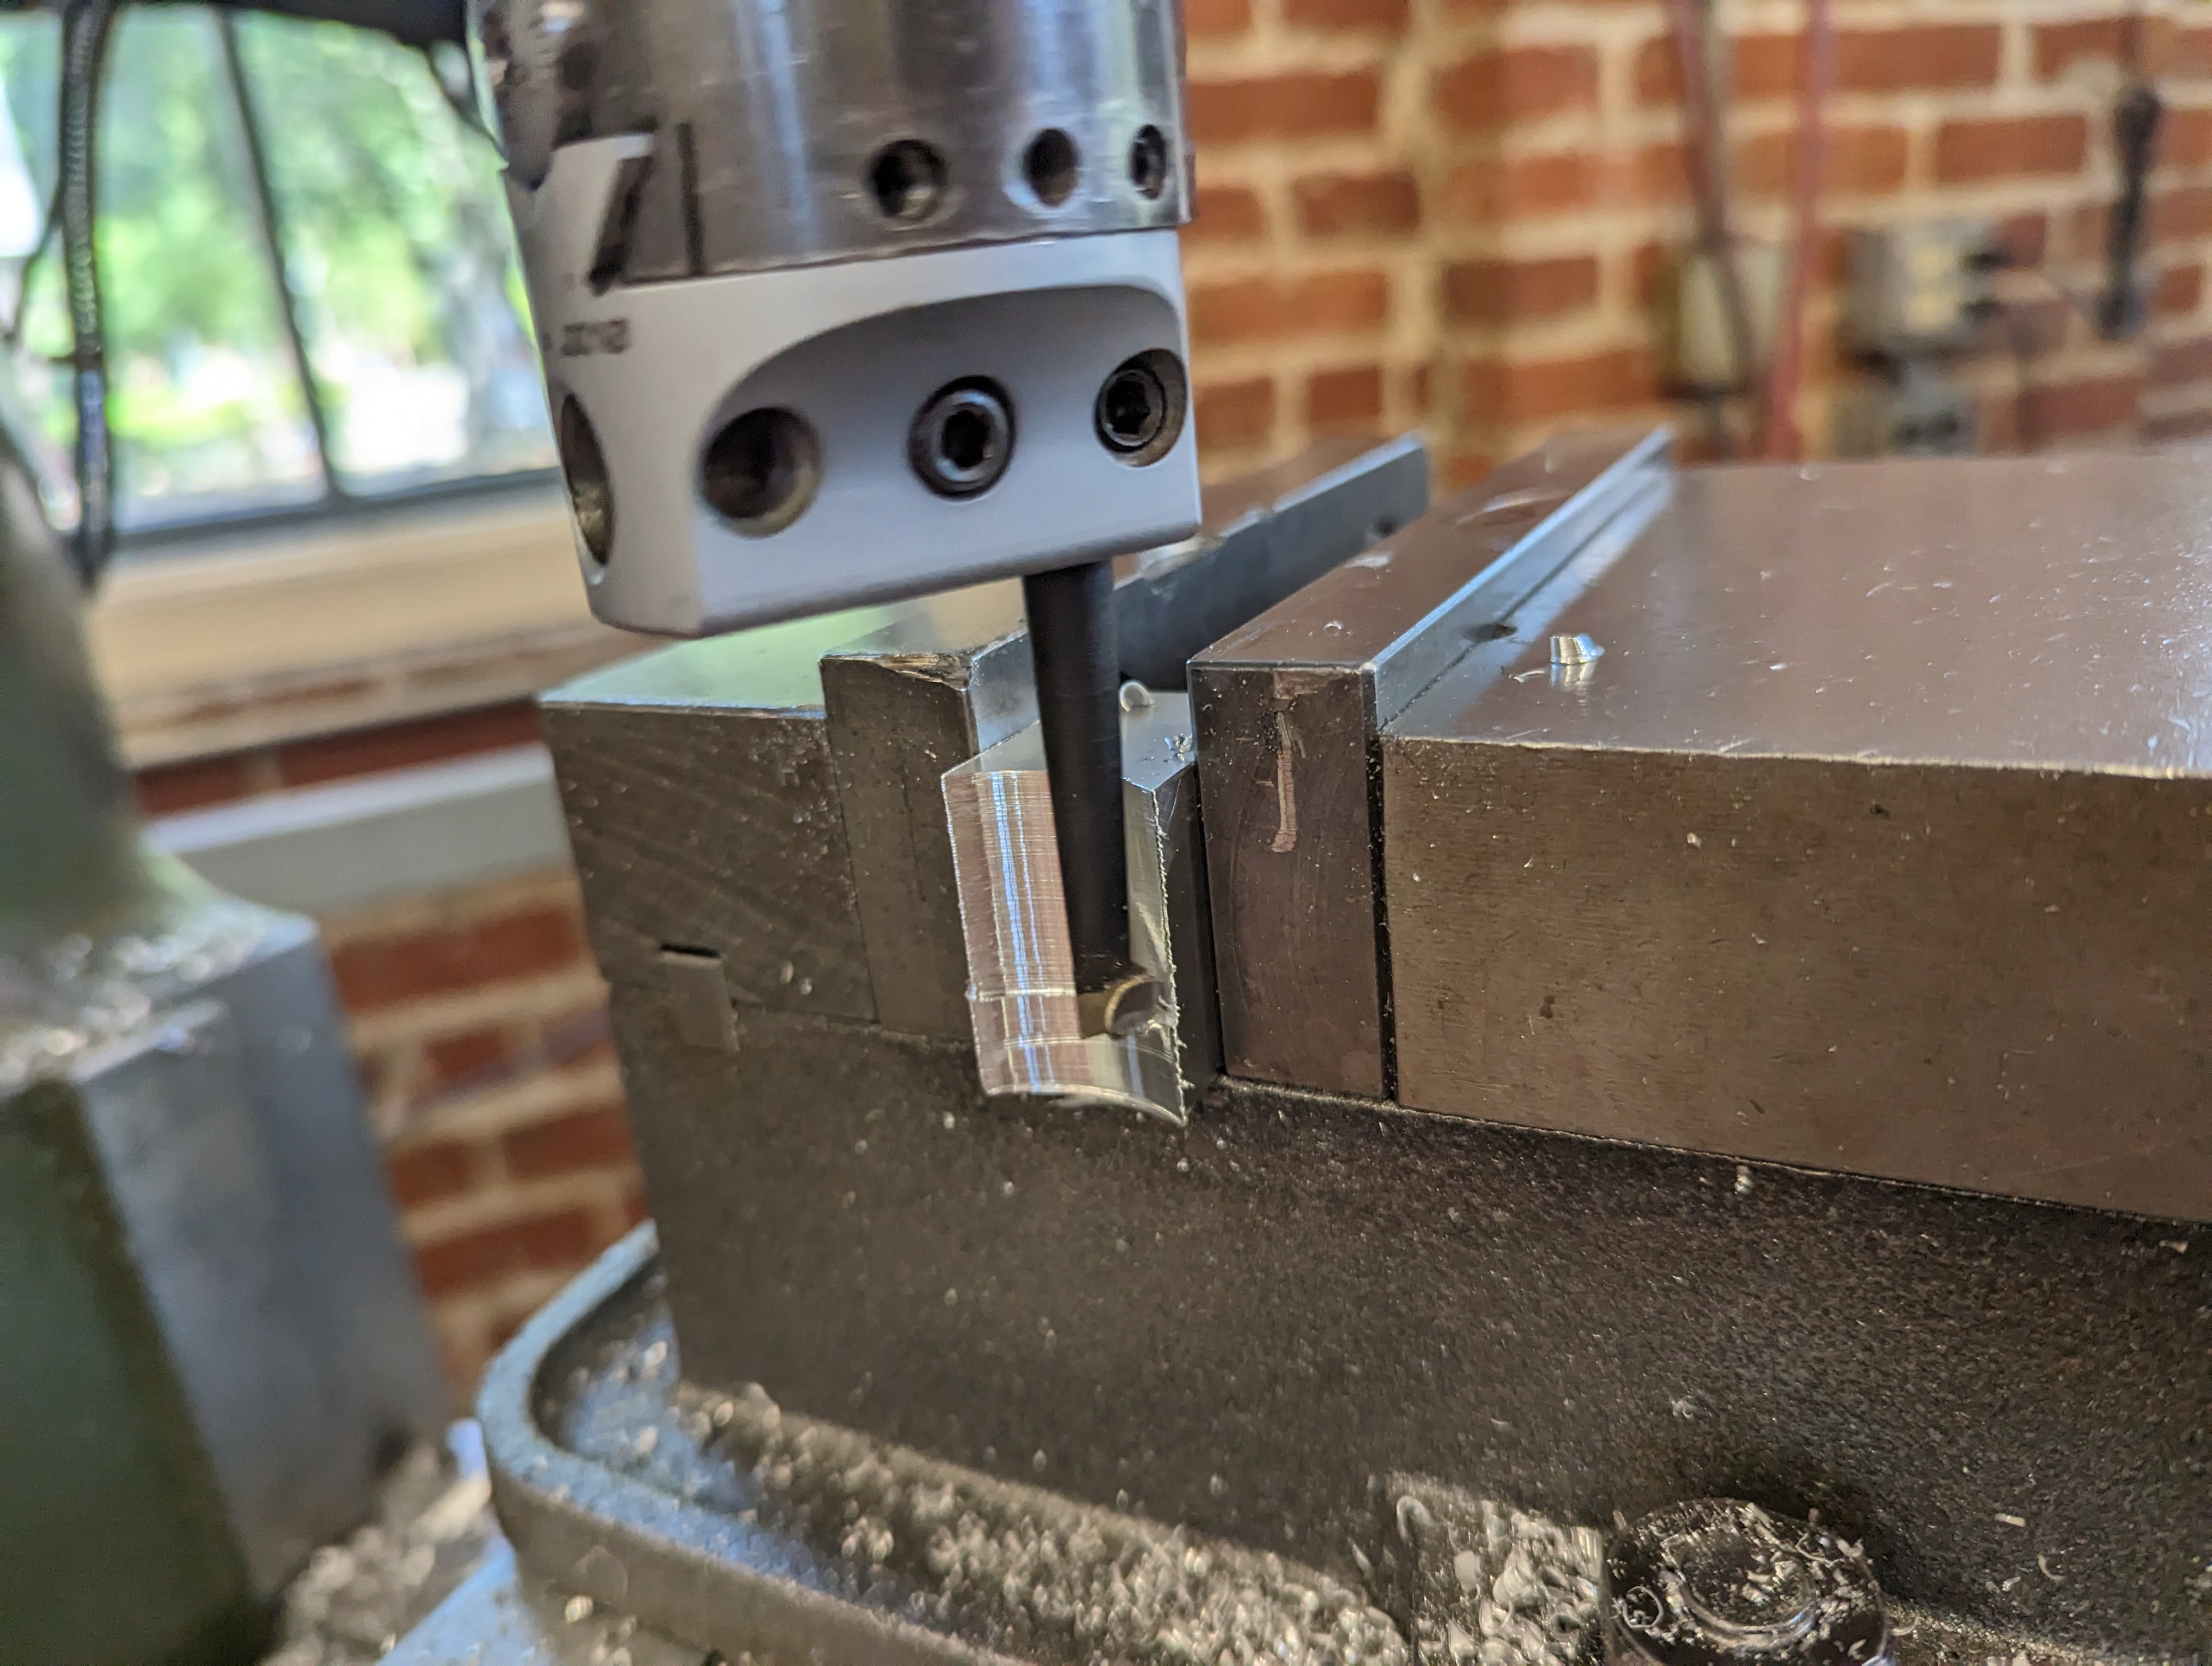
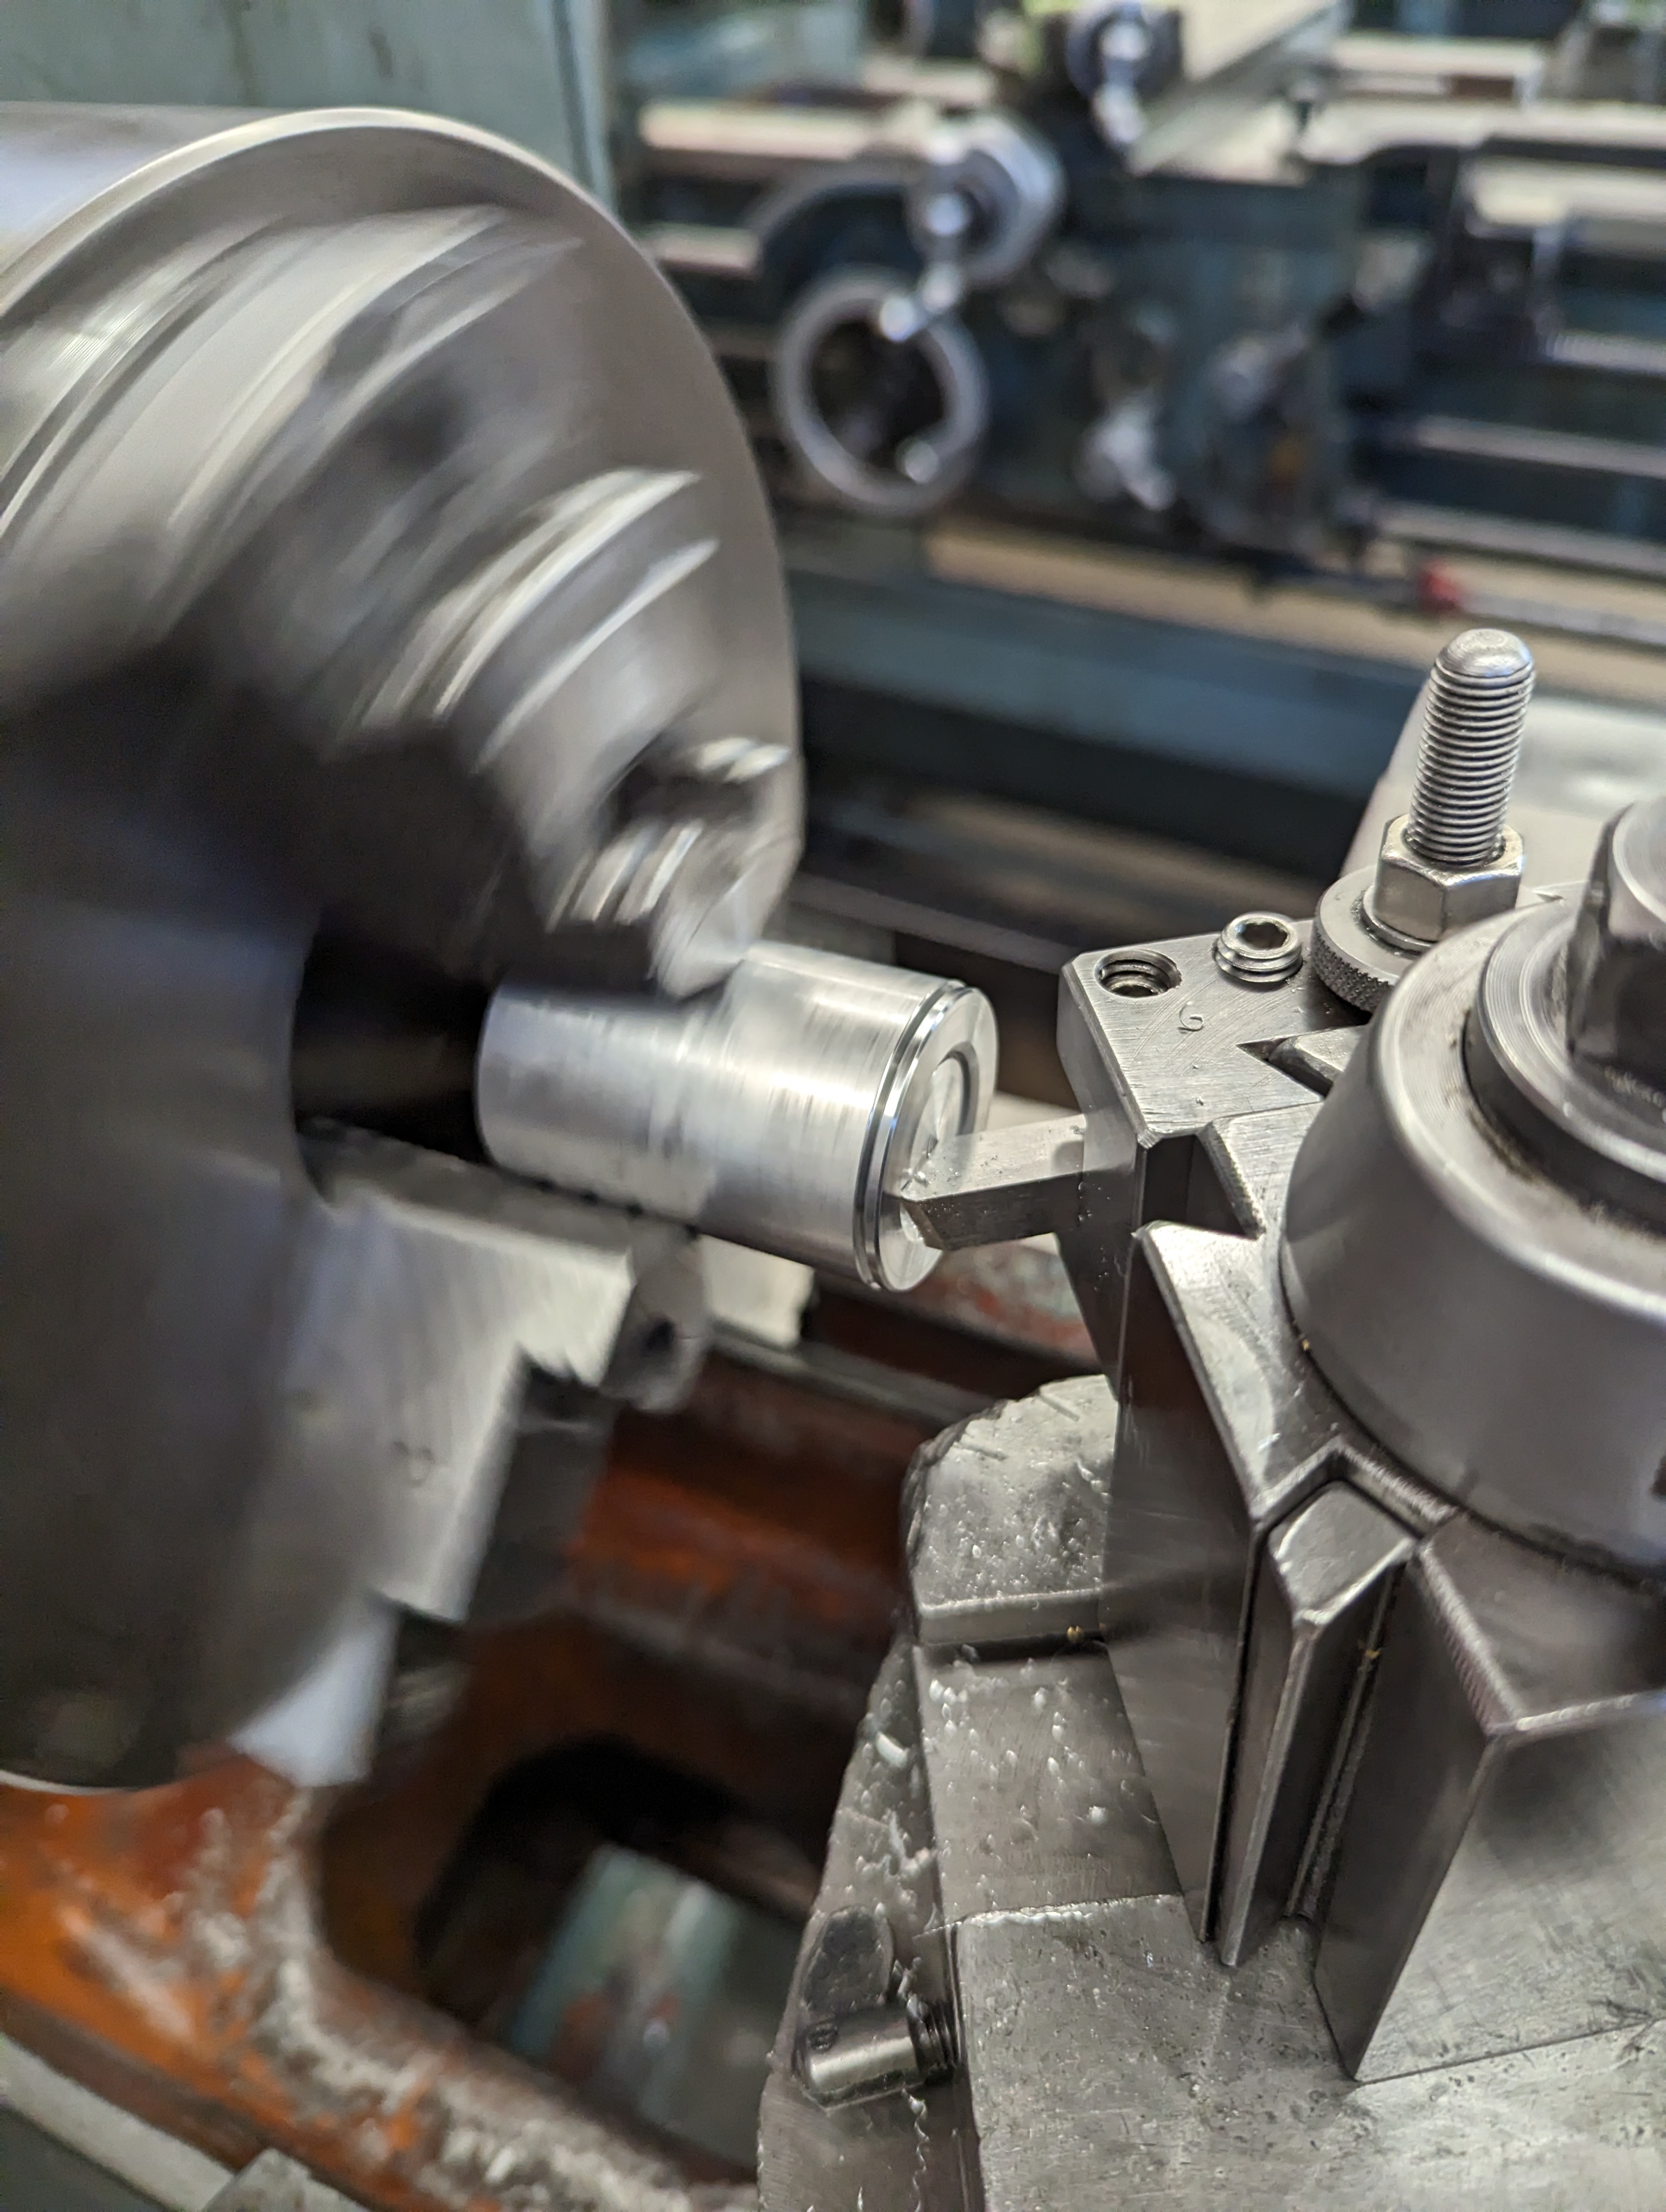
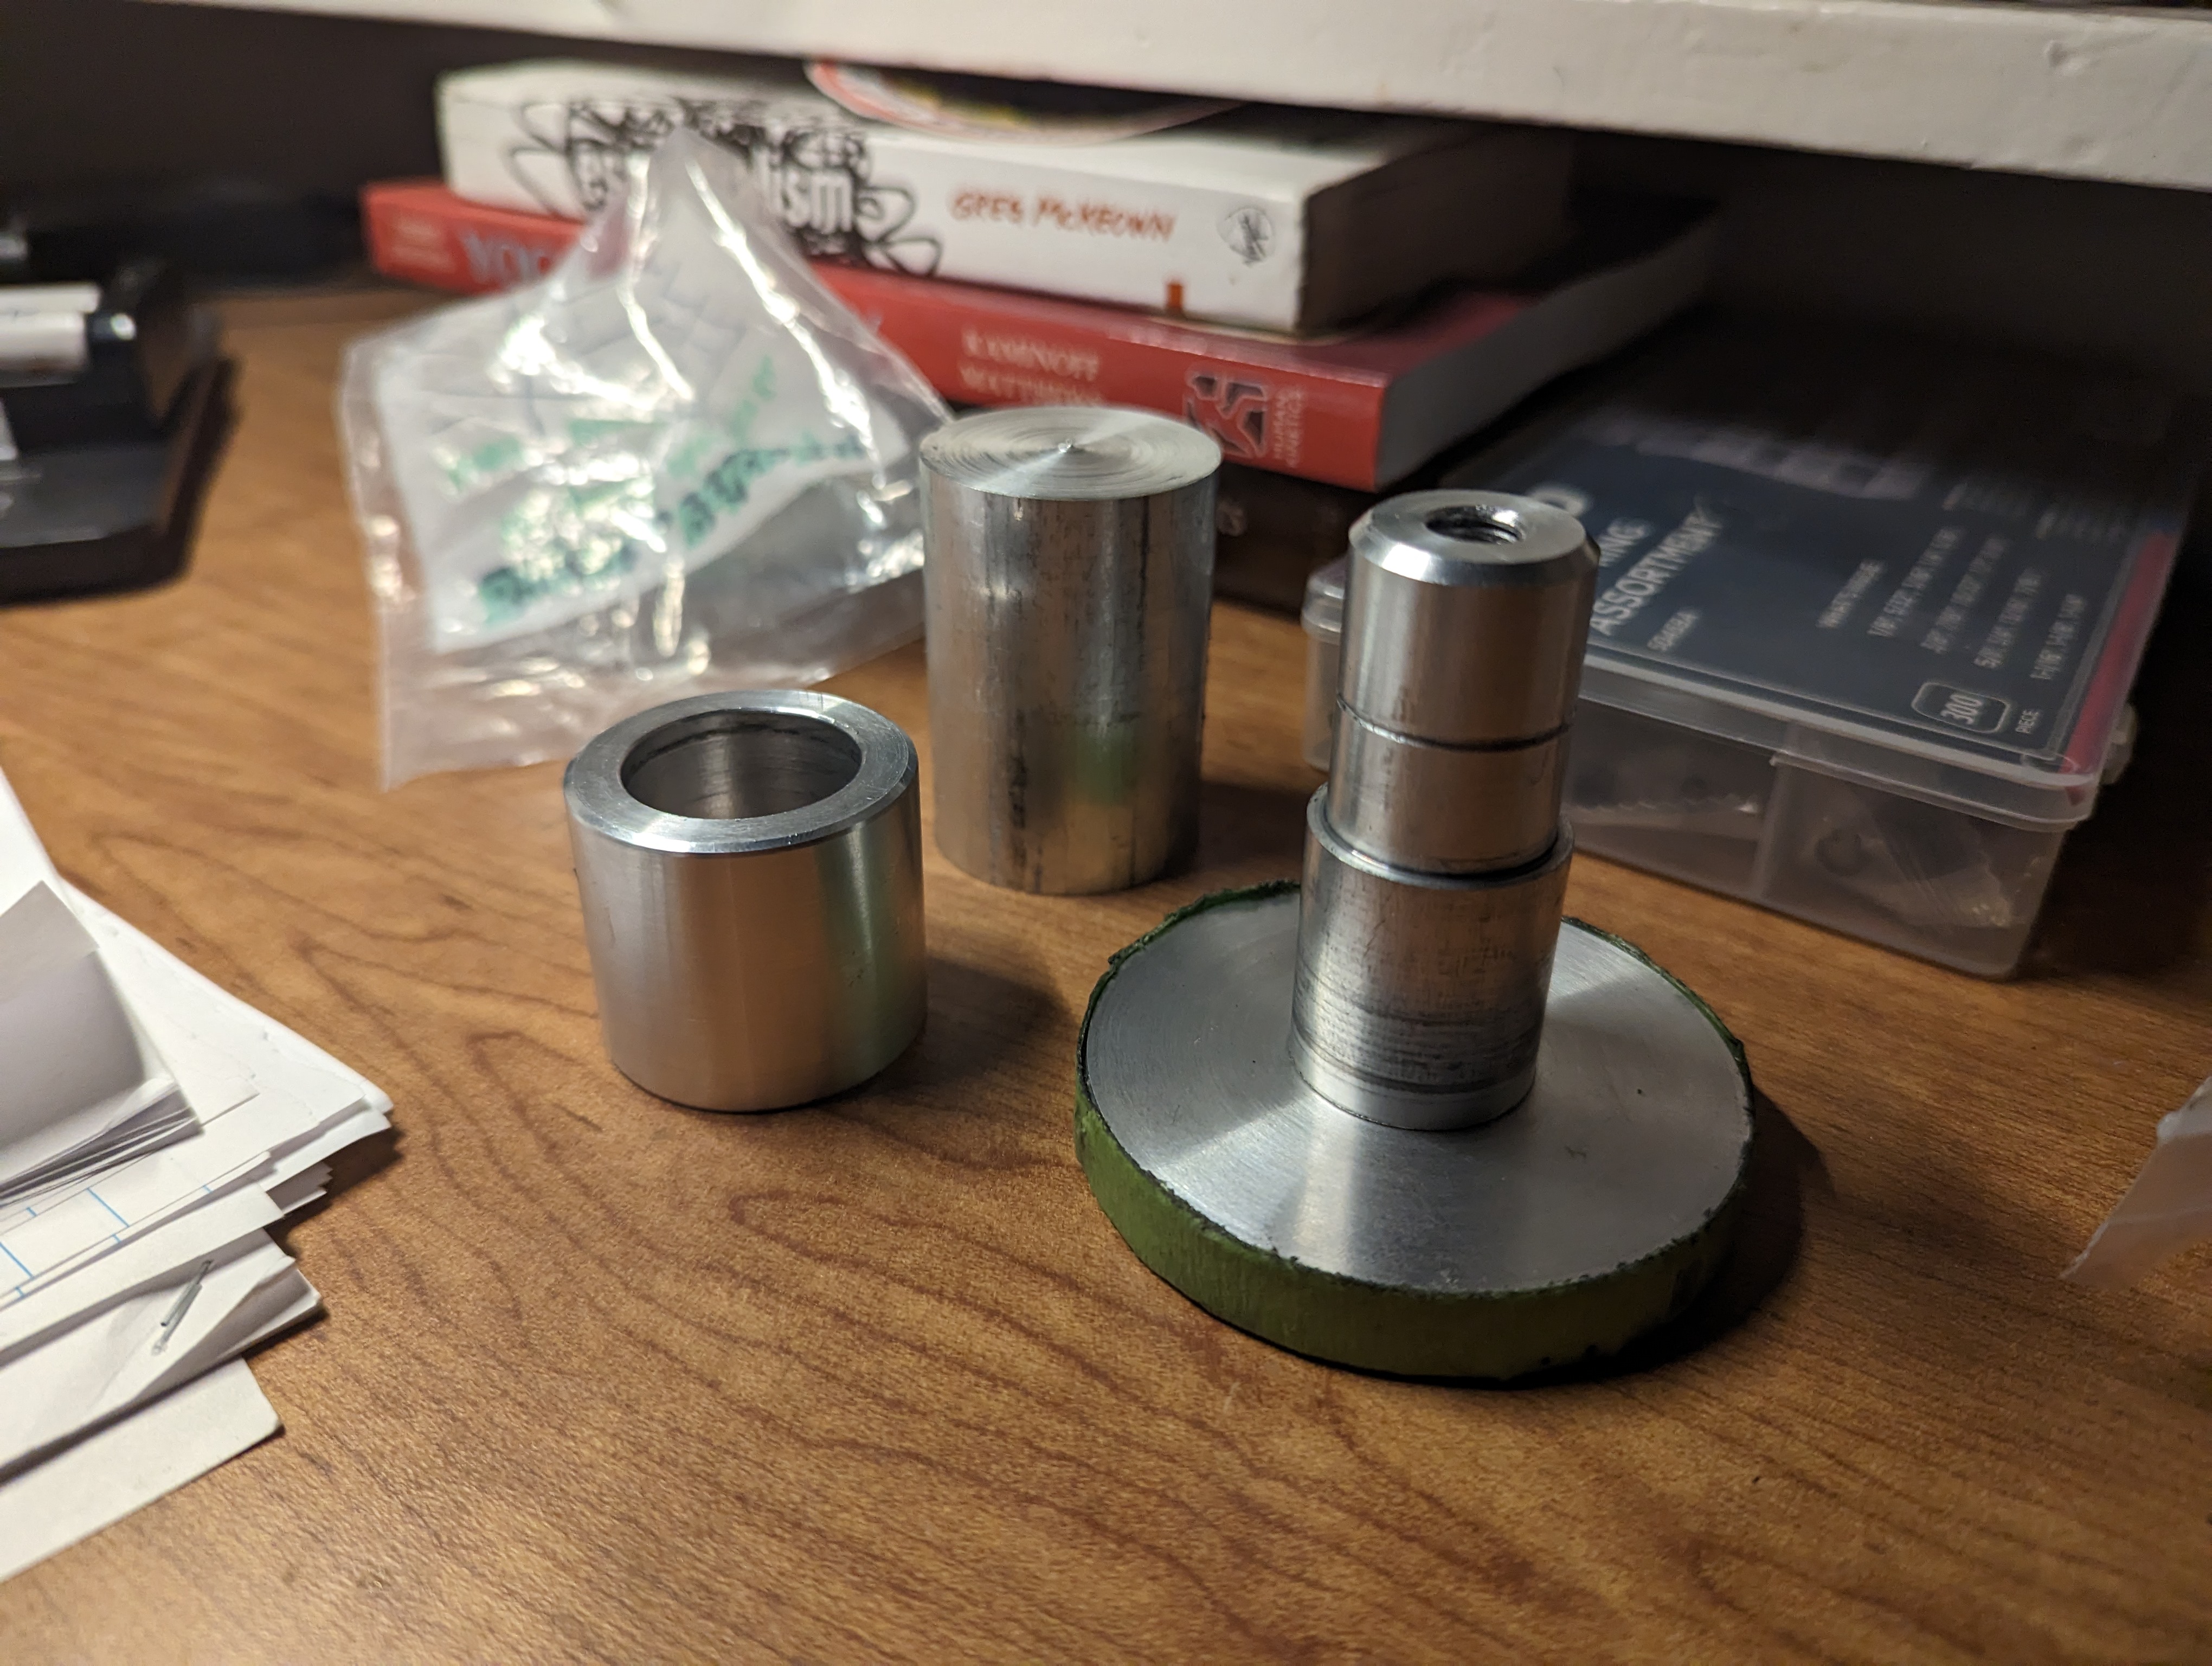
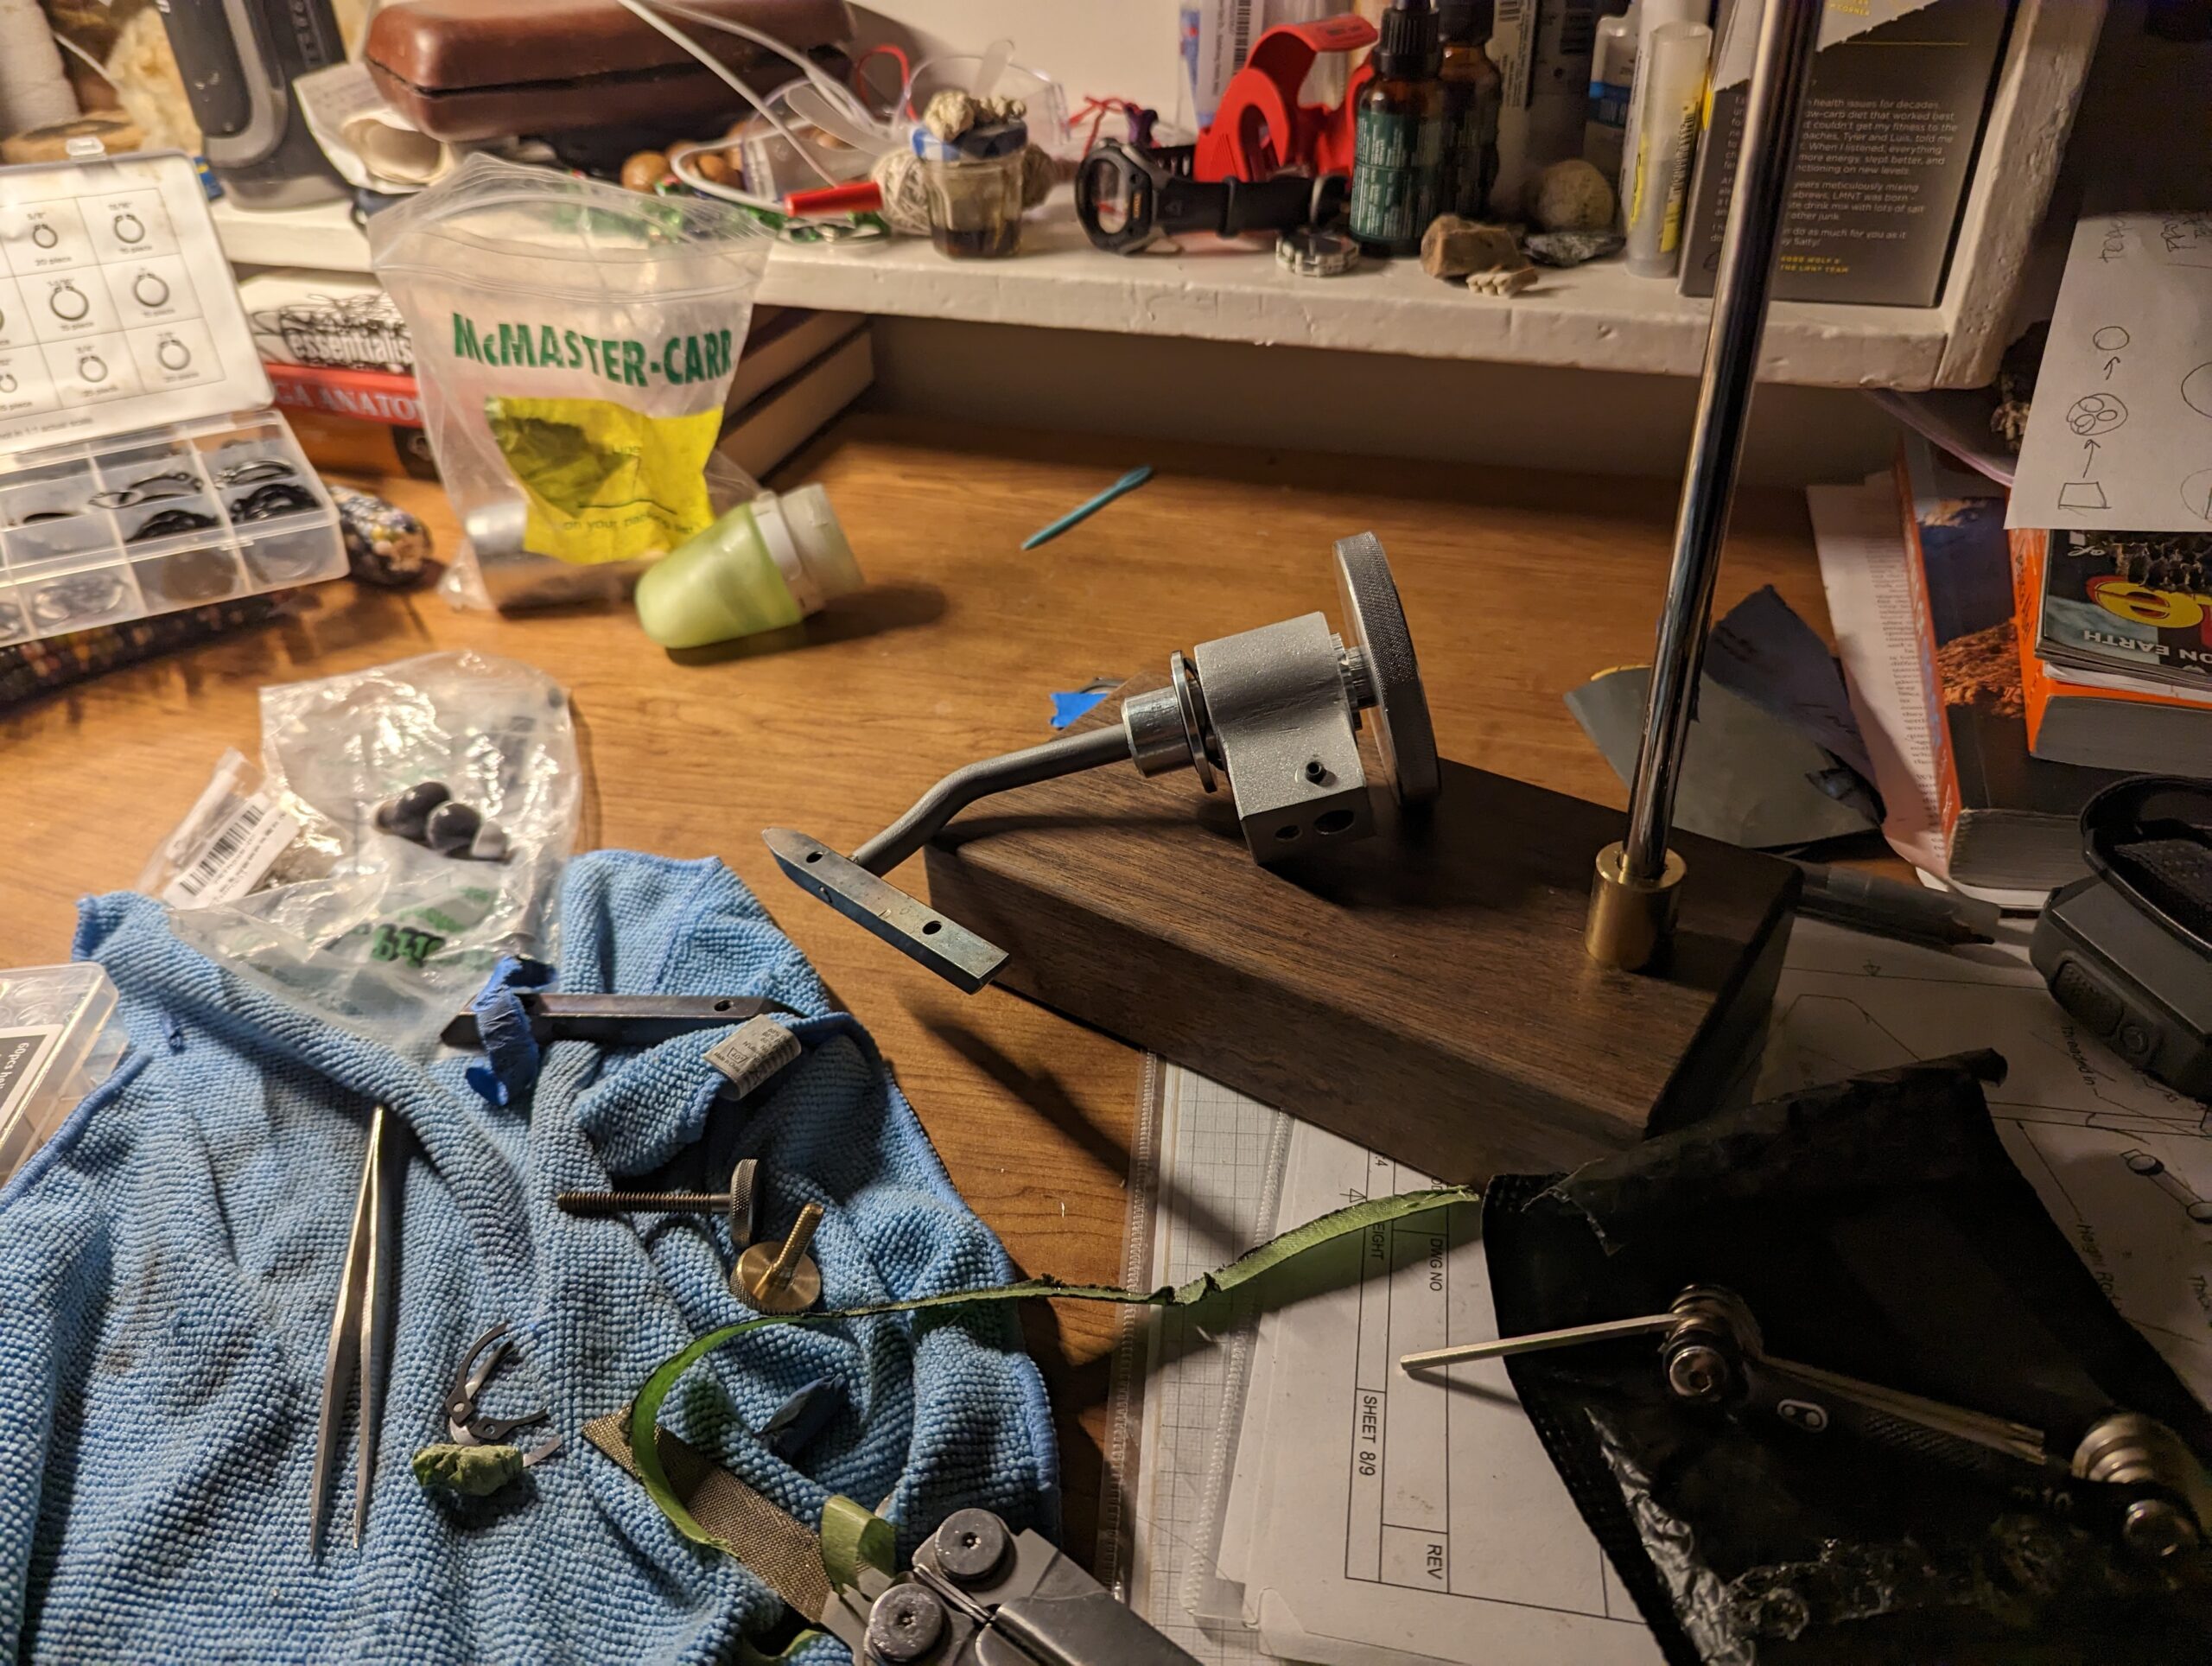
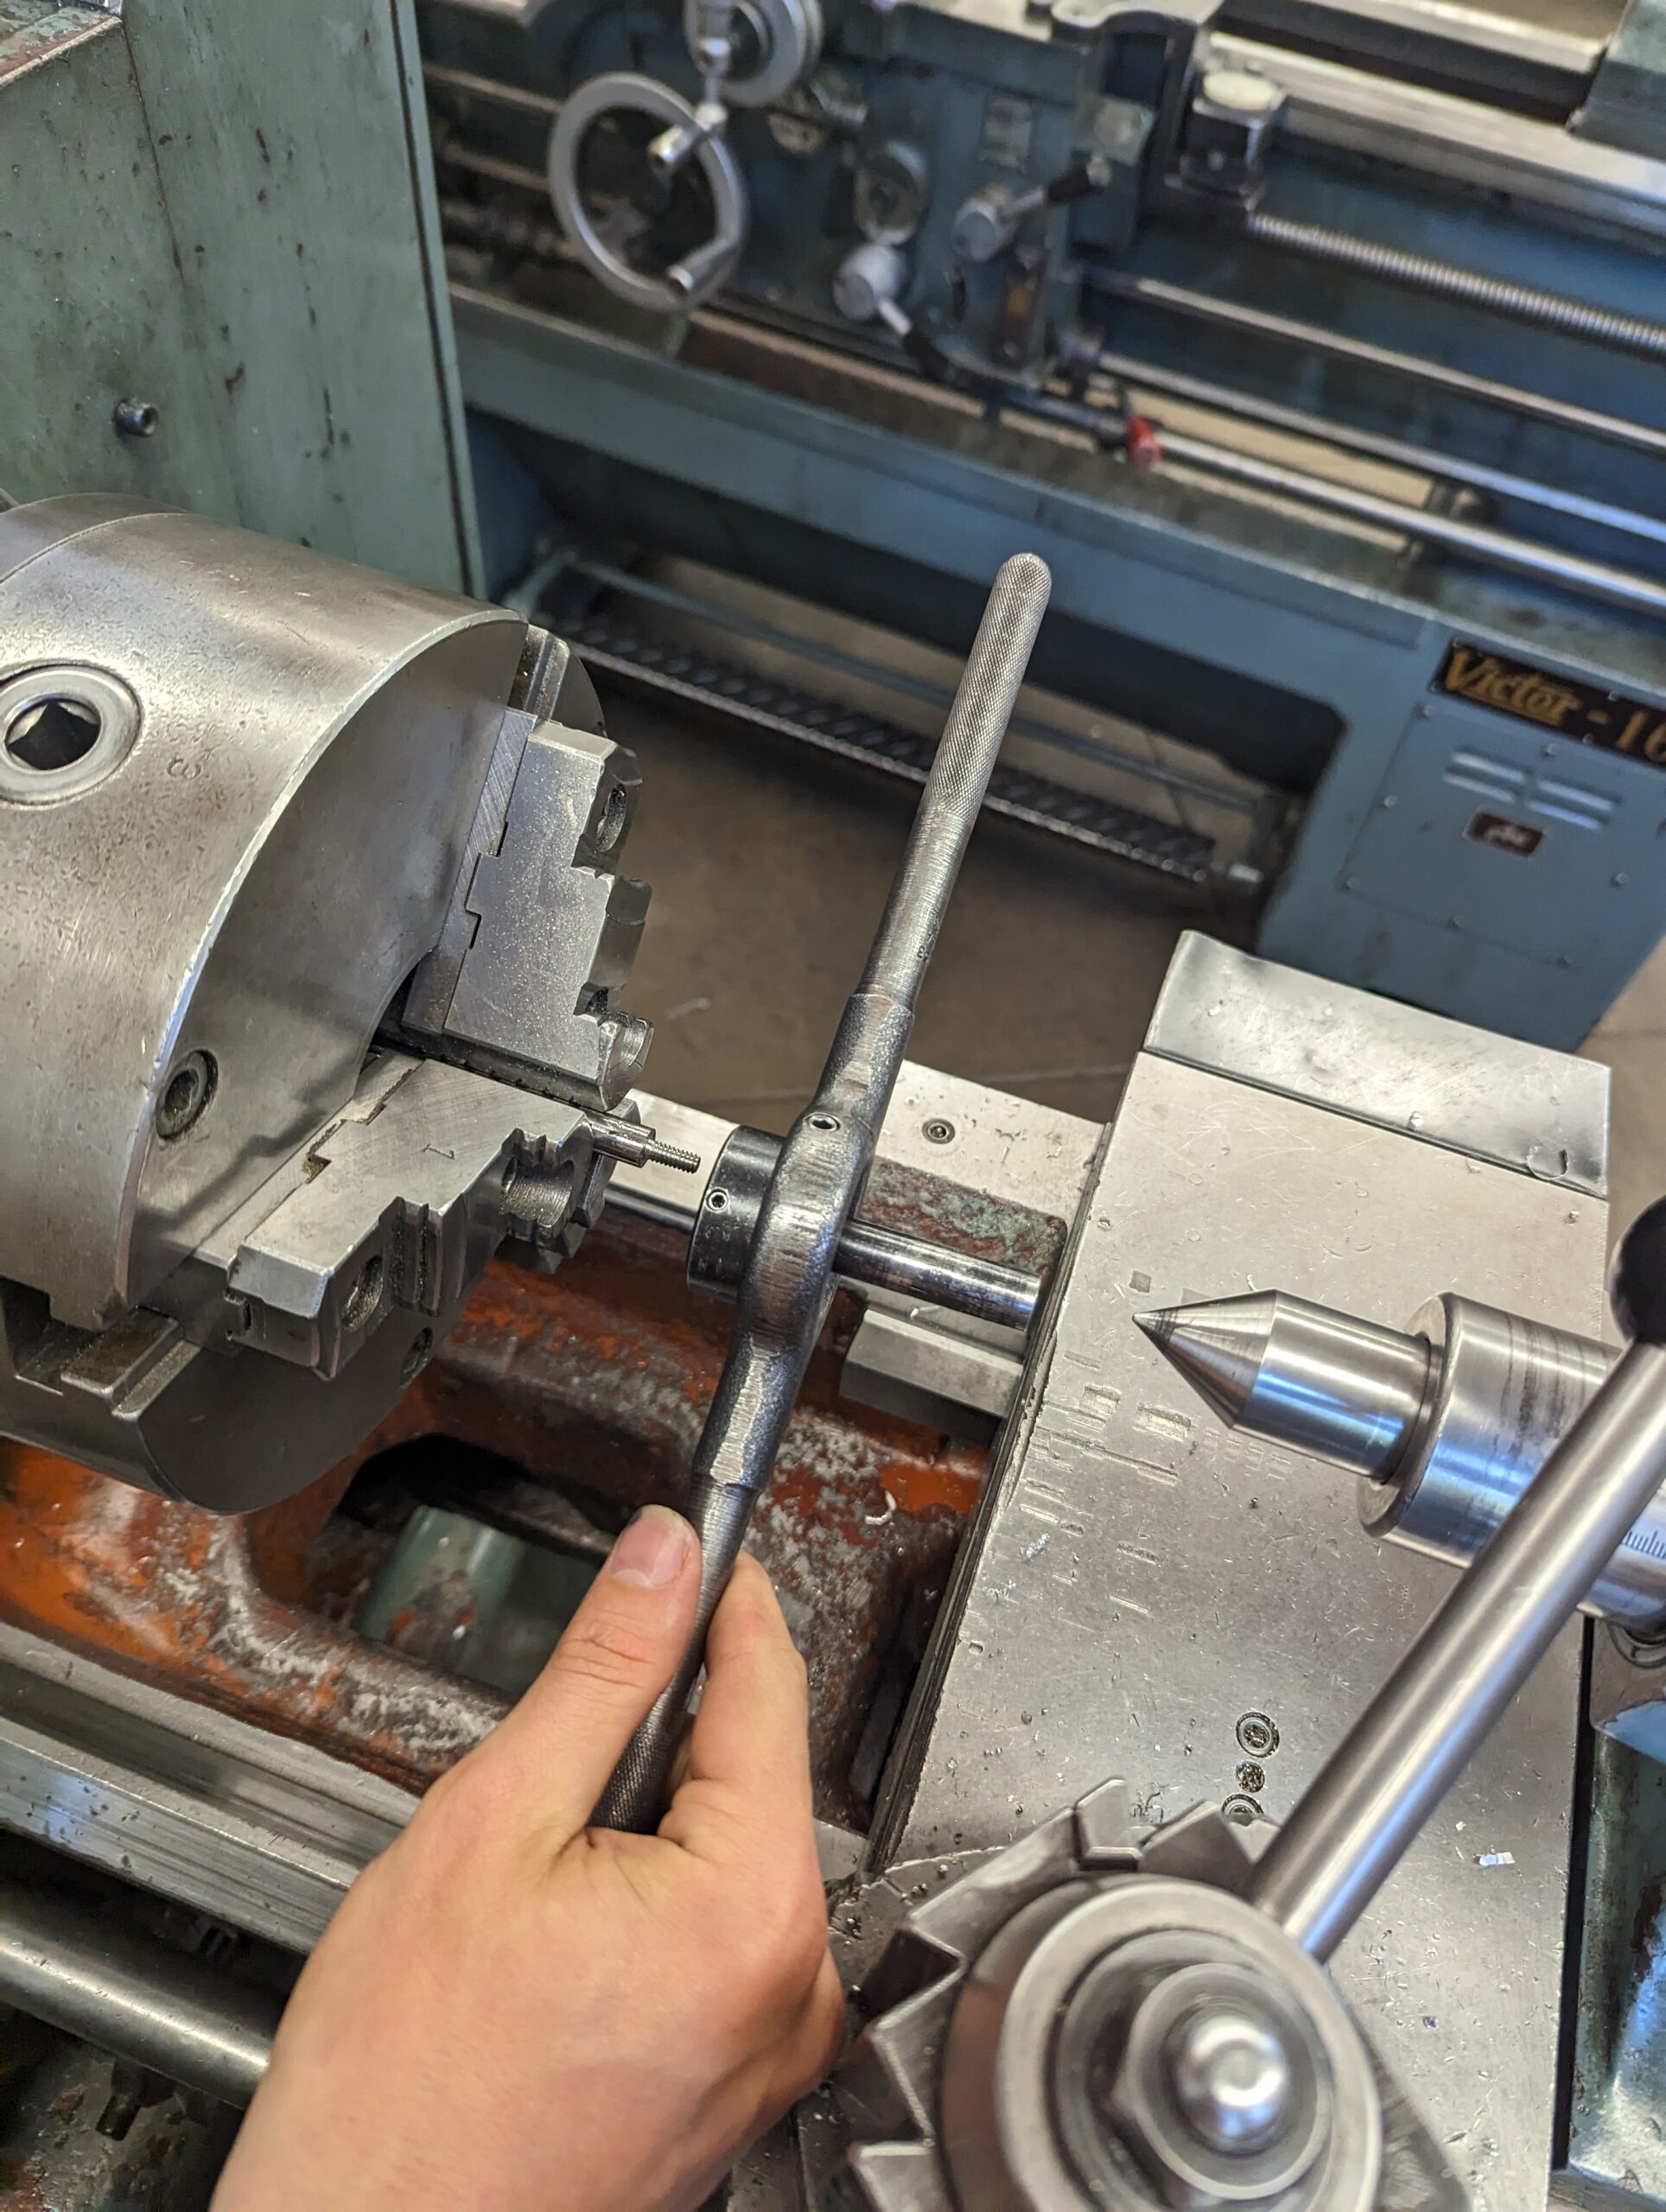
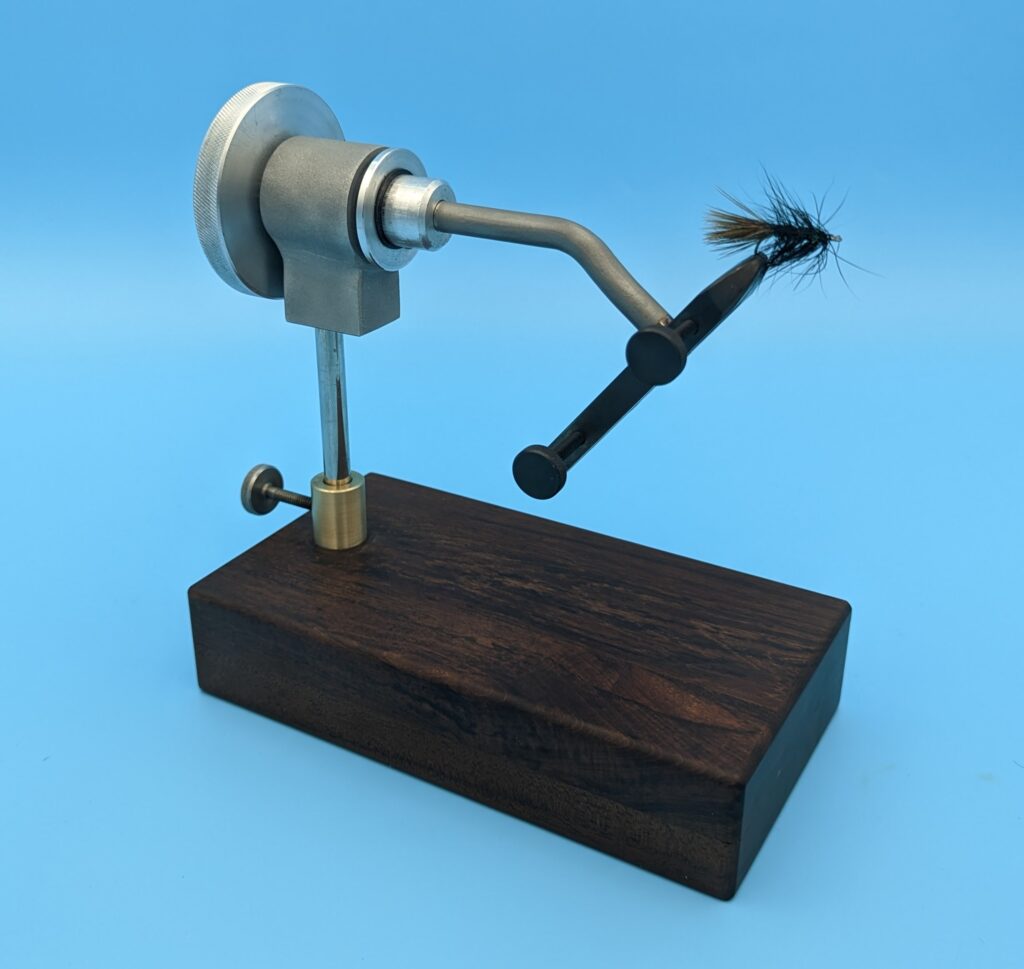
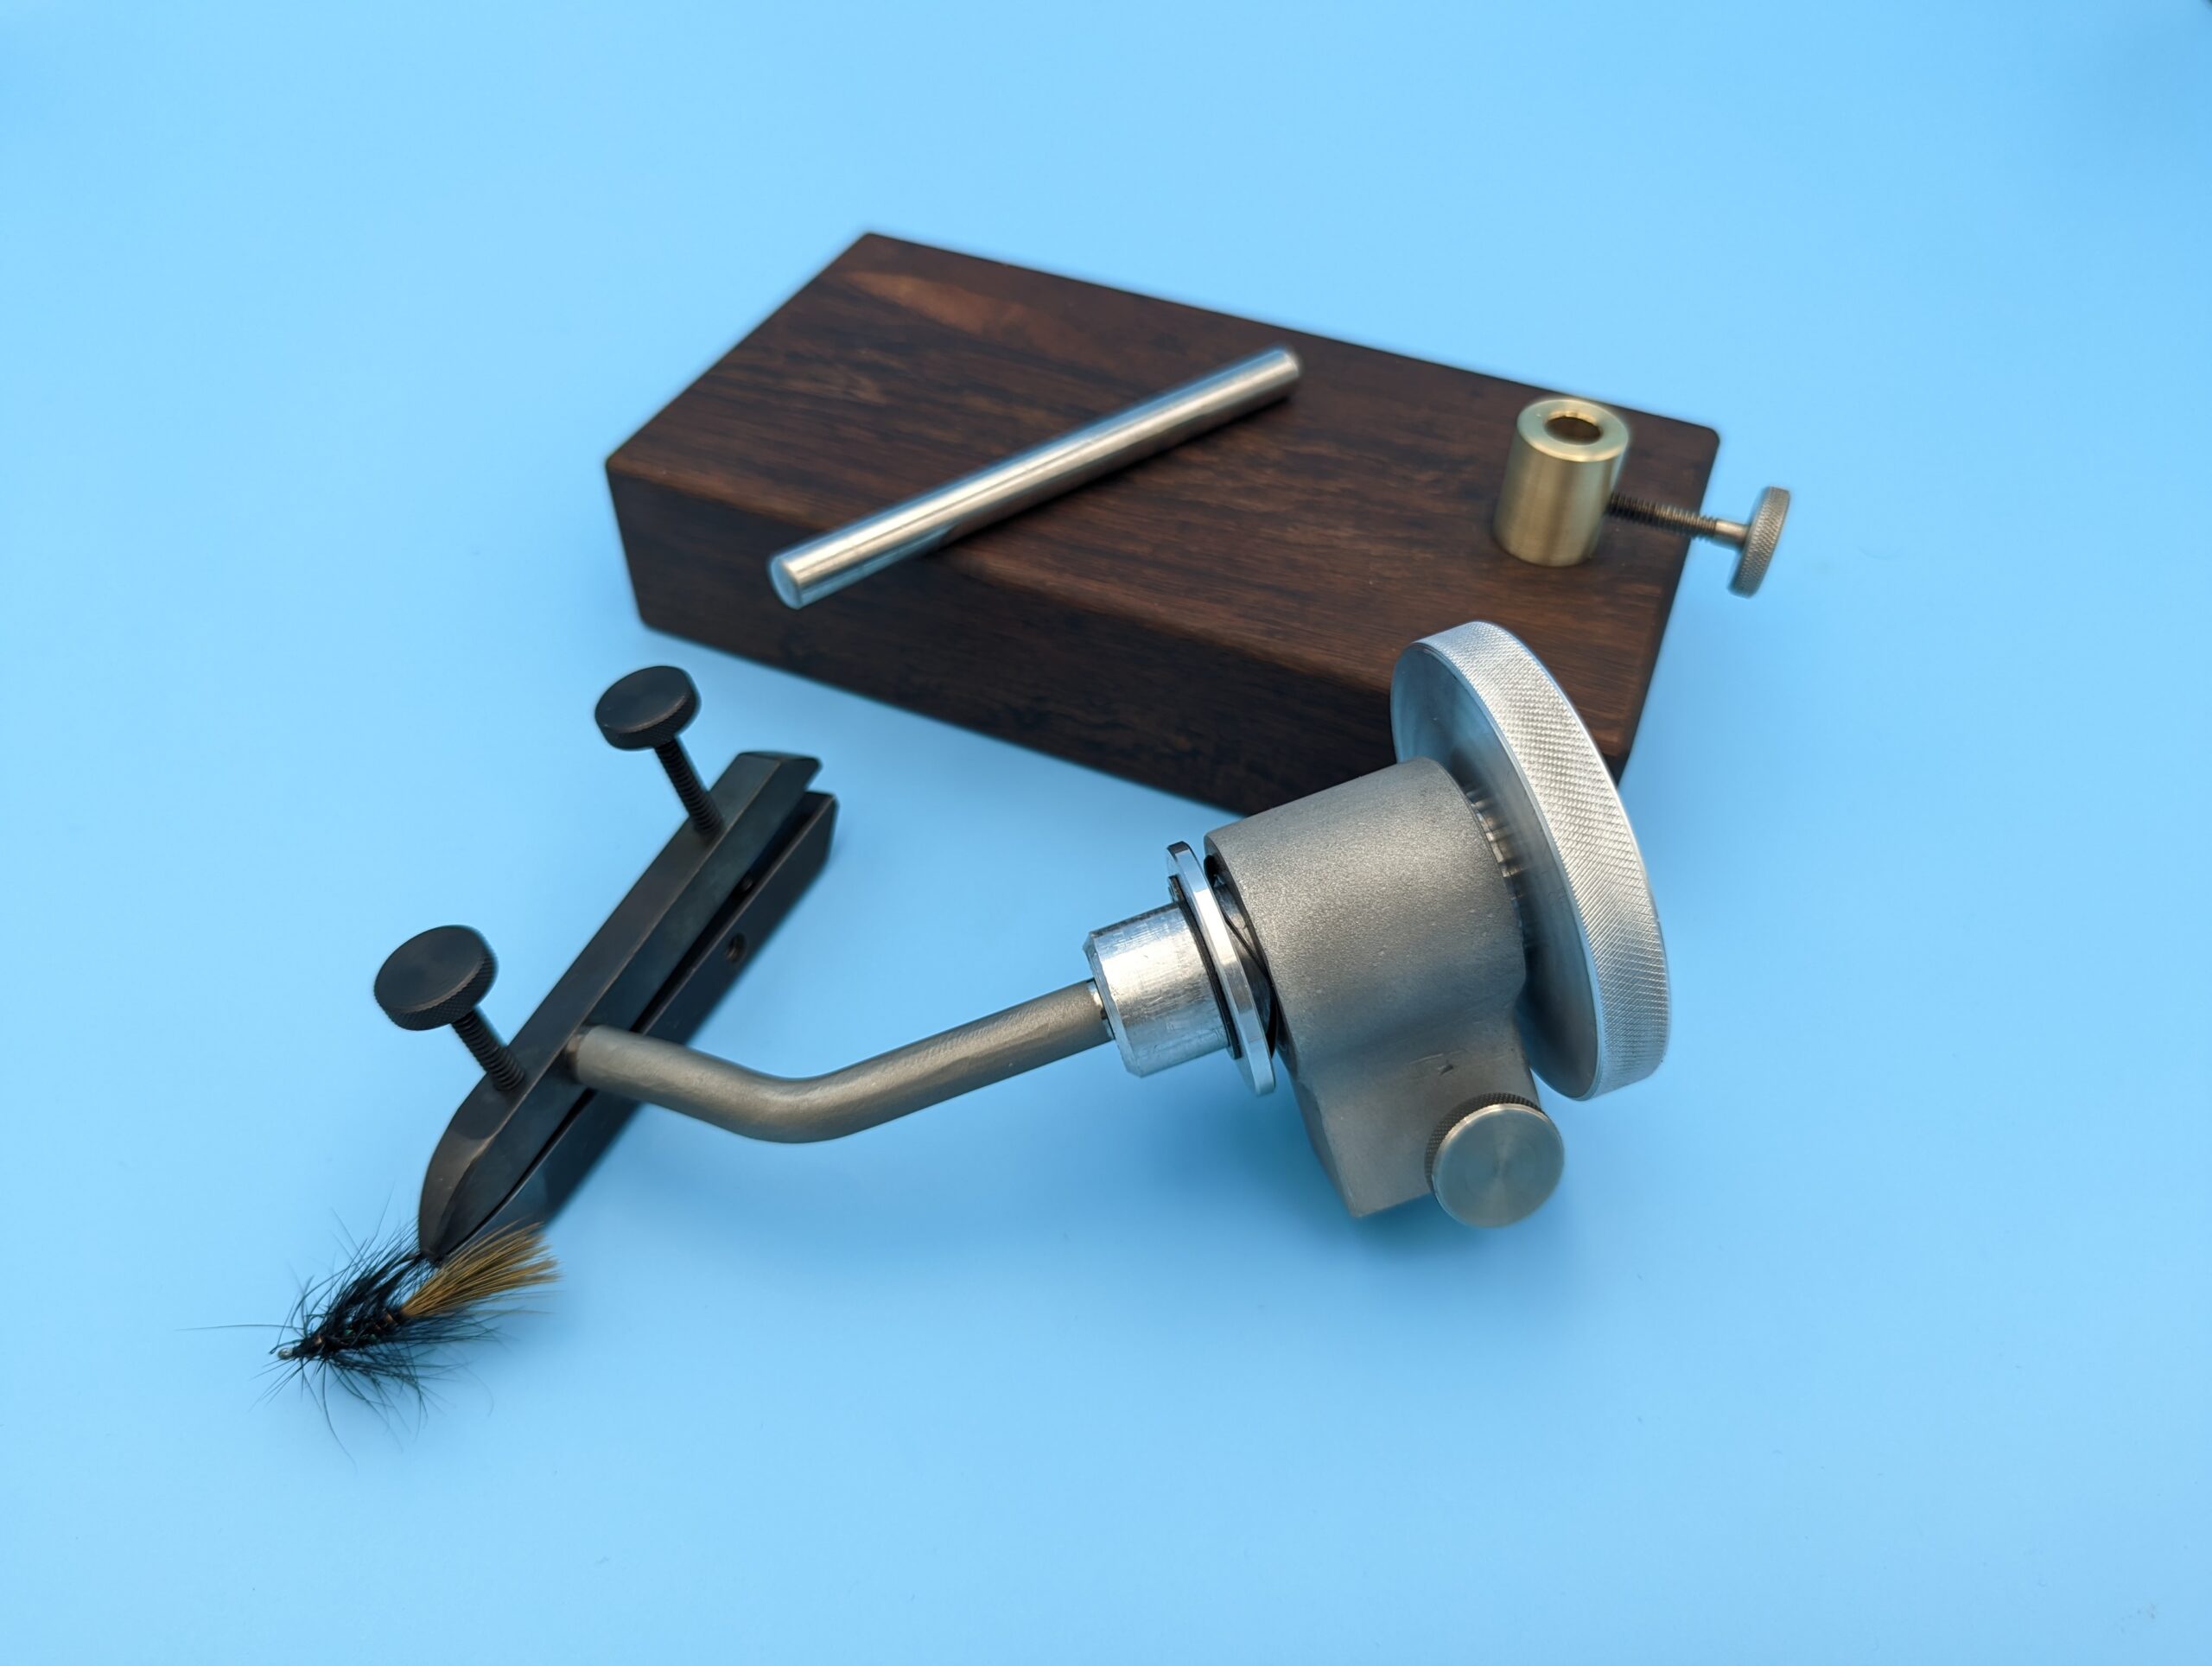
The final vice came out very well!

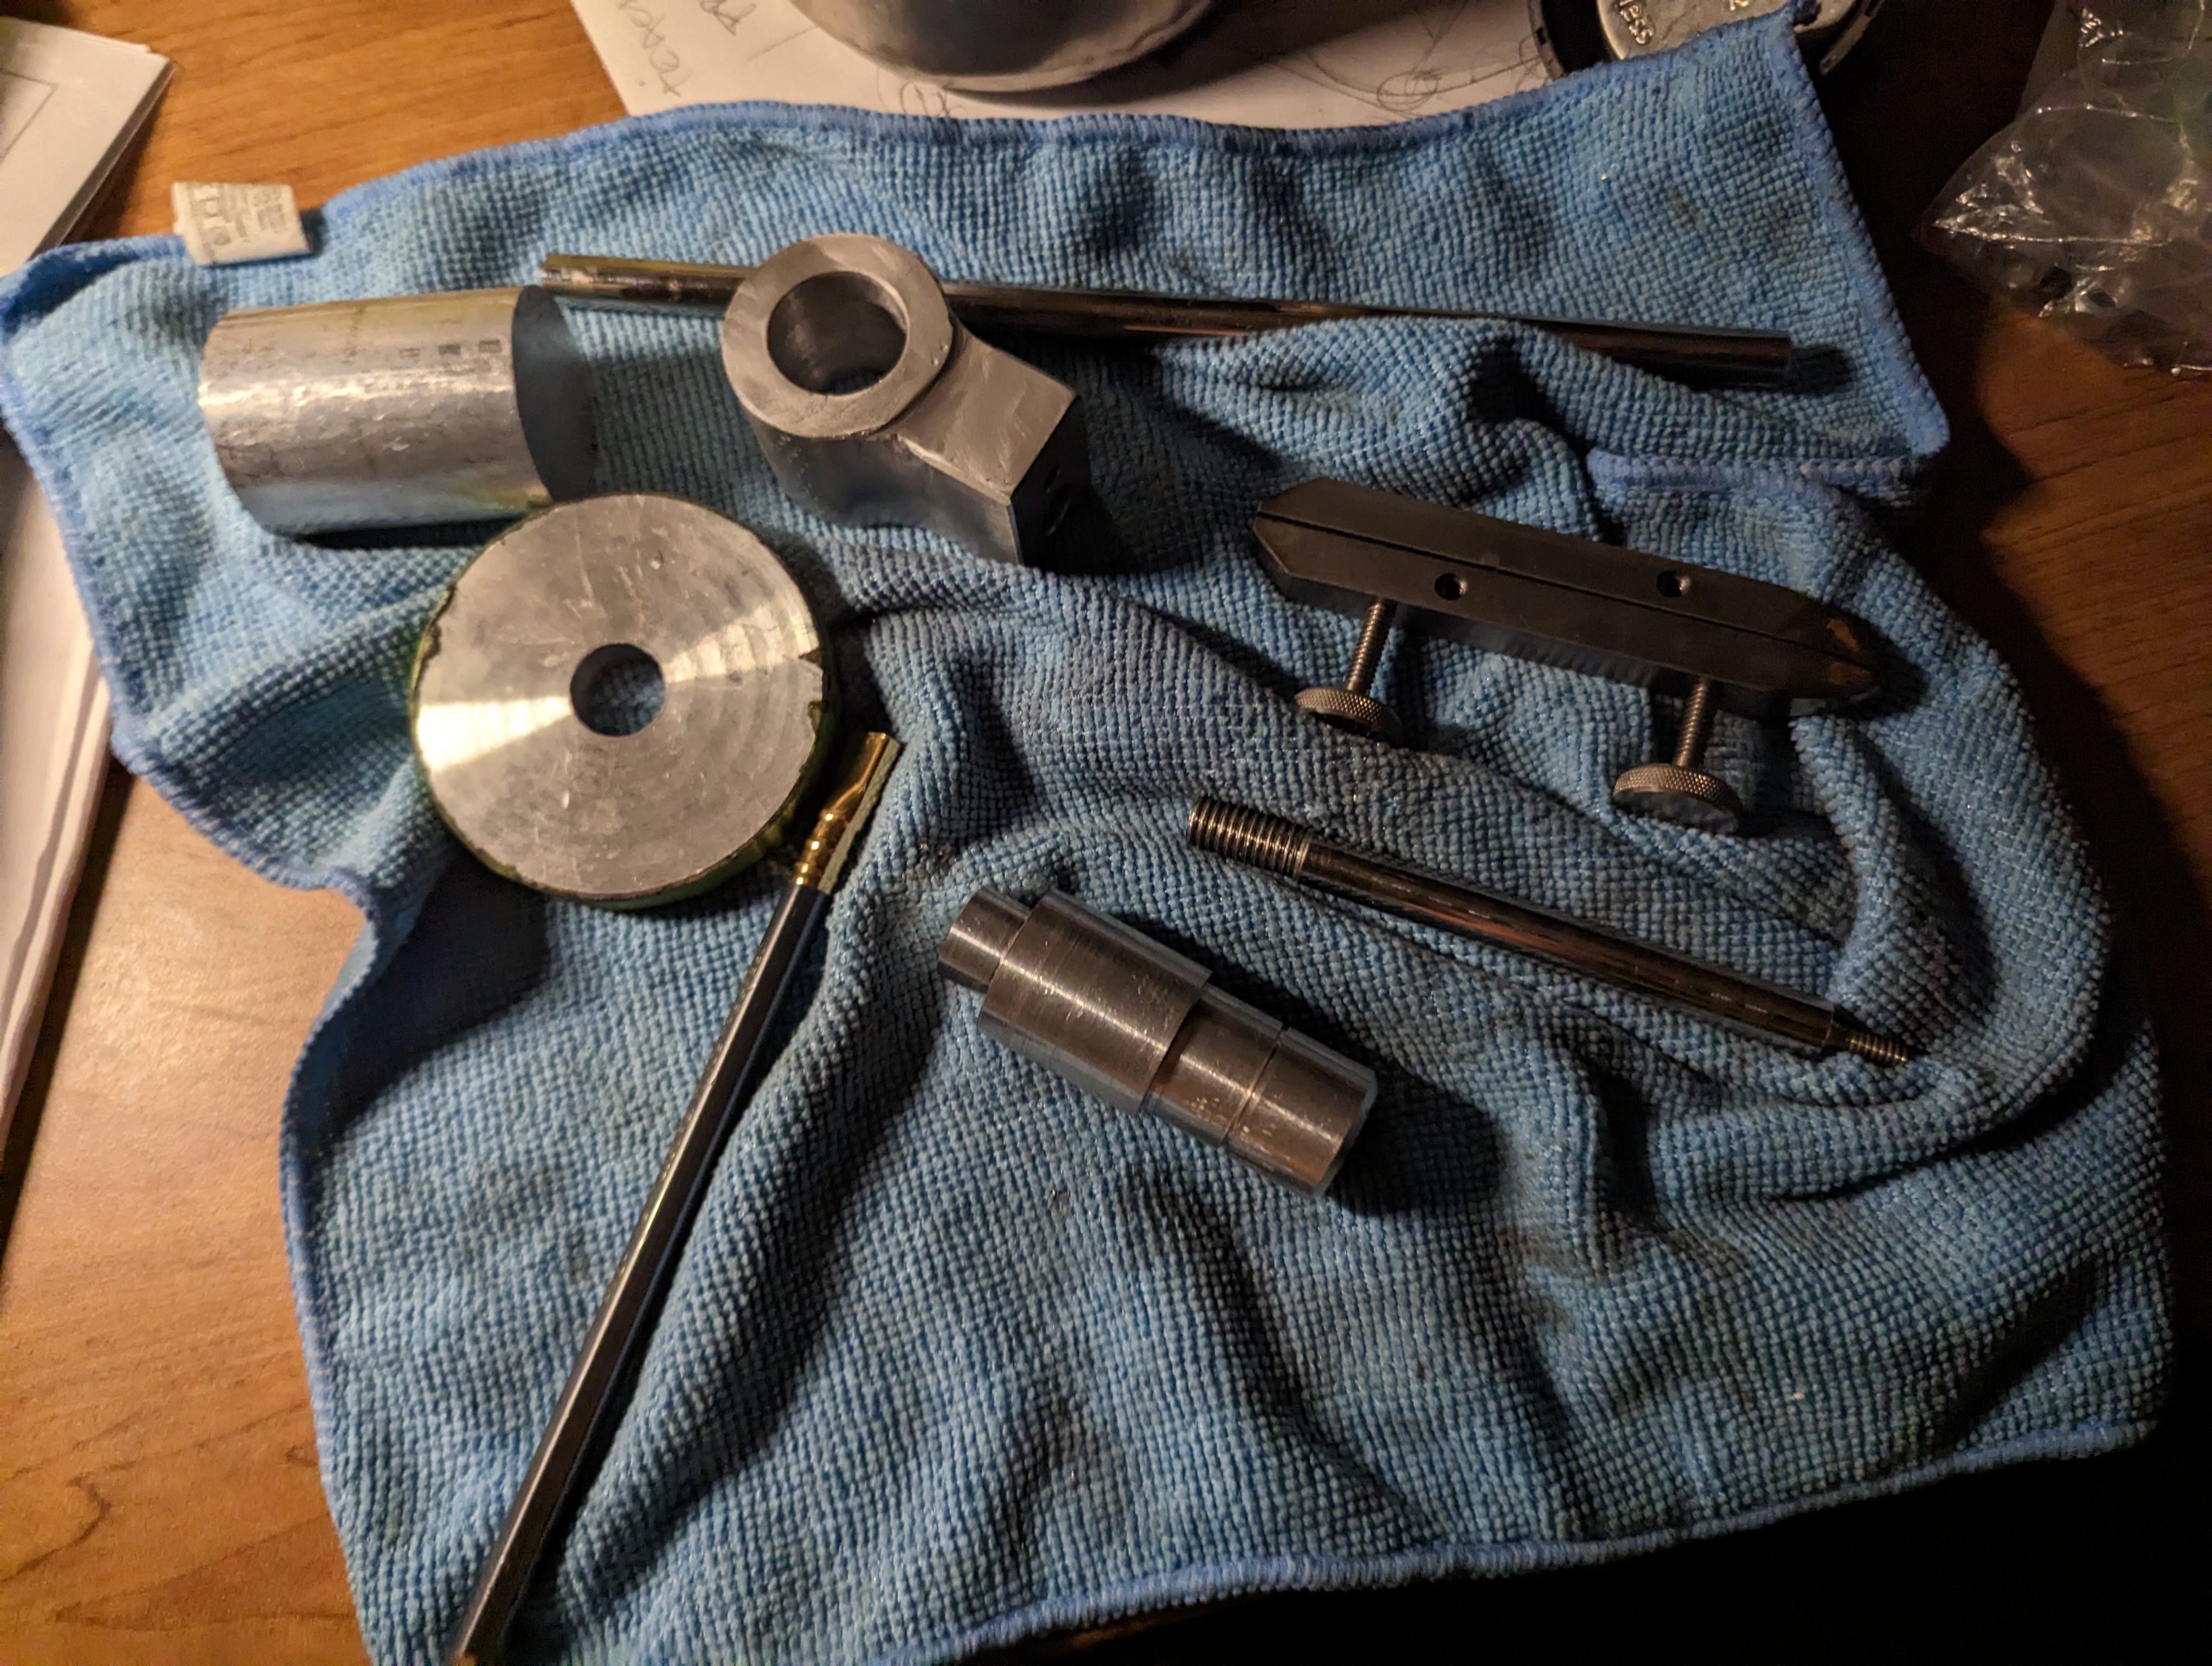
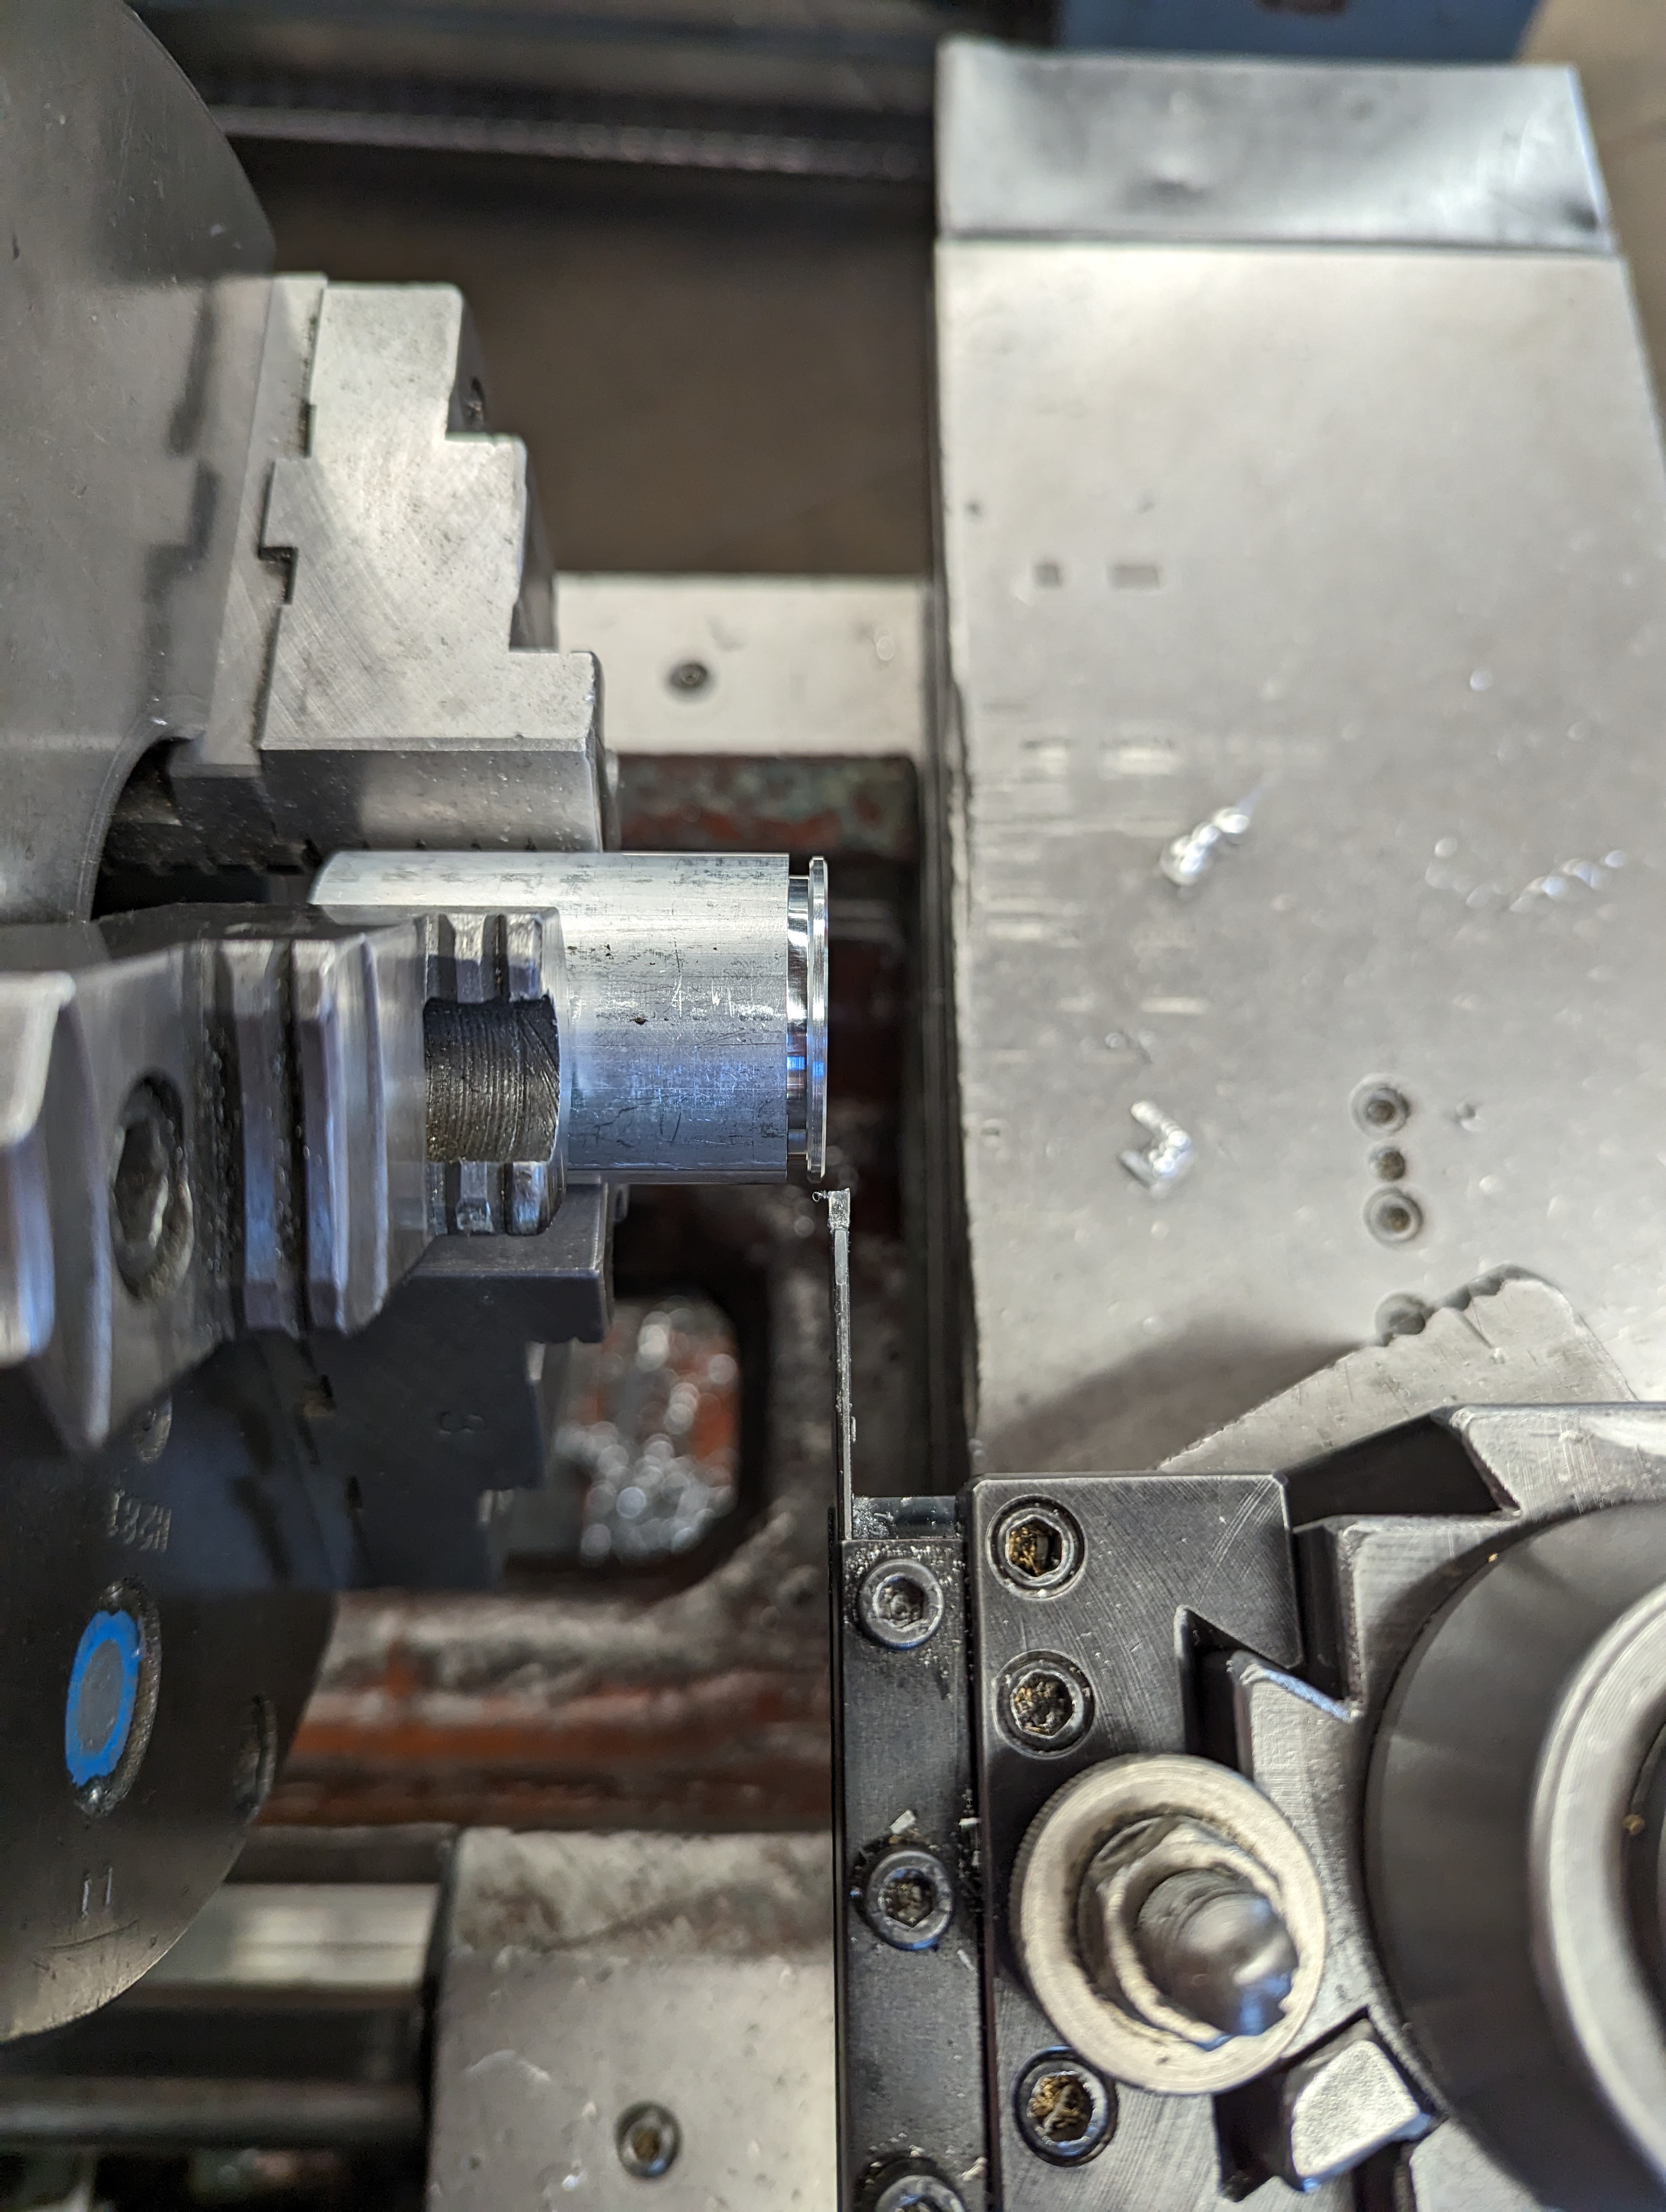
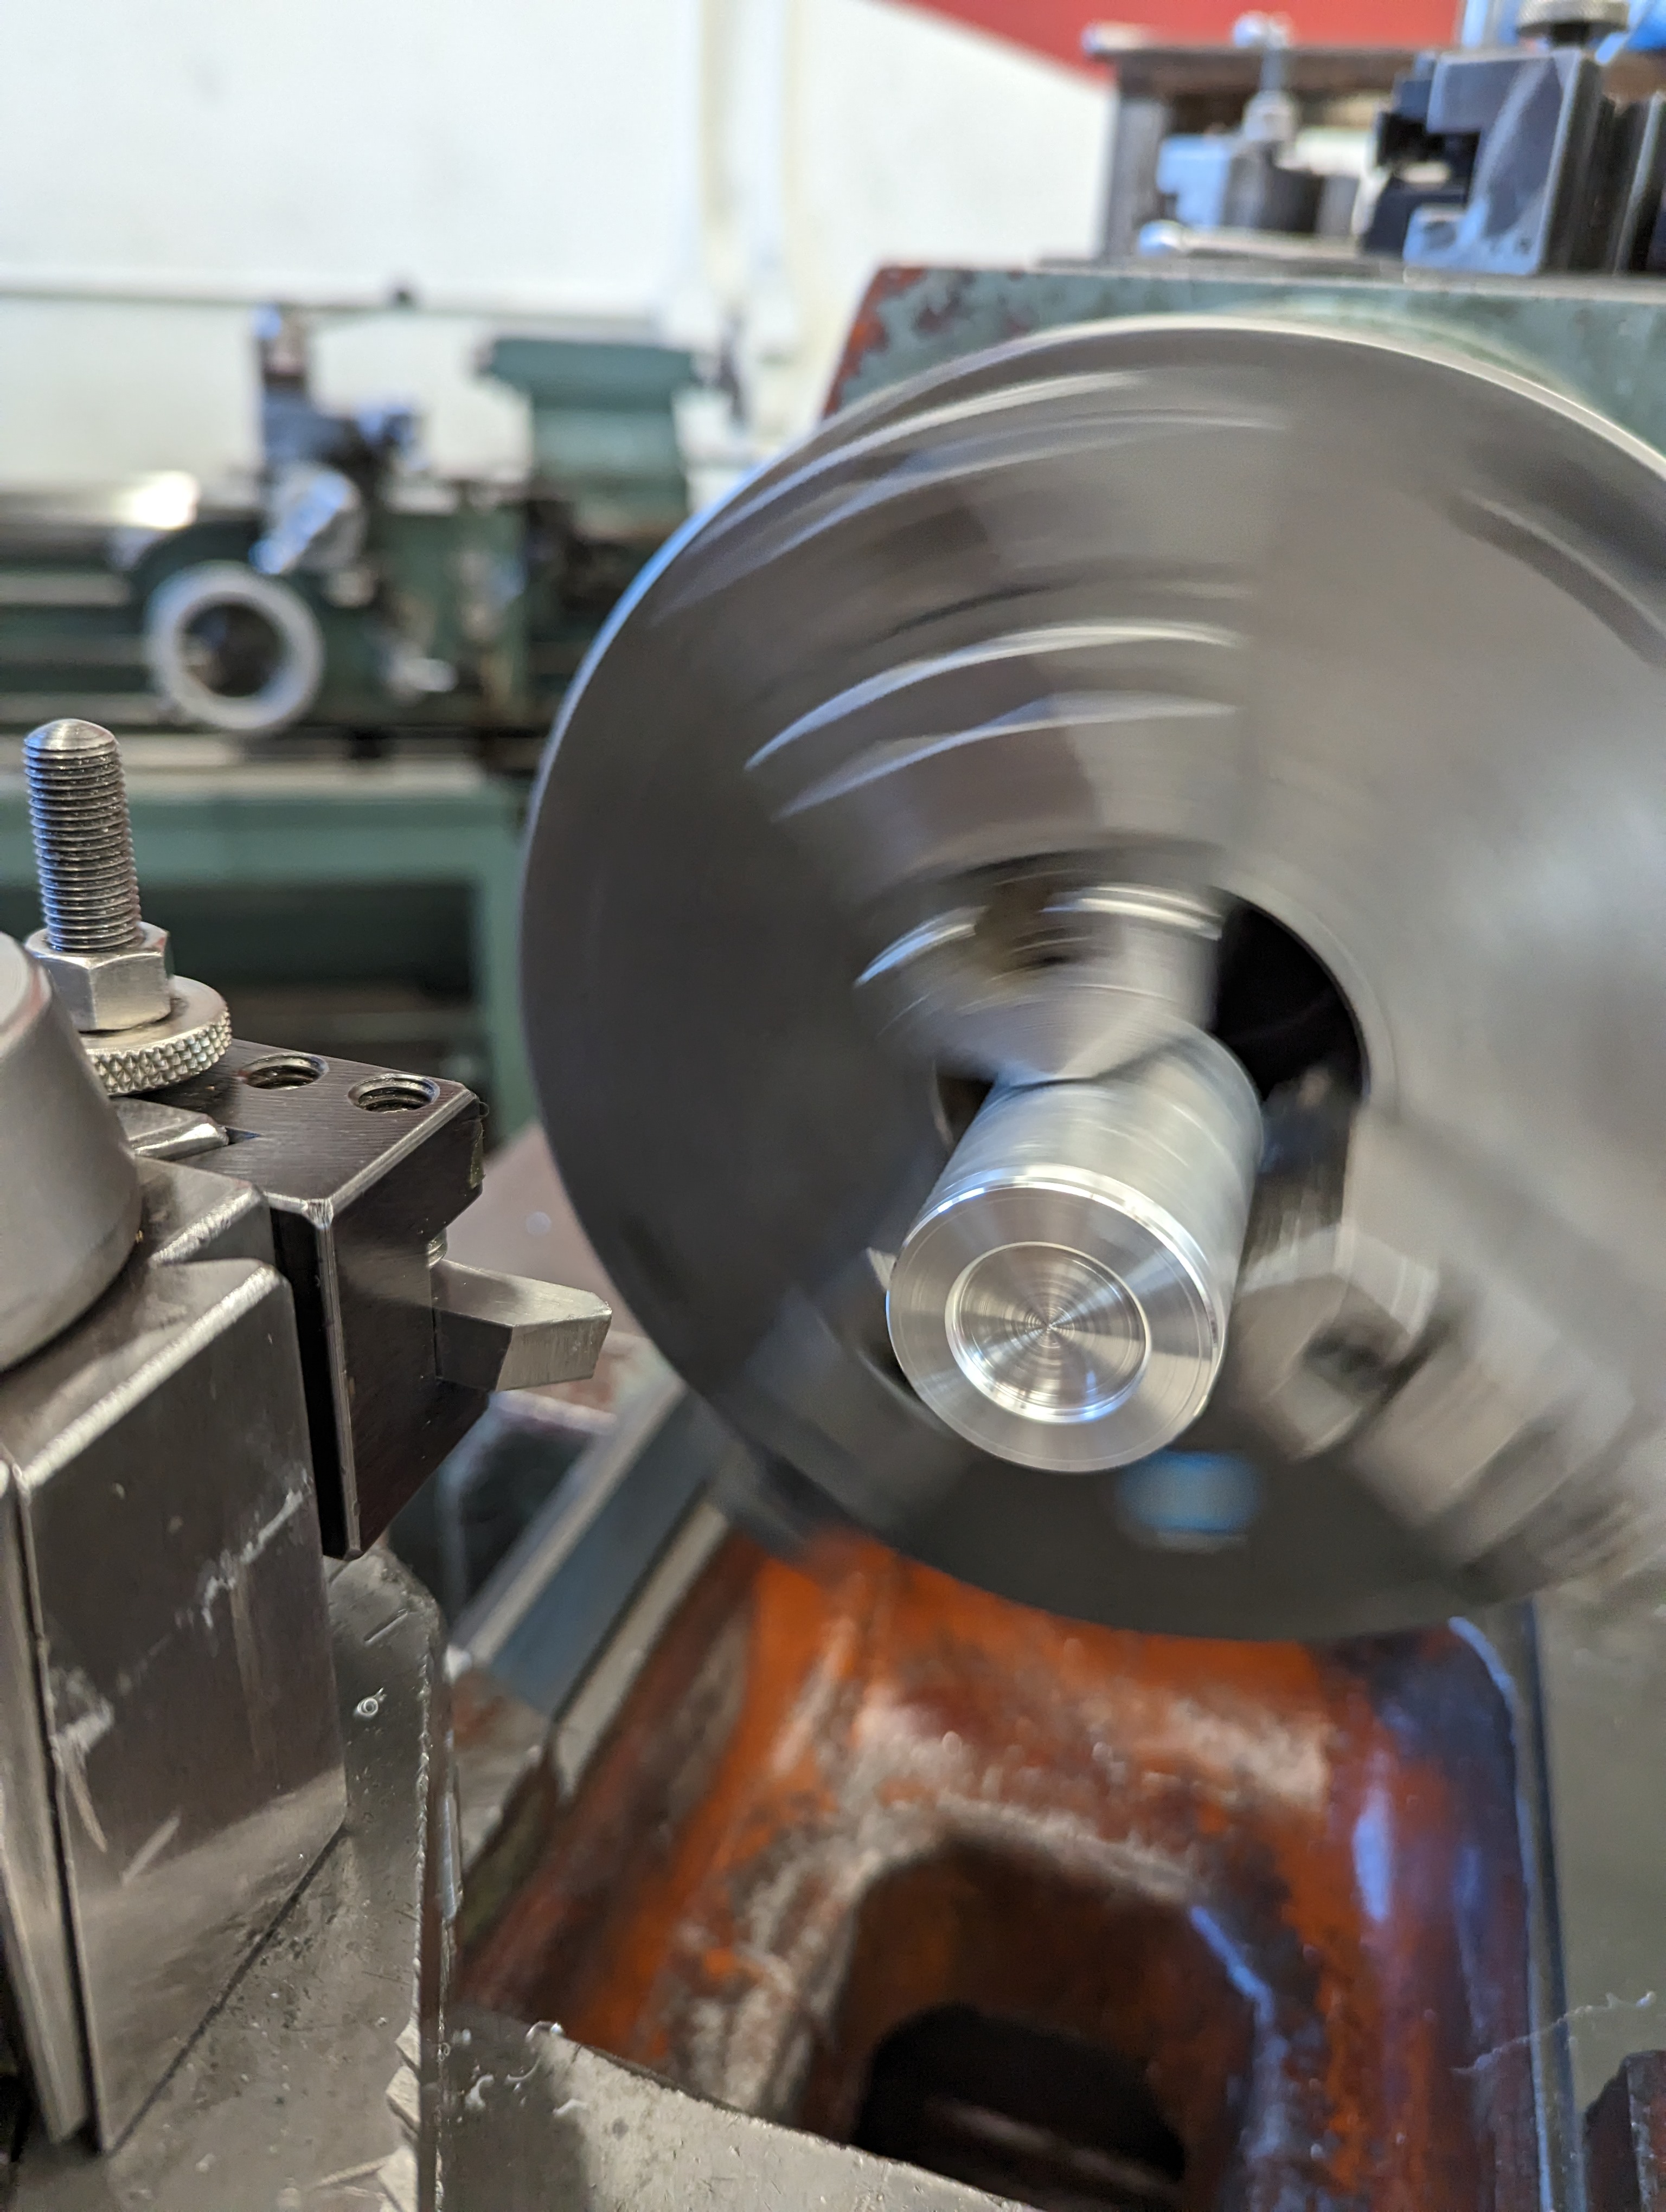
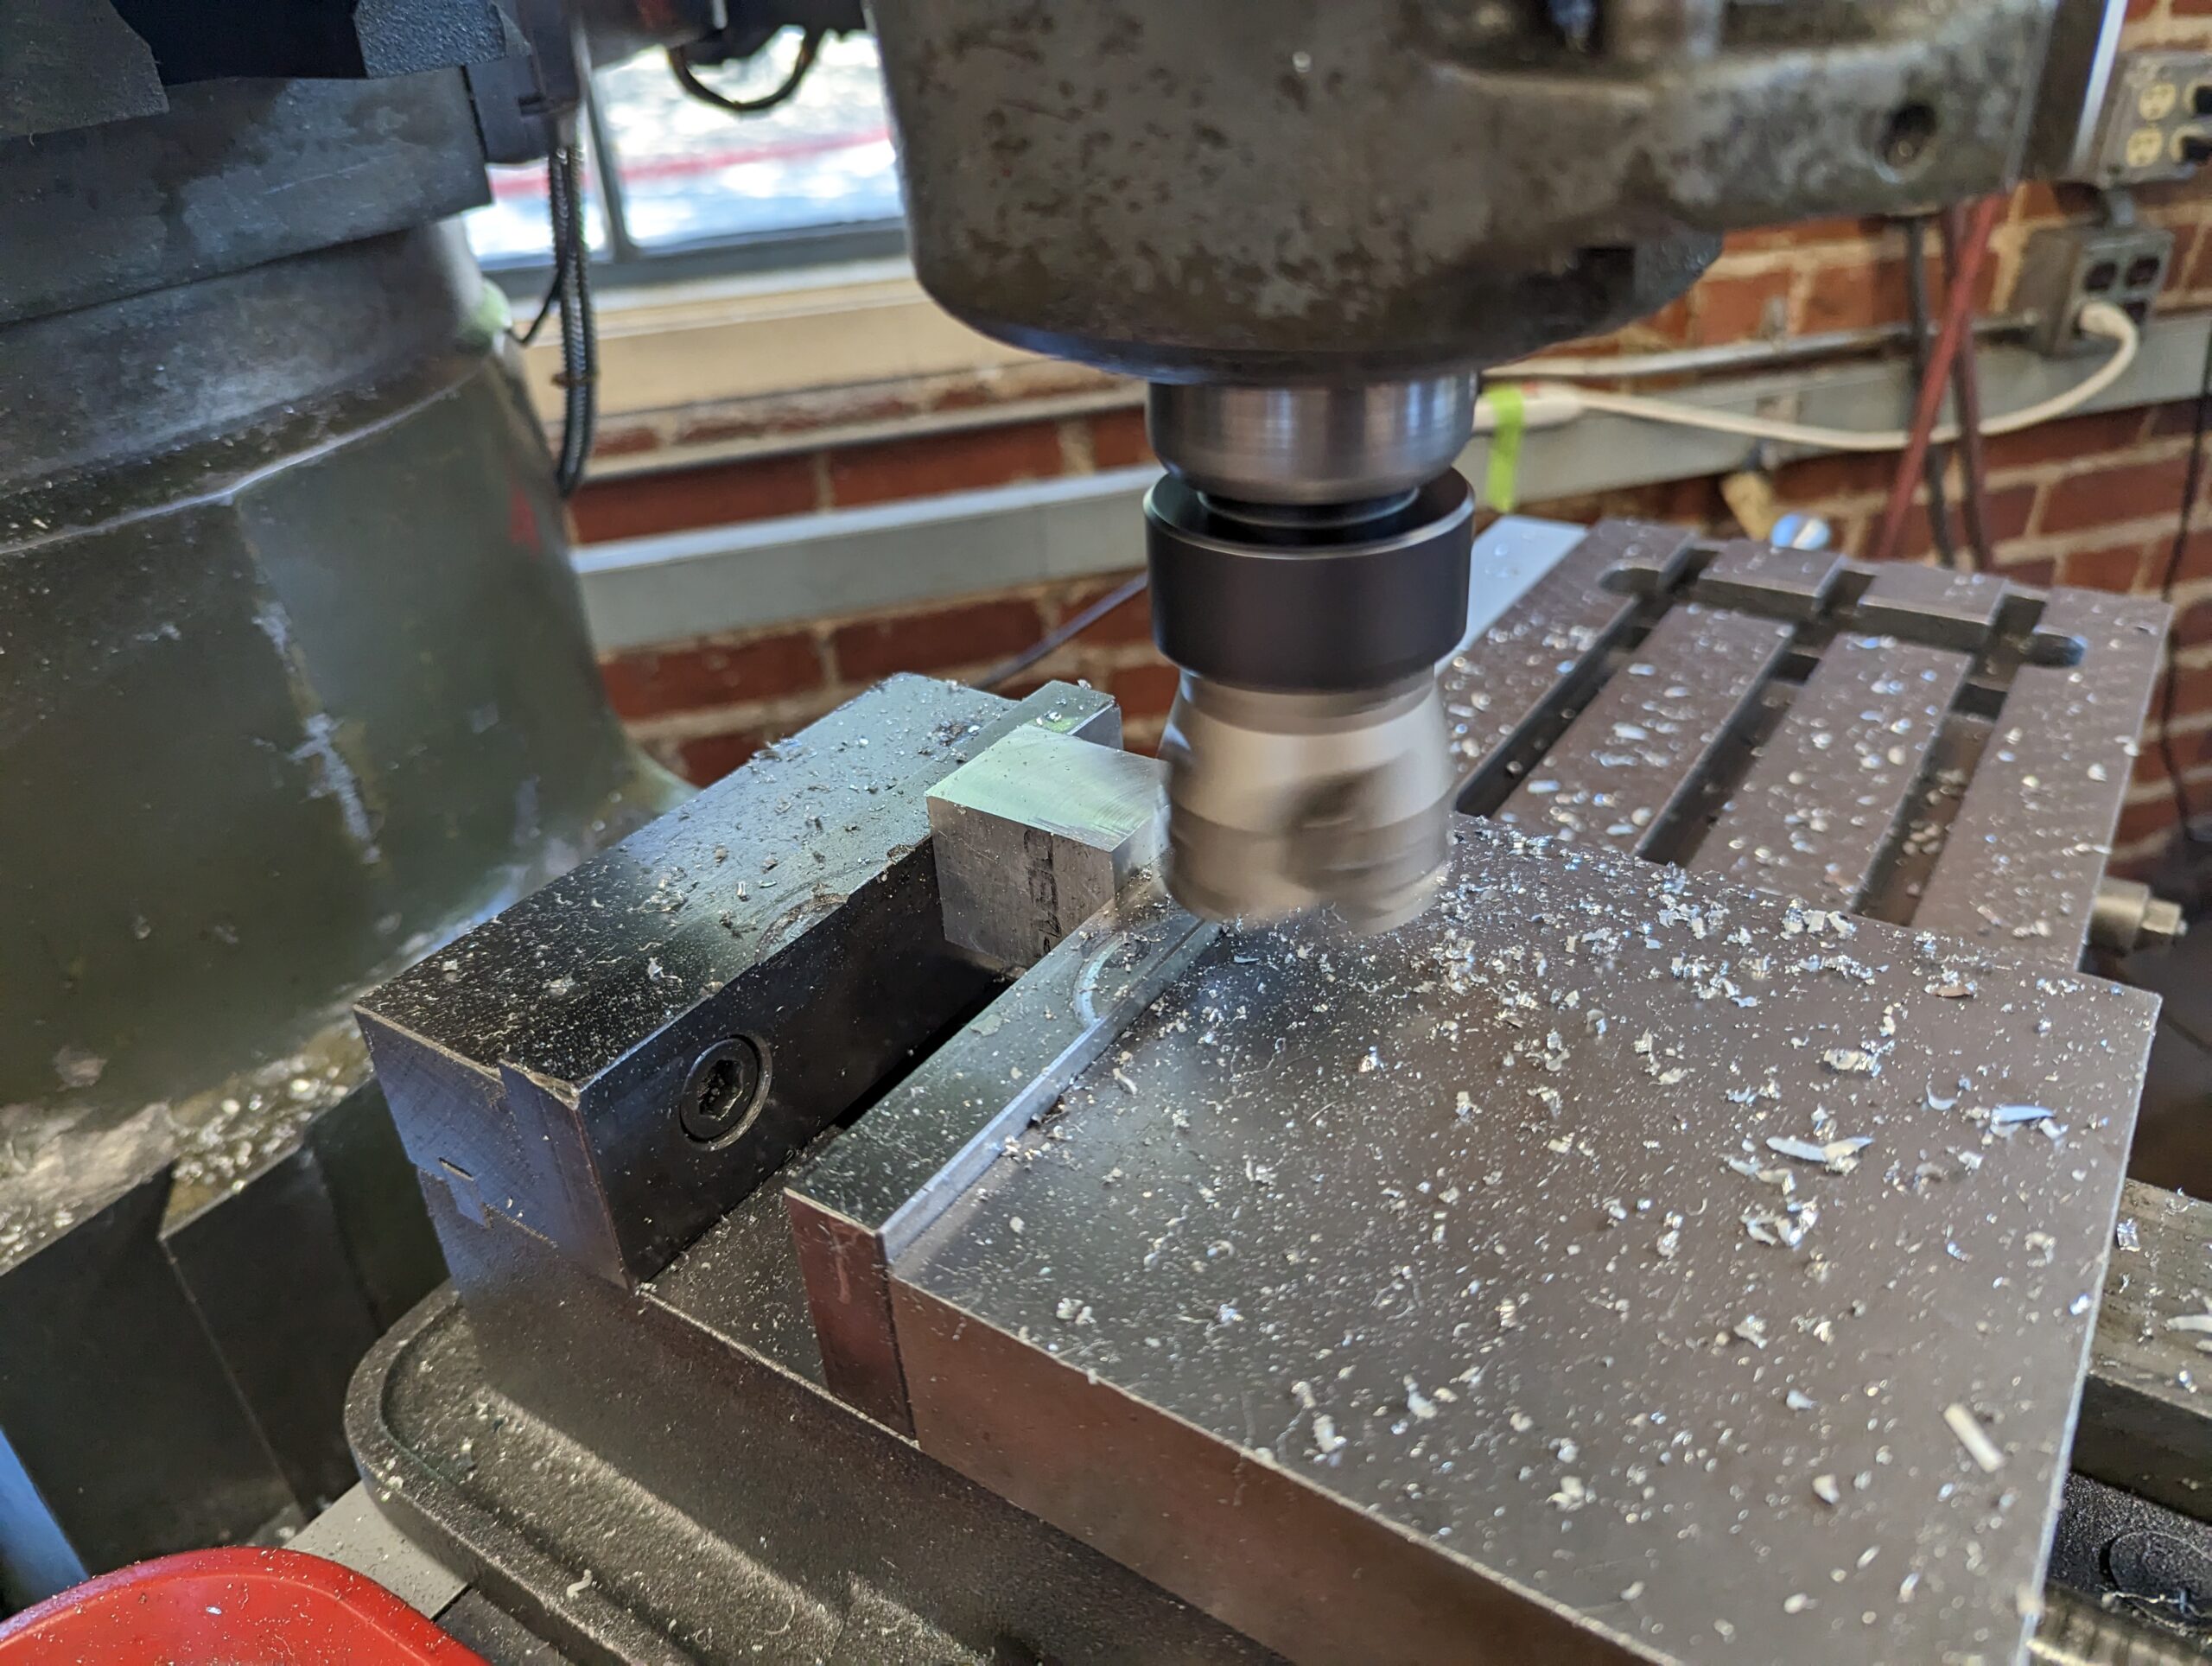
This was not my first time machining something, and so the high-level process made sense to me. Based on that, I opted to make something ambitious – with around 12 parts. There were moments where the process was stressful, but everything got done in good time.
I learned so much about machining works, and how processes can be arranged efficiently, and how to hunker down and just get the work done.
Firewood Holder
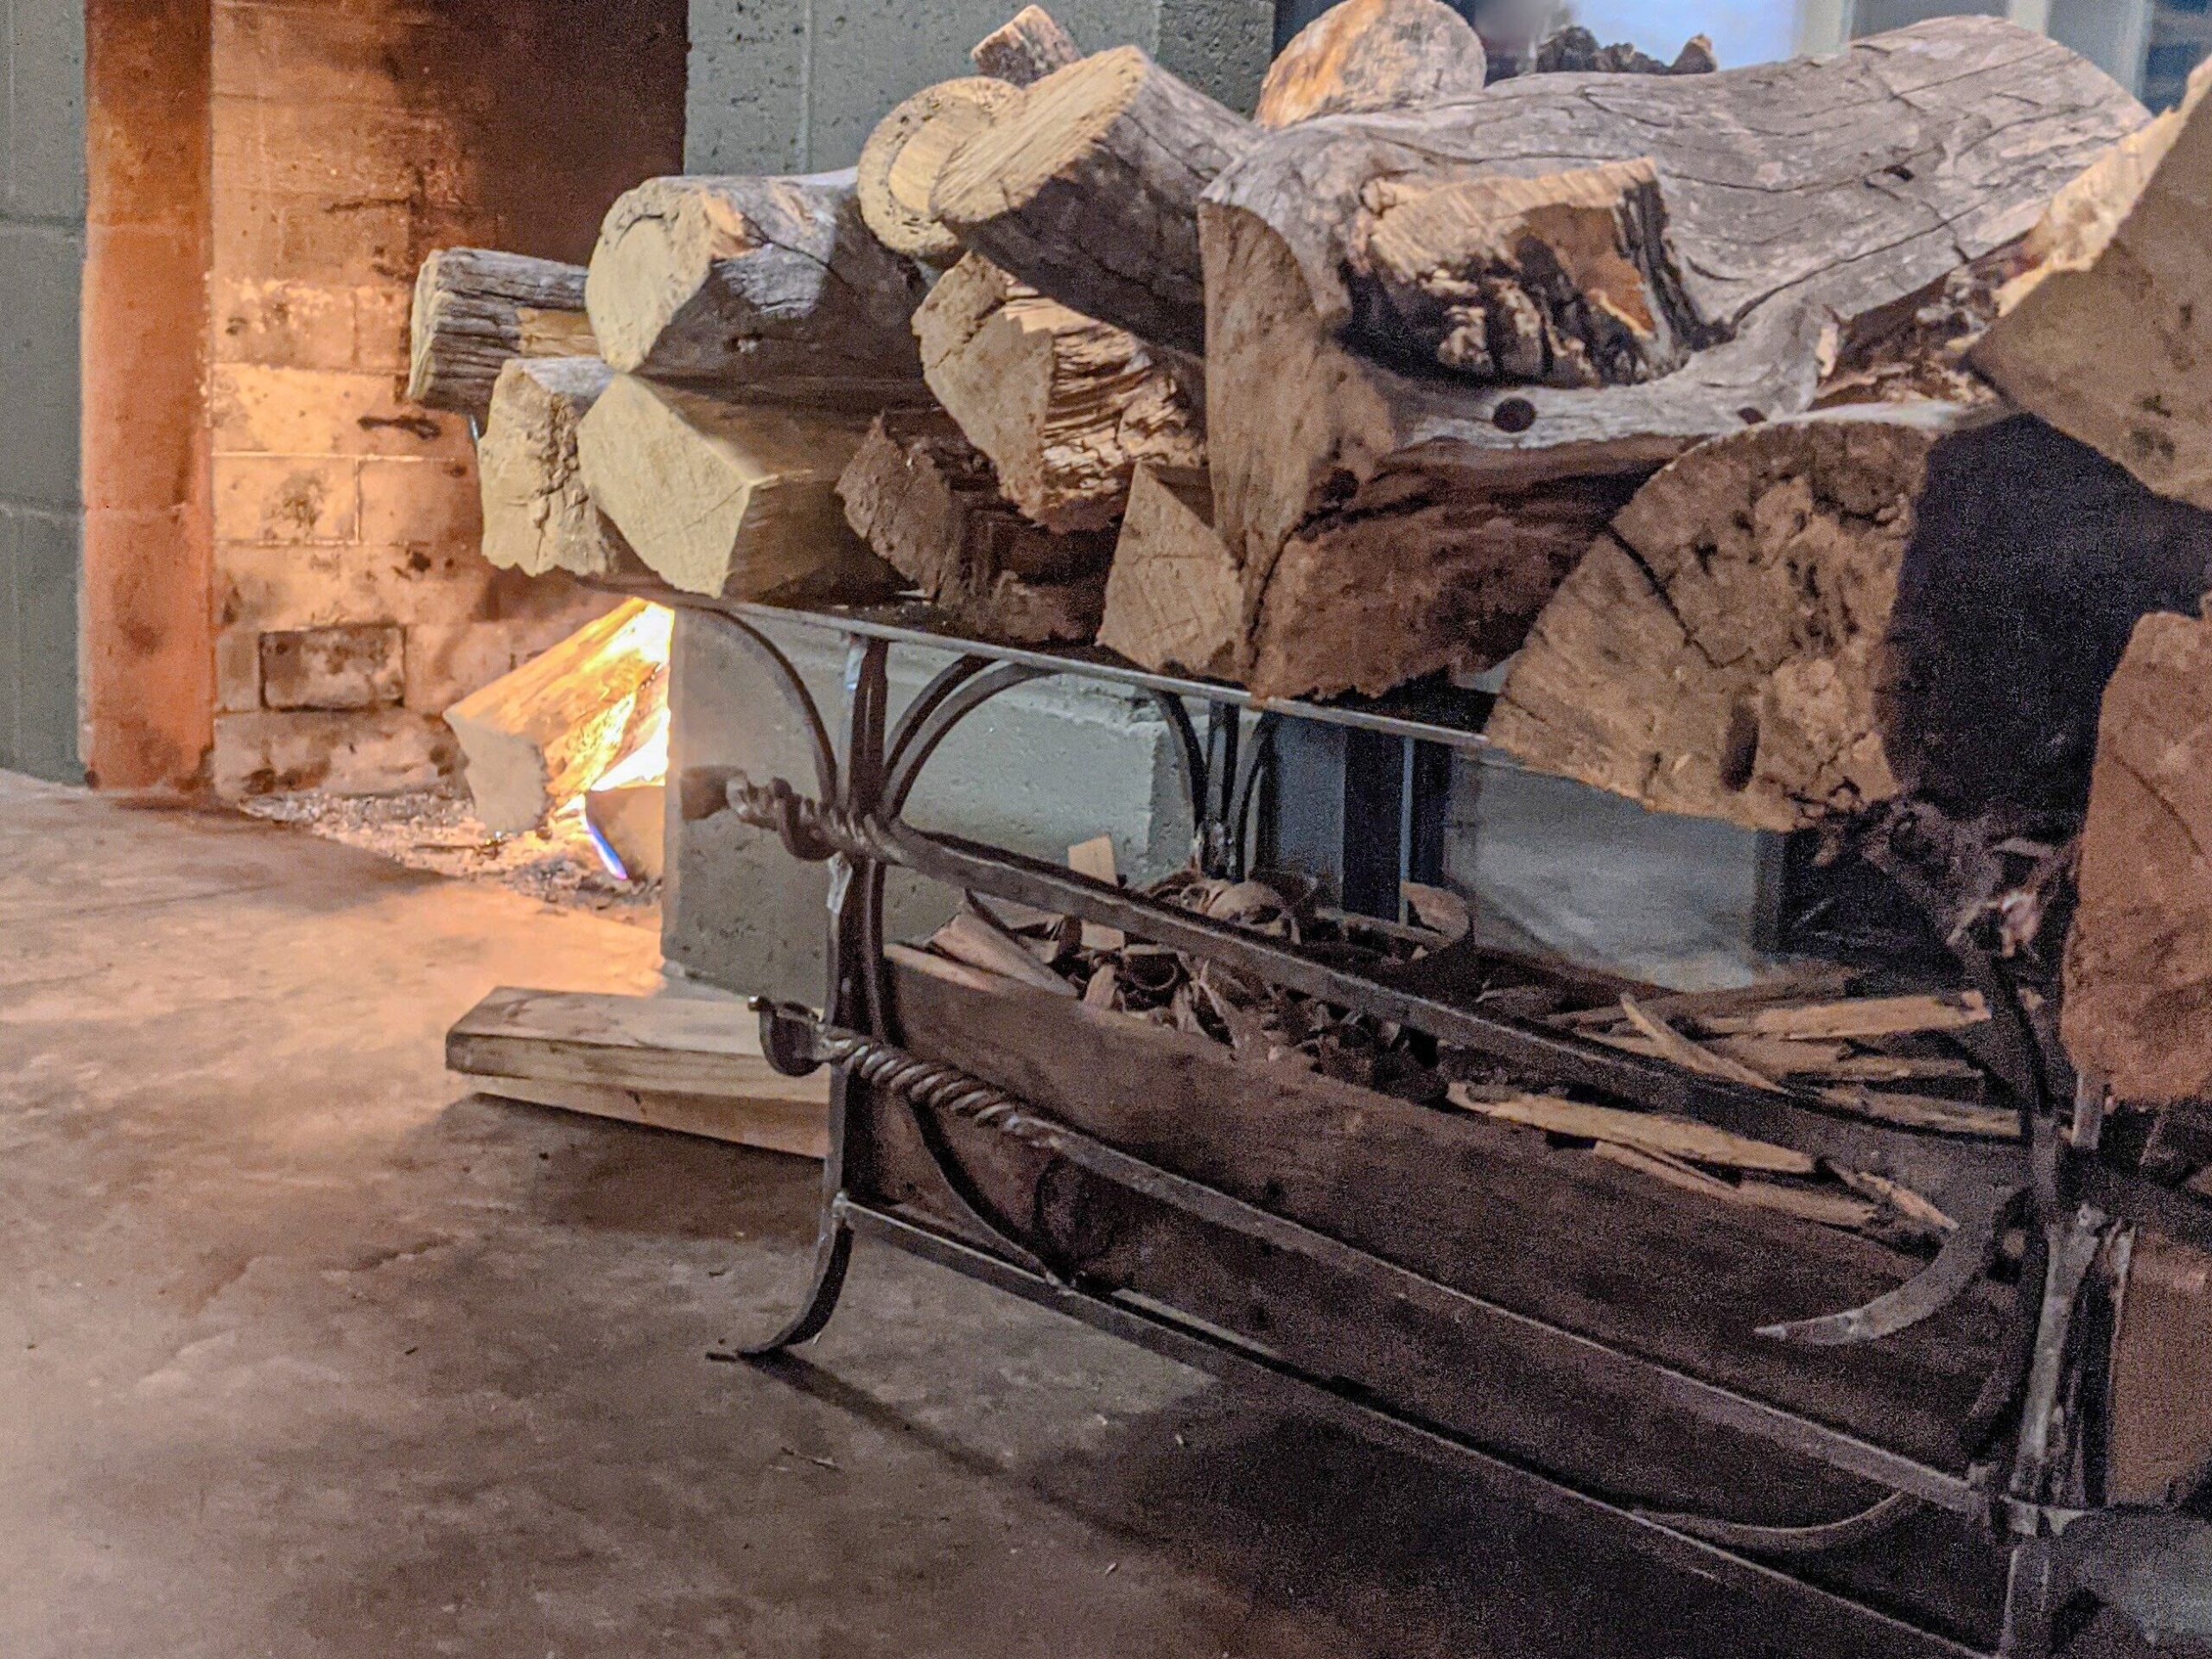
As a Christmas gift to my family, I decided to make a firewood holder for the house where I grew up in Santa Fe, New Mexico. Cold nights greatly benefit from a fire, and my goal was to make it easier for the family to start and have fires. The holder had to hold cut wood on the top, tools integrated into its body, with space for kindling, and fire-starting materials.
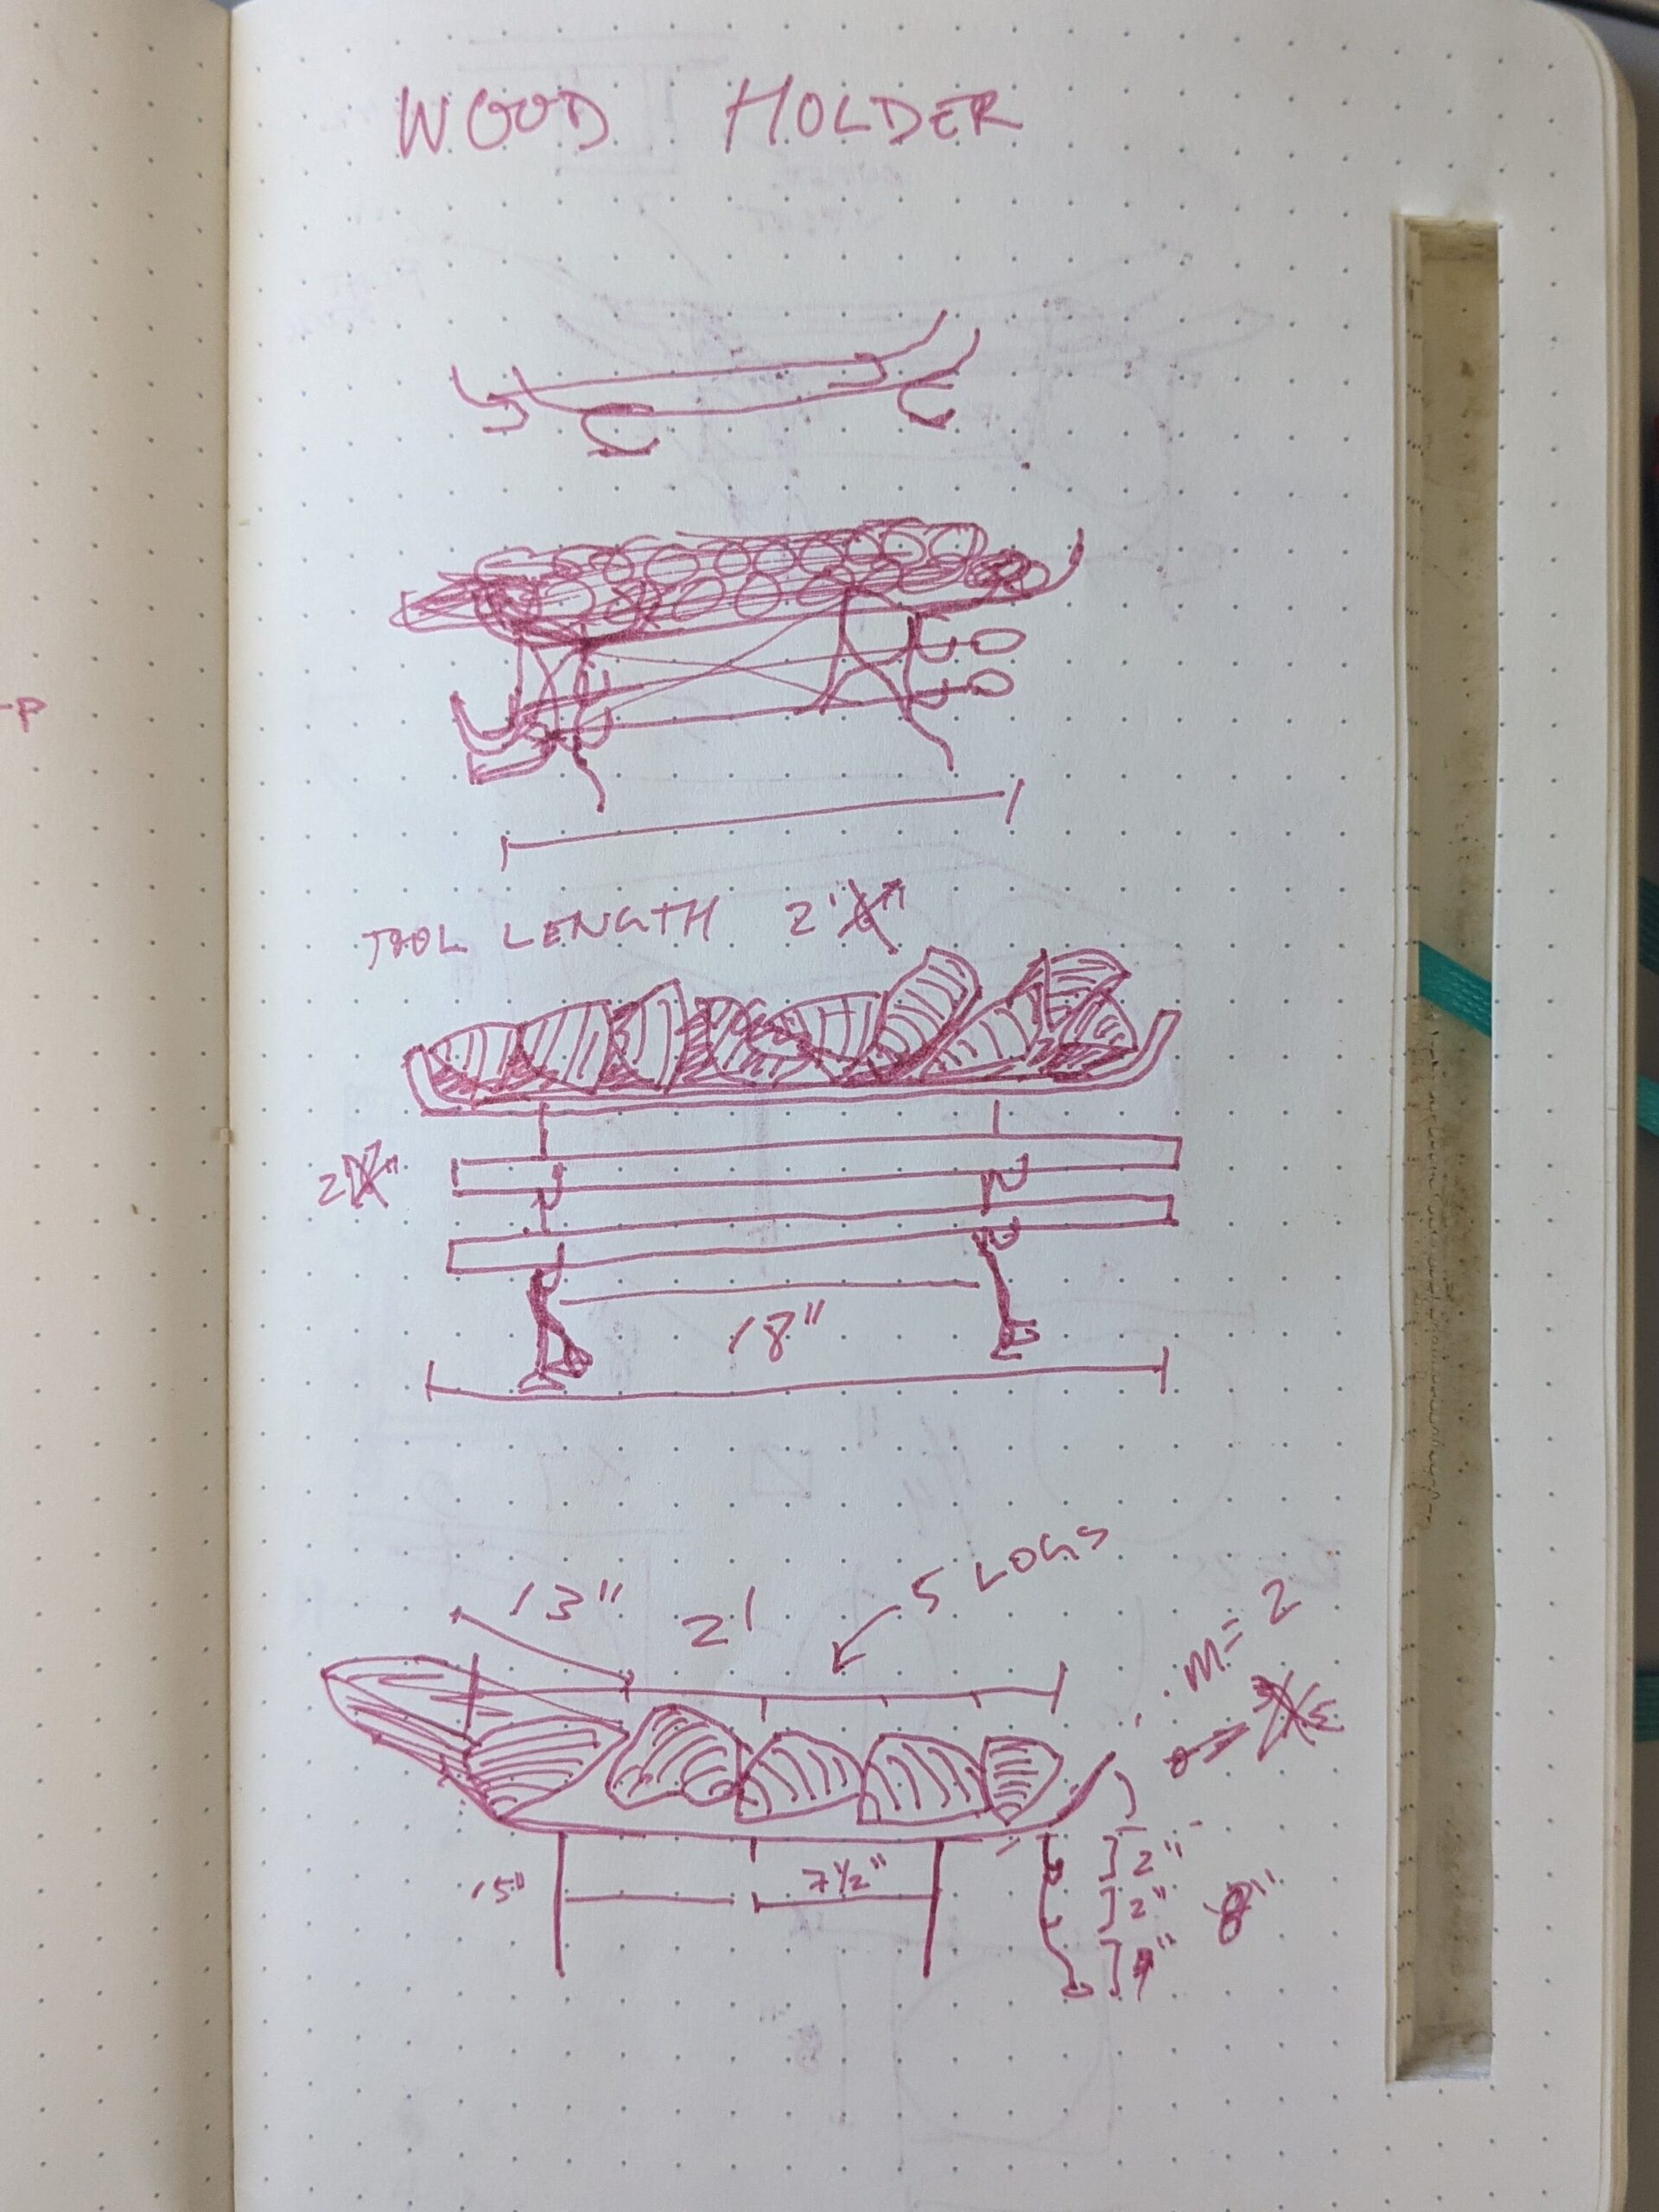
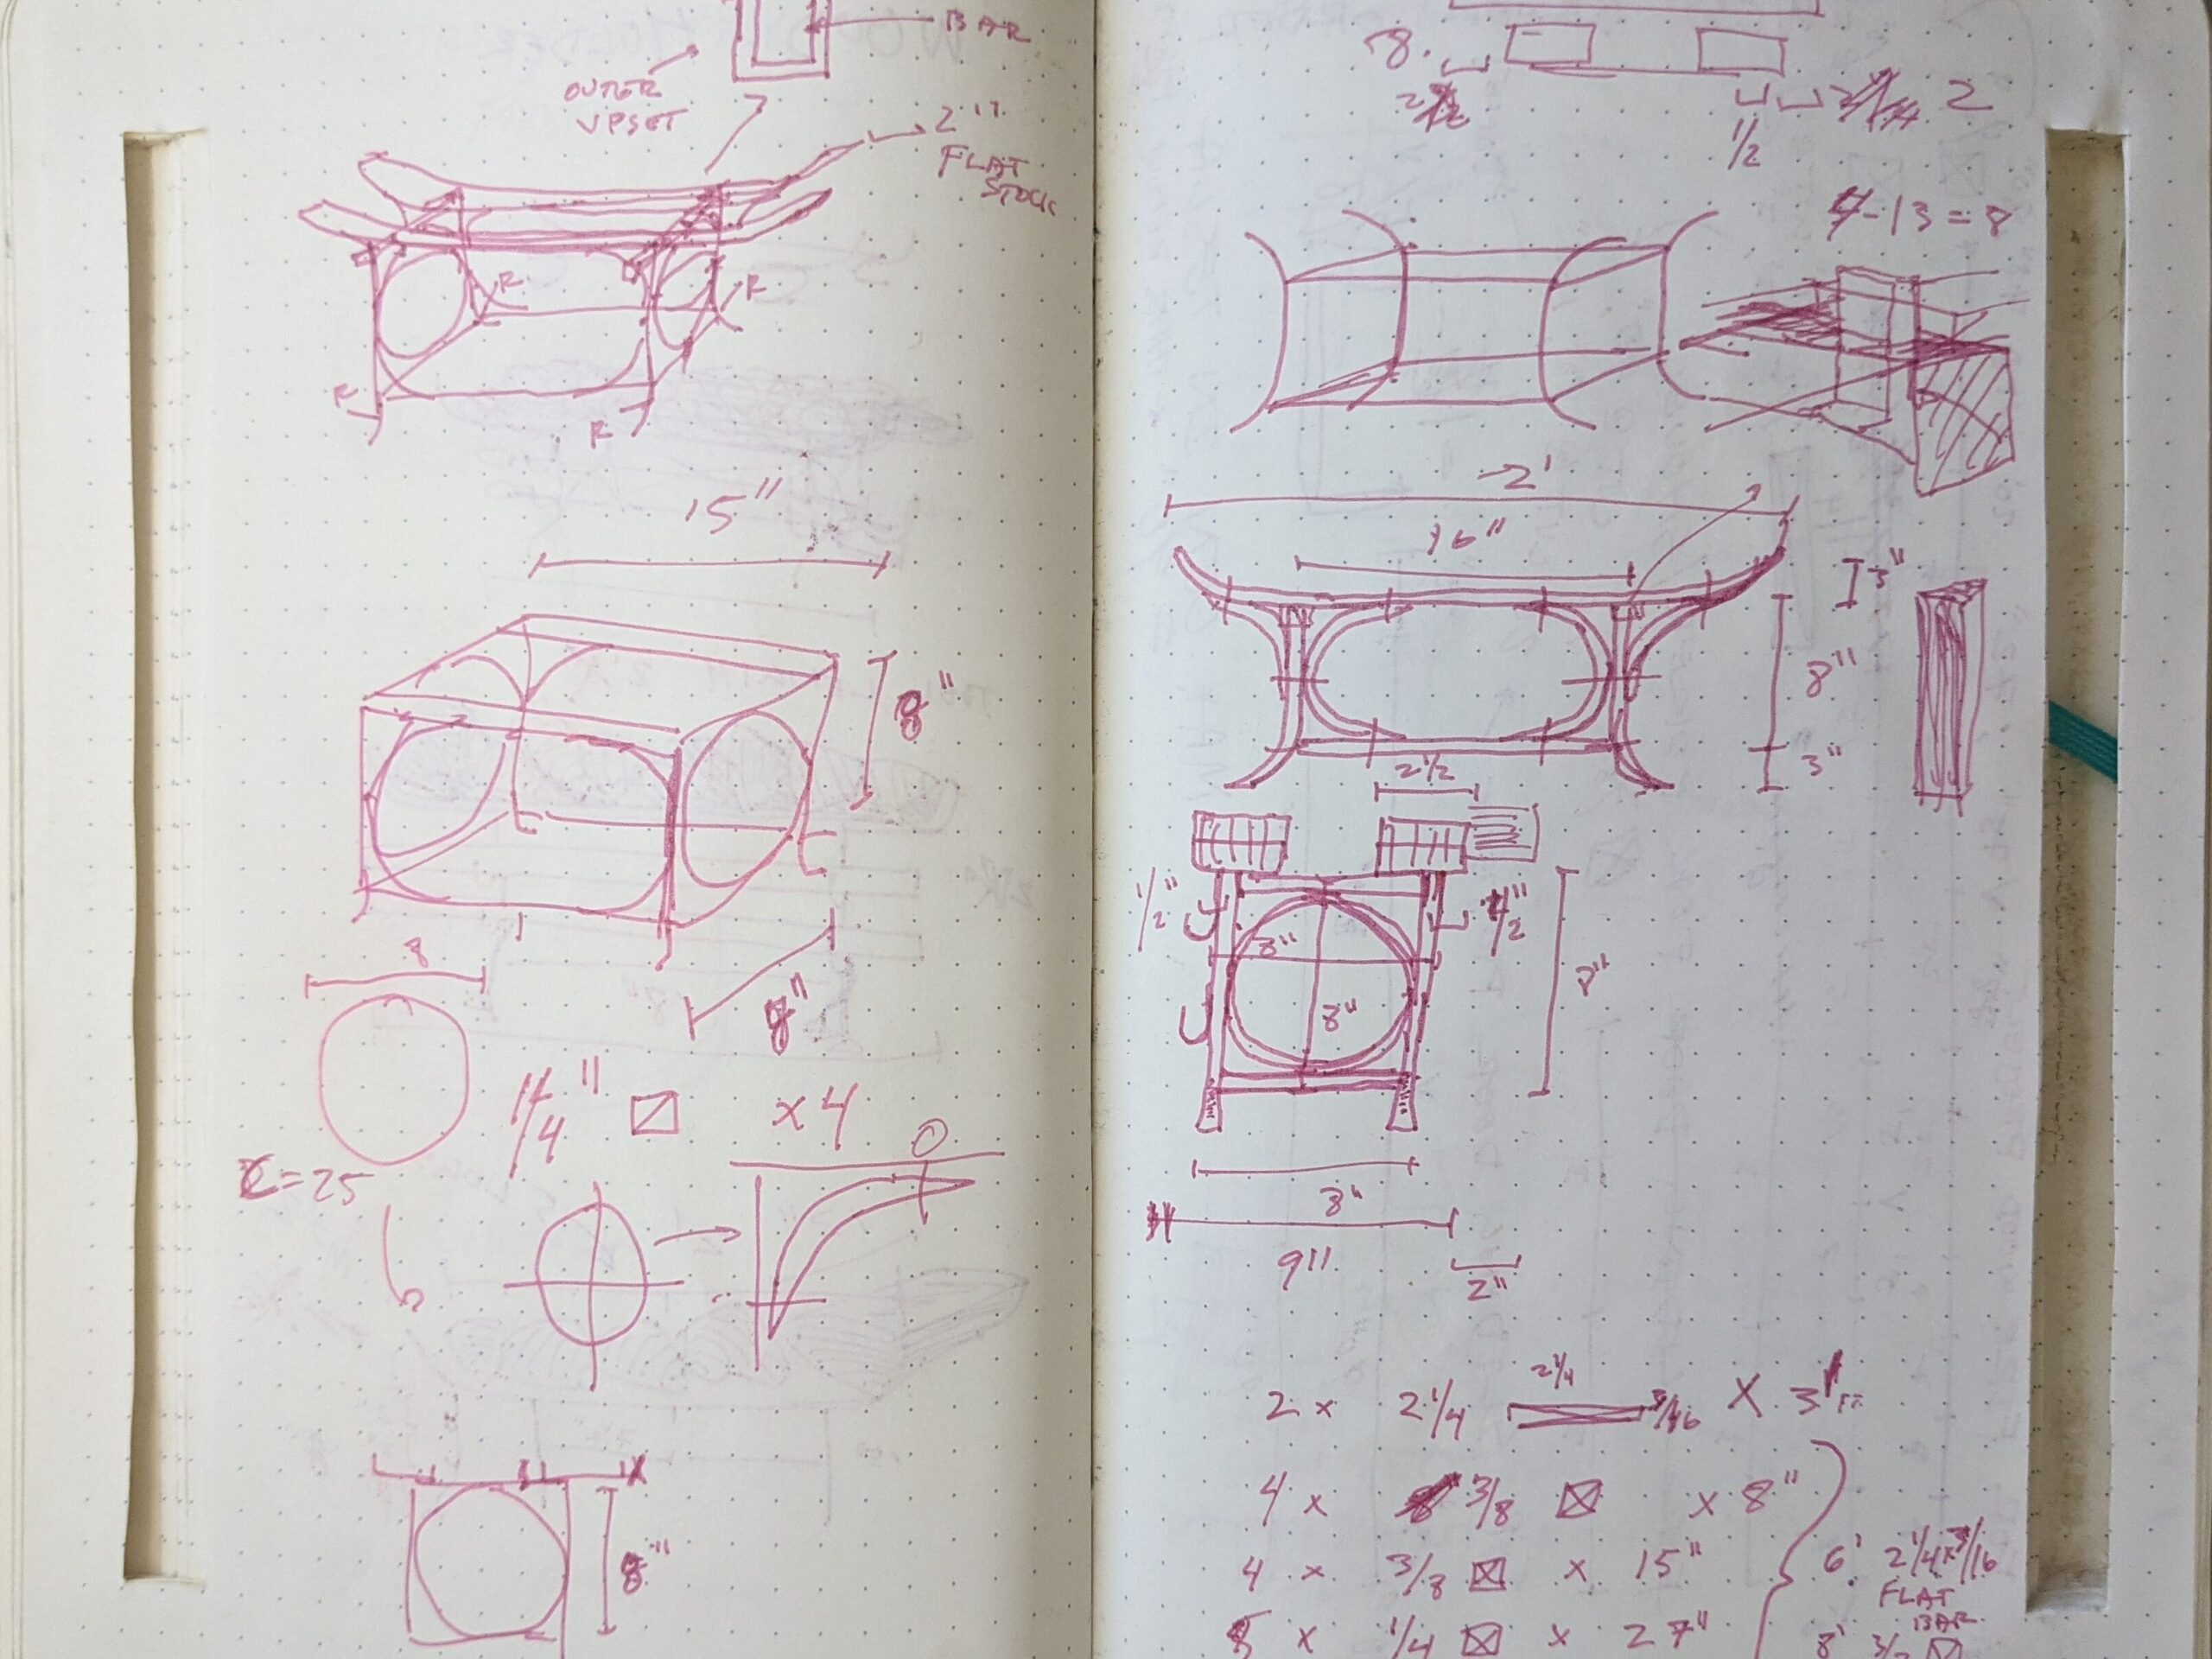
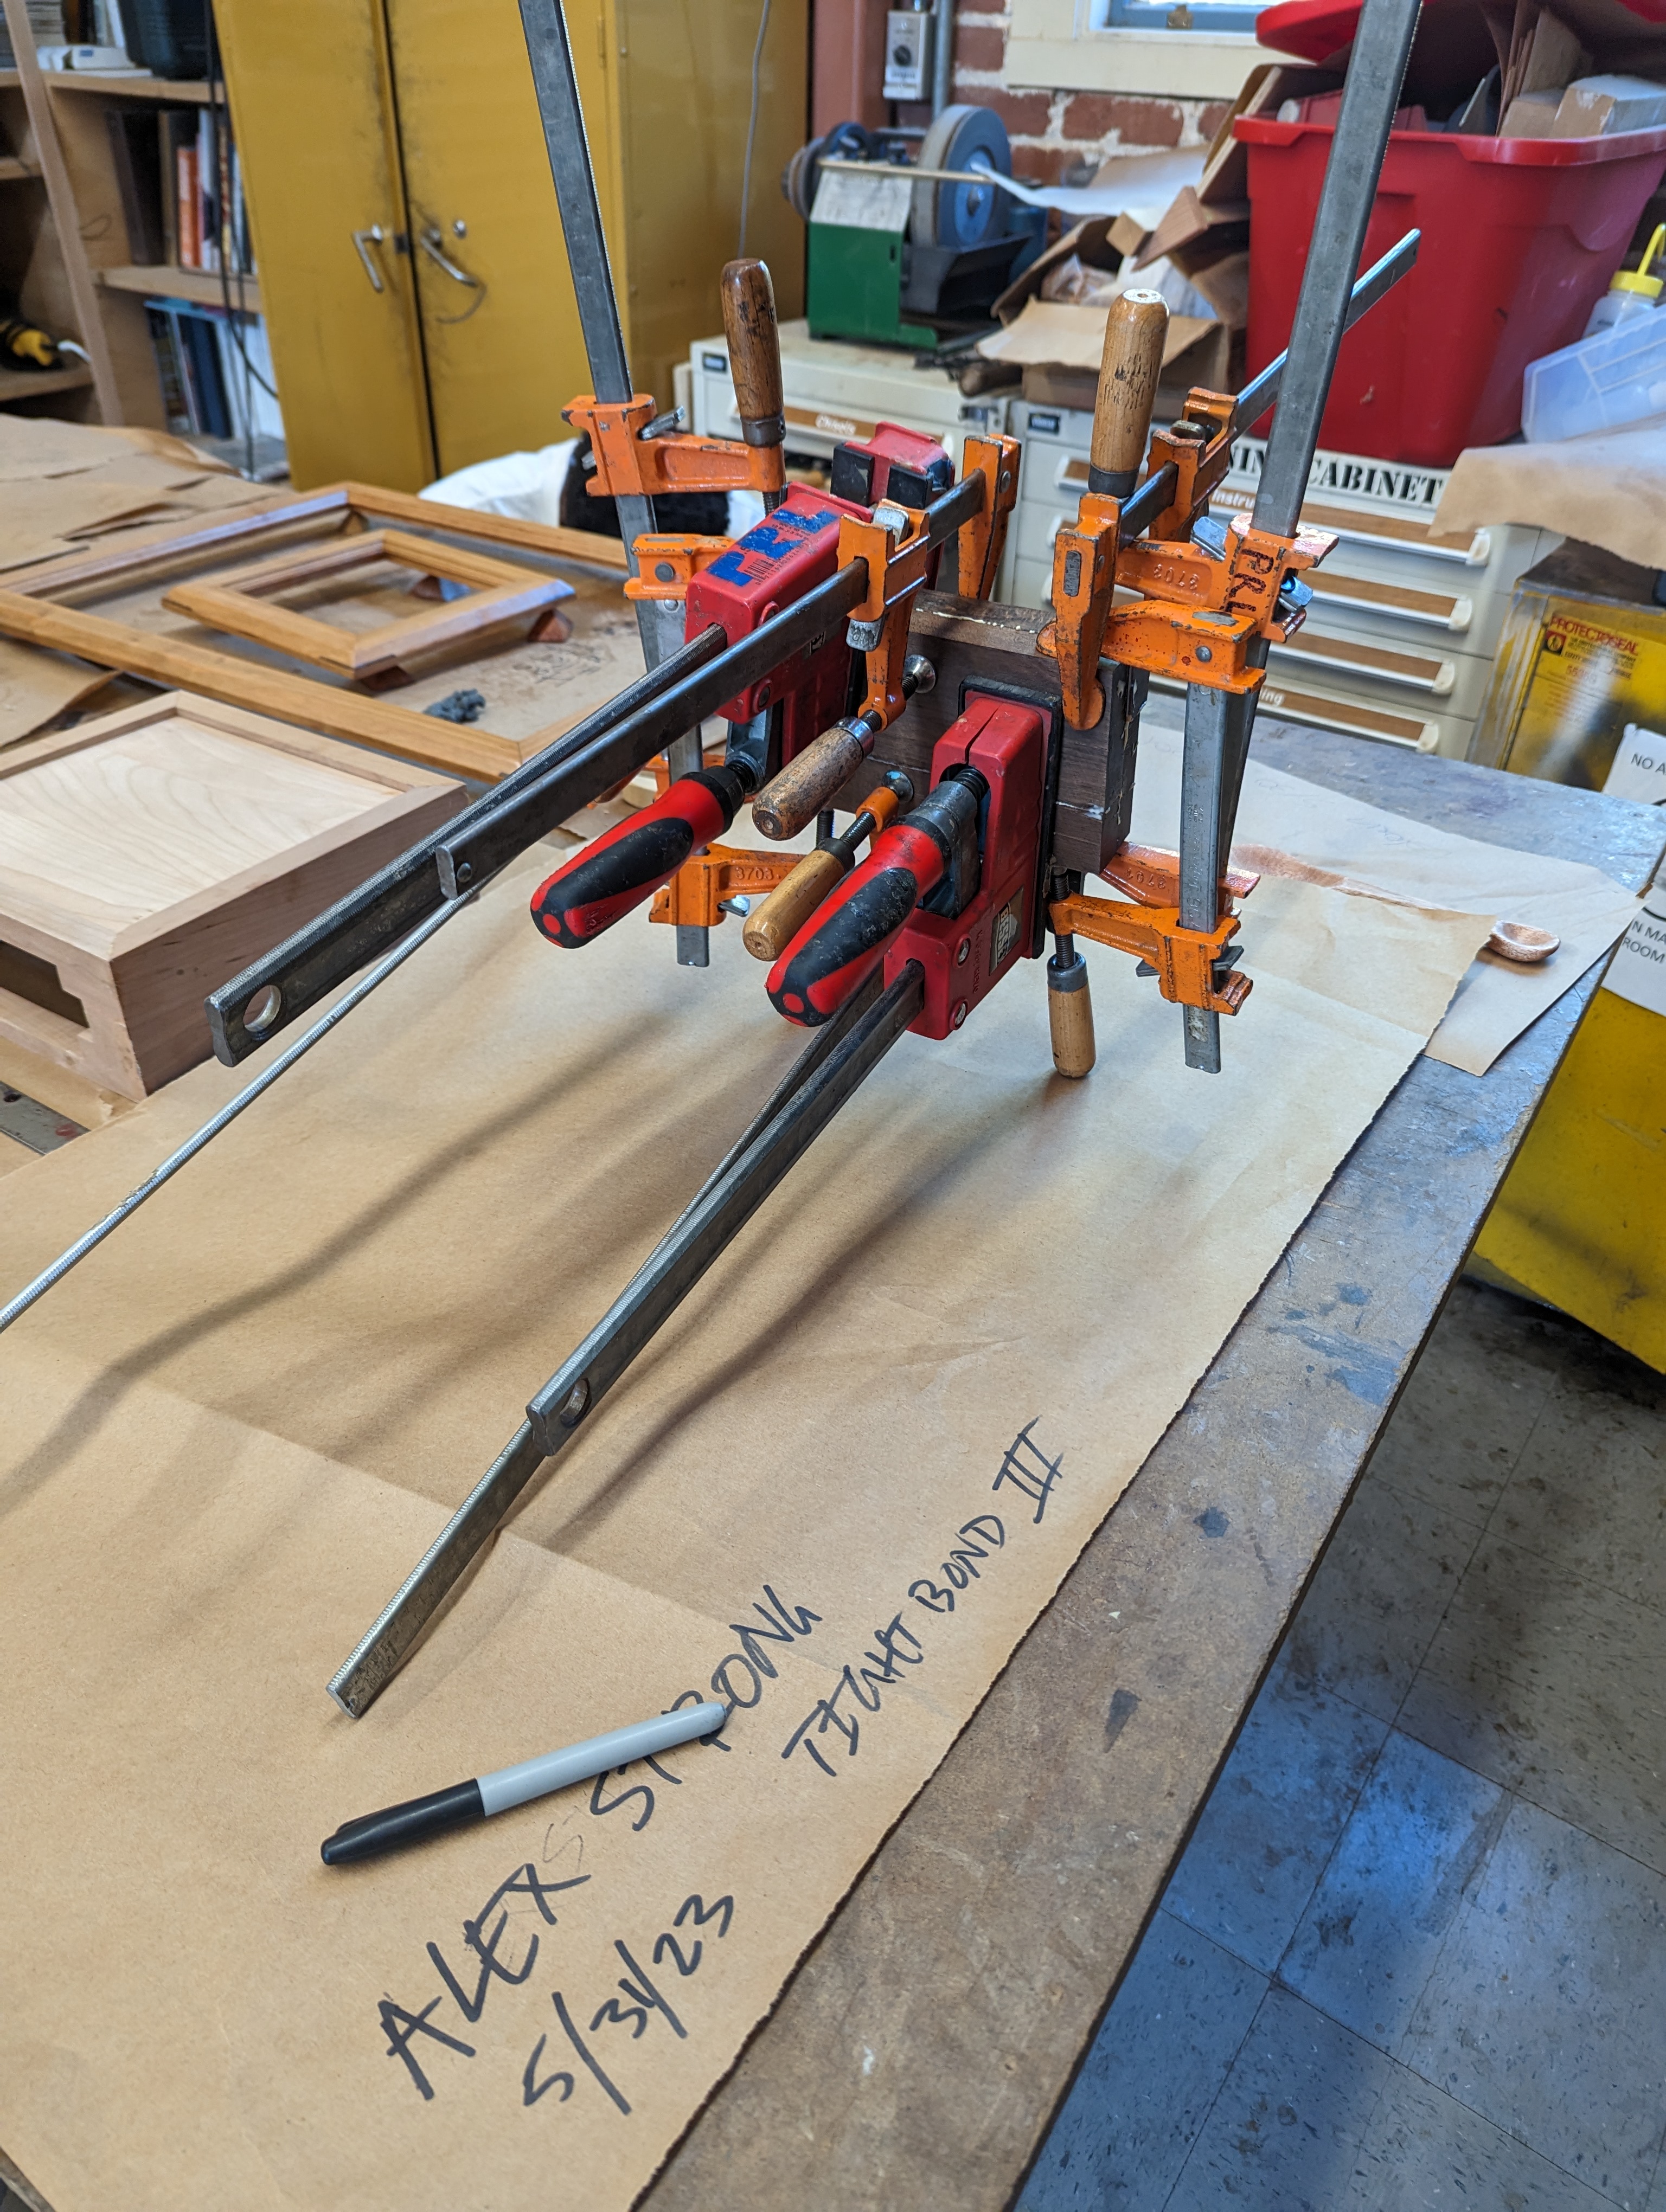
Once the basic design and constraints were laid out, I ordered metal and began fabricating.
The body is made from 1/4″ square stock, forged into circles. Welds tack the whole thing together. The rails are 1 1/2″ x 3/16th flat stock, bent in the forge. Fire tools were made traditionally. The ends are twisted, and the poker has a forge weld. The whole thing is finished with linseed oil, applied hot, which makes it black. The kindling boxes were made with red cedar.
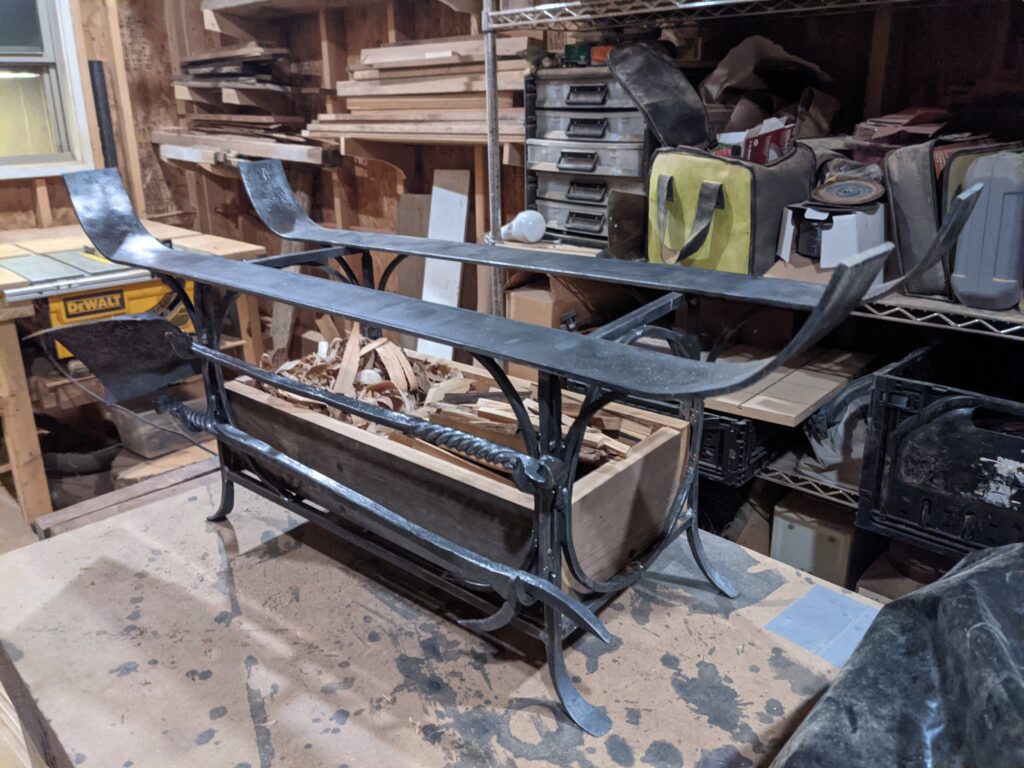

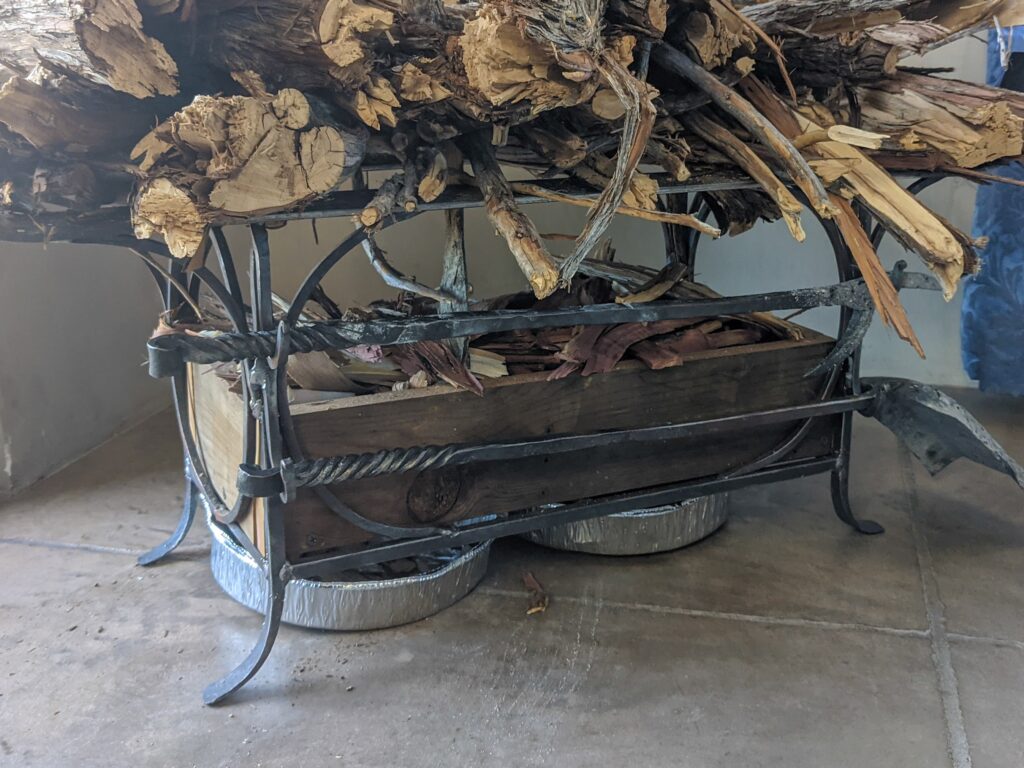
It has been used to great effect ever since!
Tire Shoes
Then I read Cristopher McDougall’s Born to Run in high school and became inspired to run barefoot, and especially, make the kinds of tire running sandals – huaraches – used by the Raramuri of the Copper Canyons of central Mexico.
All I needed to do was figure out how to do it.
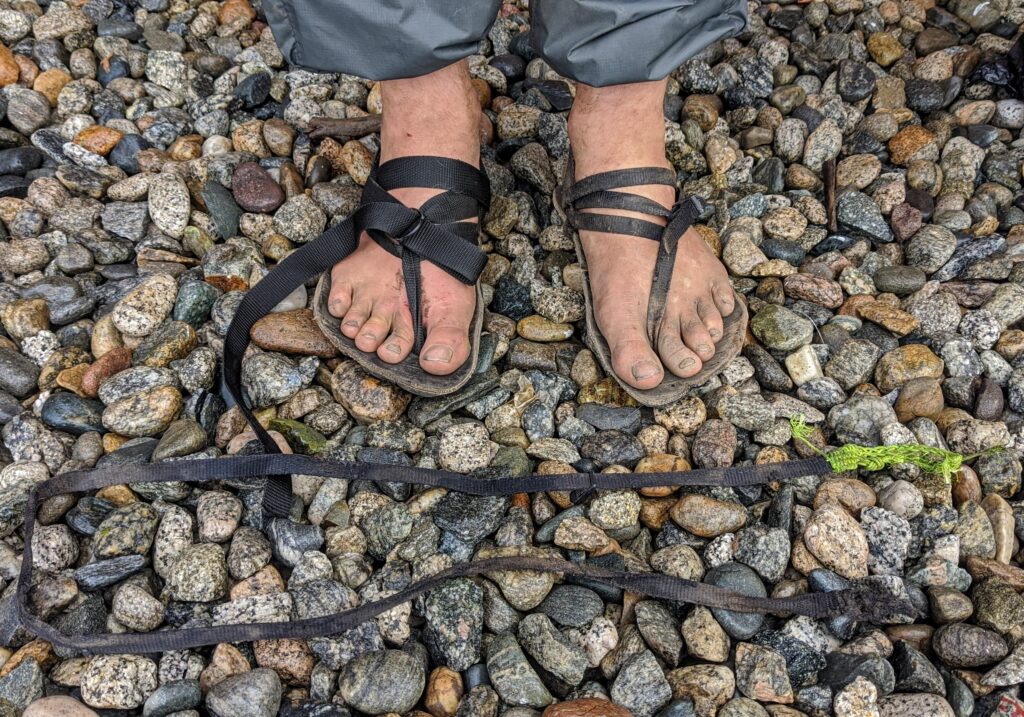
As with much of my making, this process uses recycled materials and is largely self-taught. My current process for making these shoes follows in the images below.
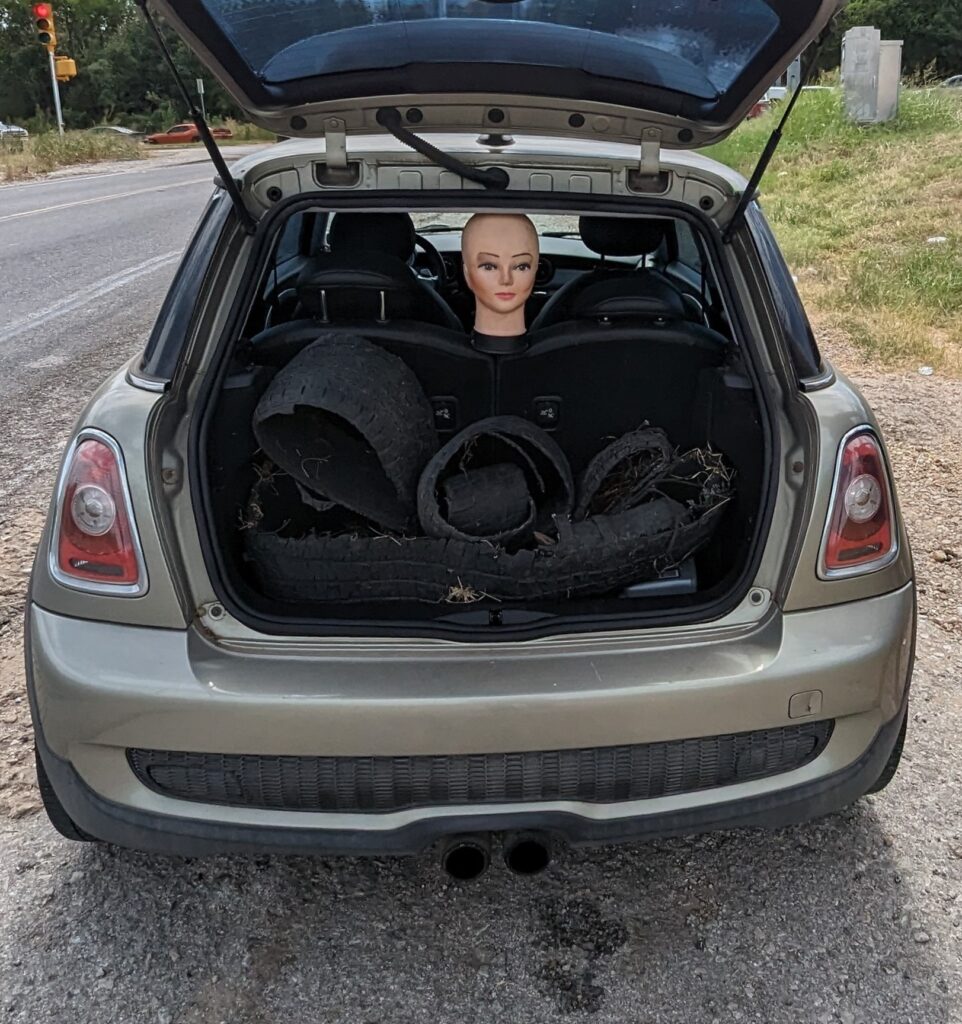
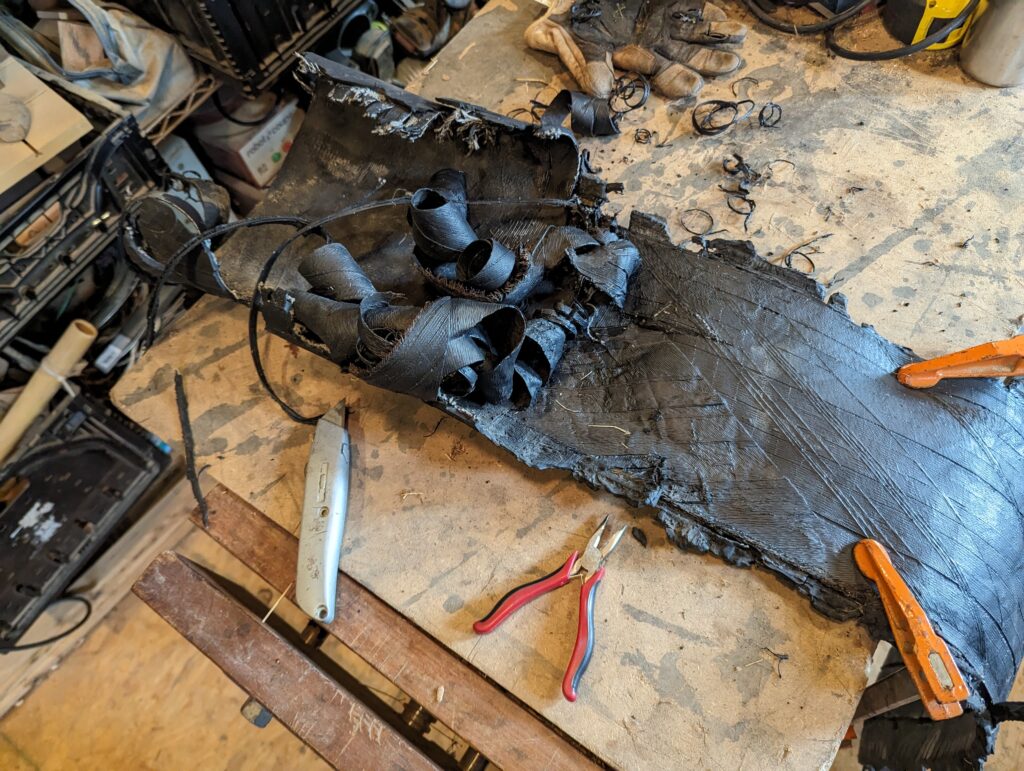
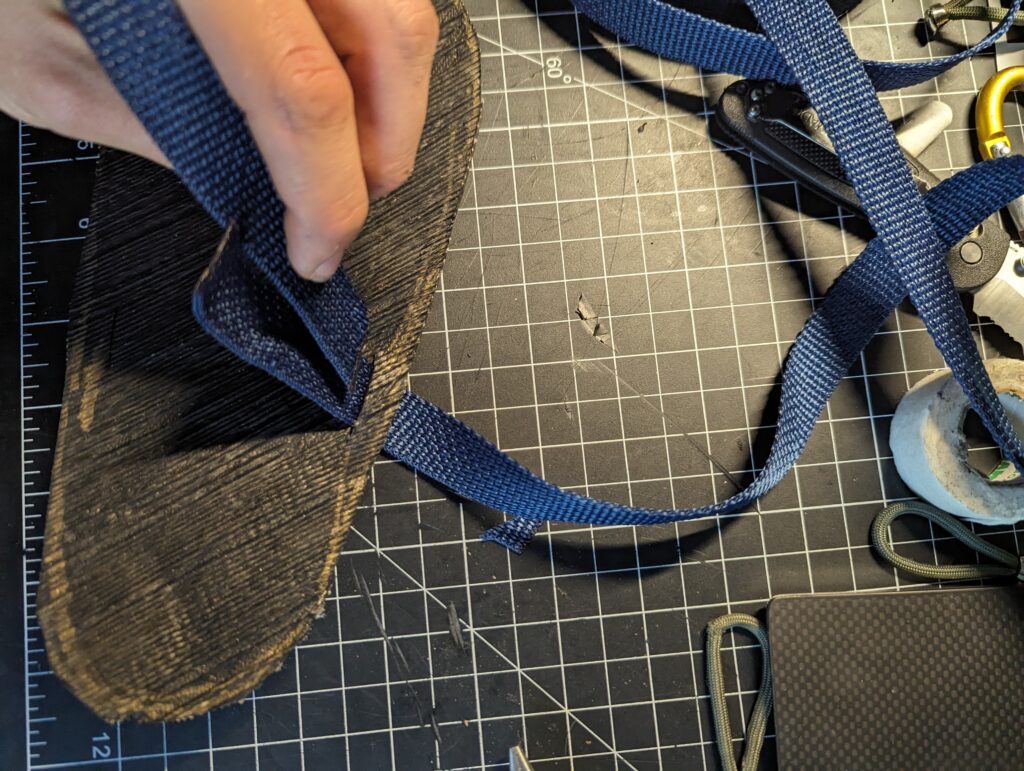
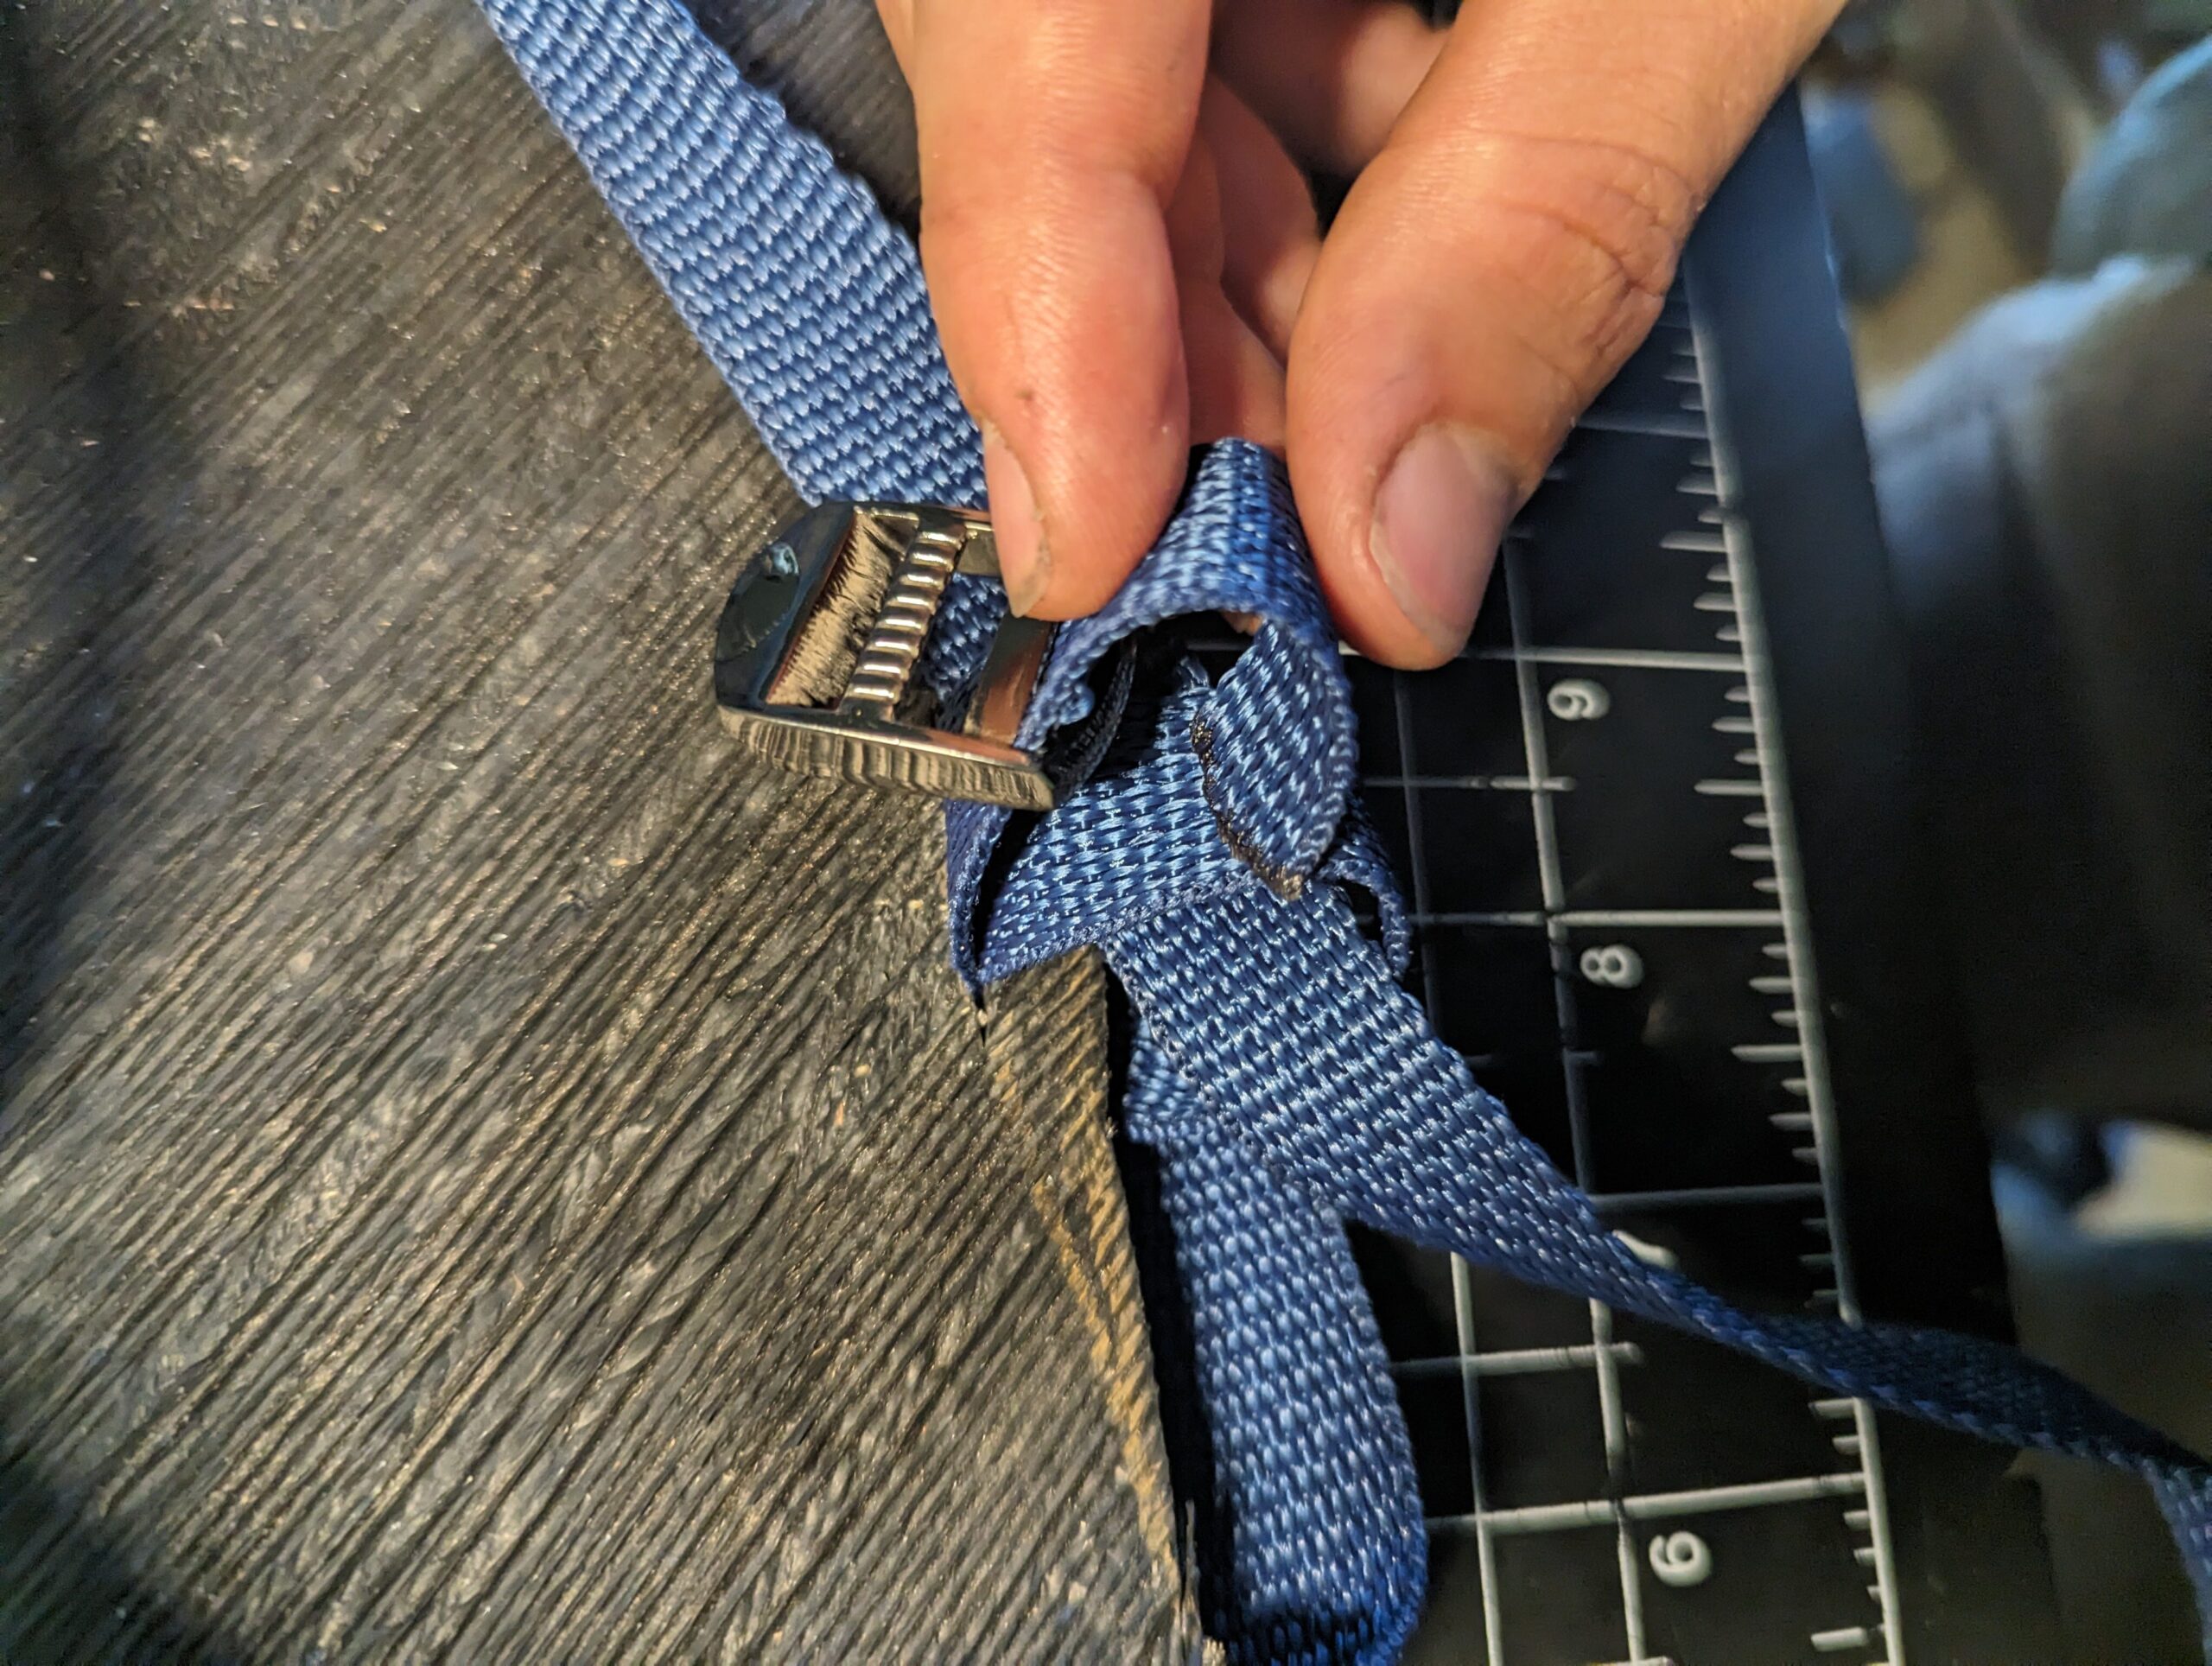
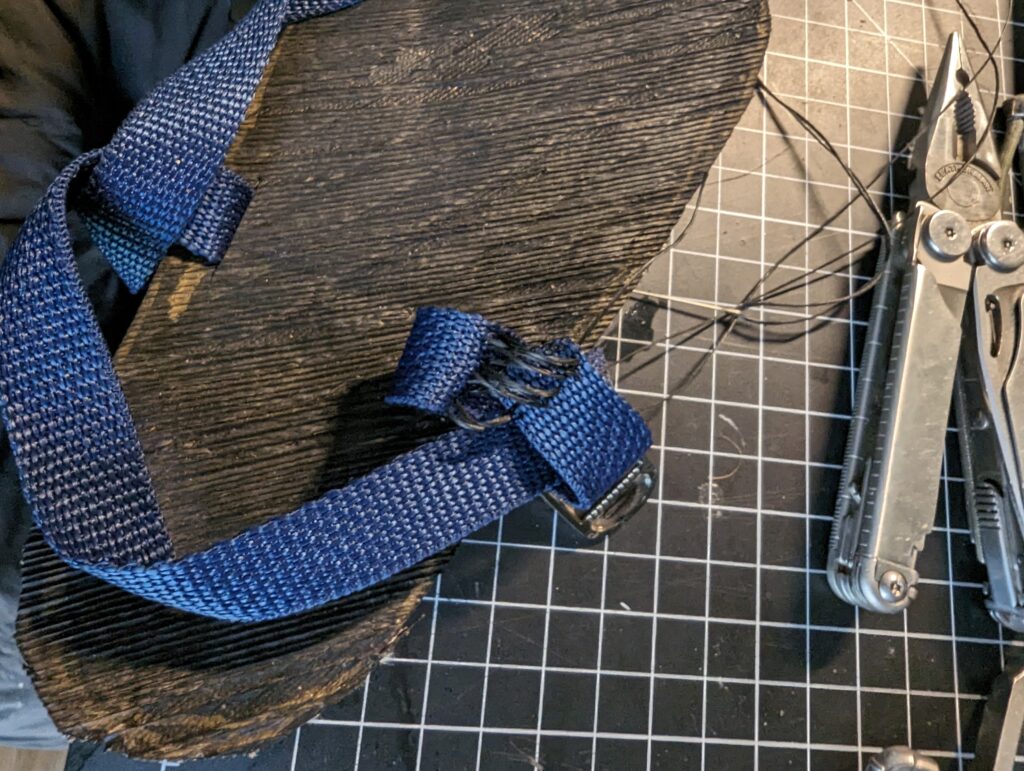
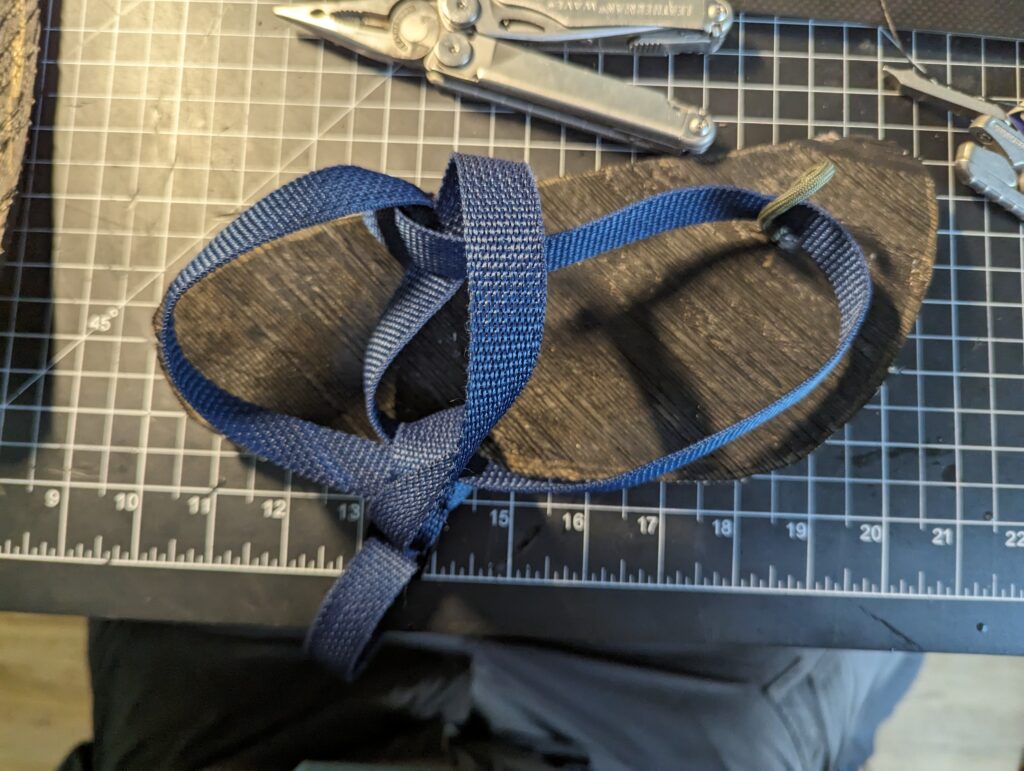
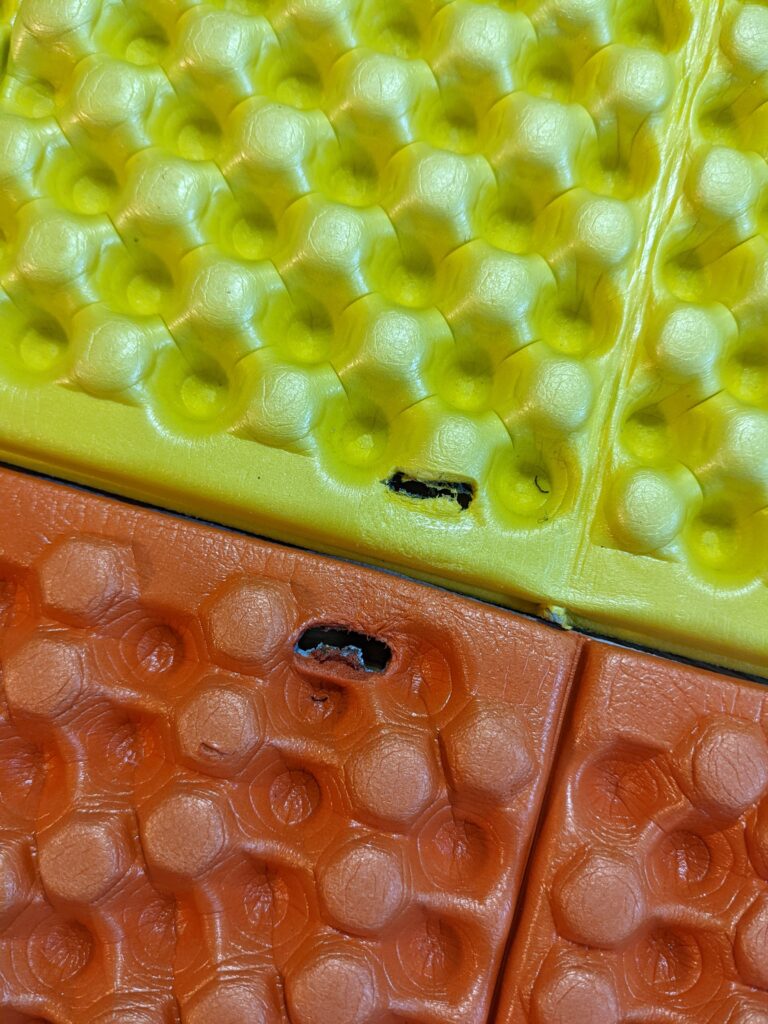
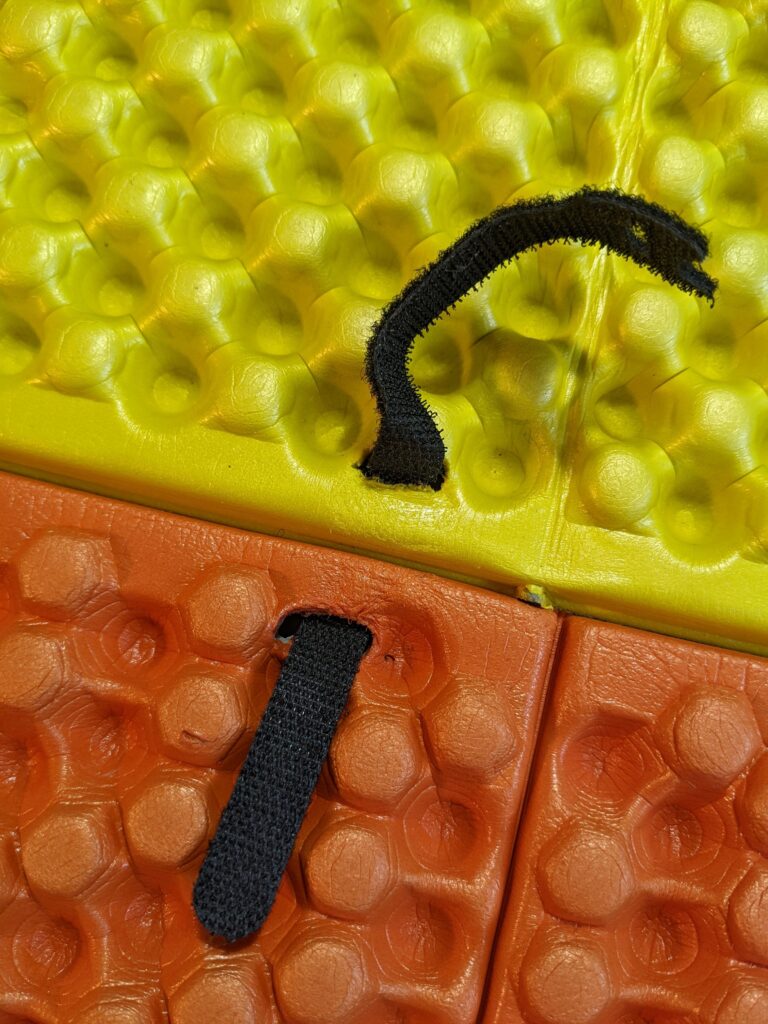
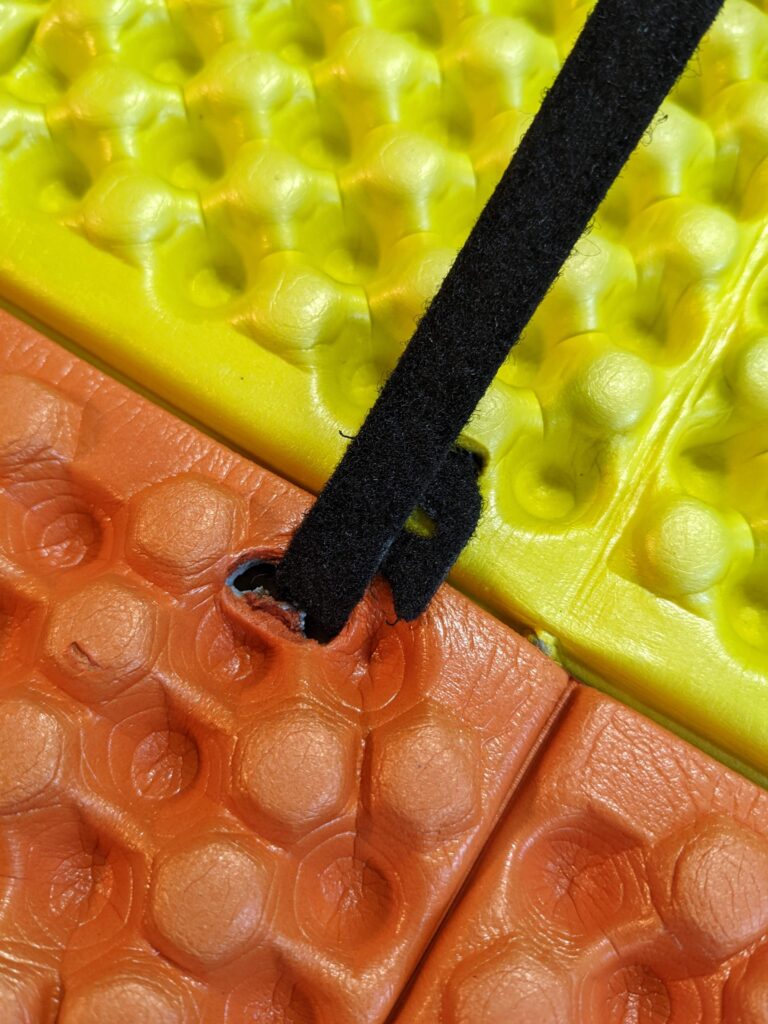
The sandals themselves have gone through a number of iterations, and multiple adventures. Early iterations used motorcycle tires, which lack the steel banding making them easier to cut. But the inherent curve of the tire was too much and I eventually chose against them. The strapping method has changed over time as well. The current model – mark 5 – includes the integration of the metal buckle and an additional component seen in the images above.
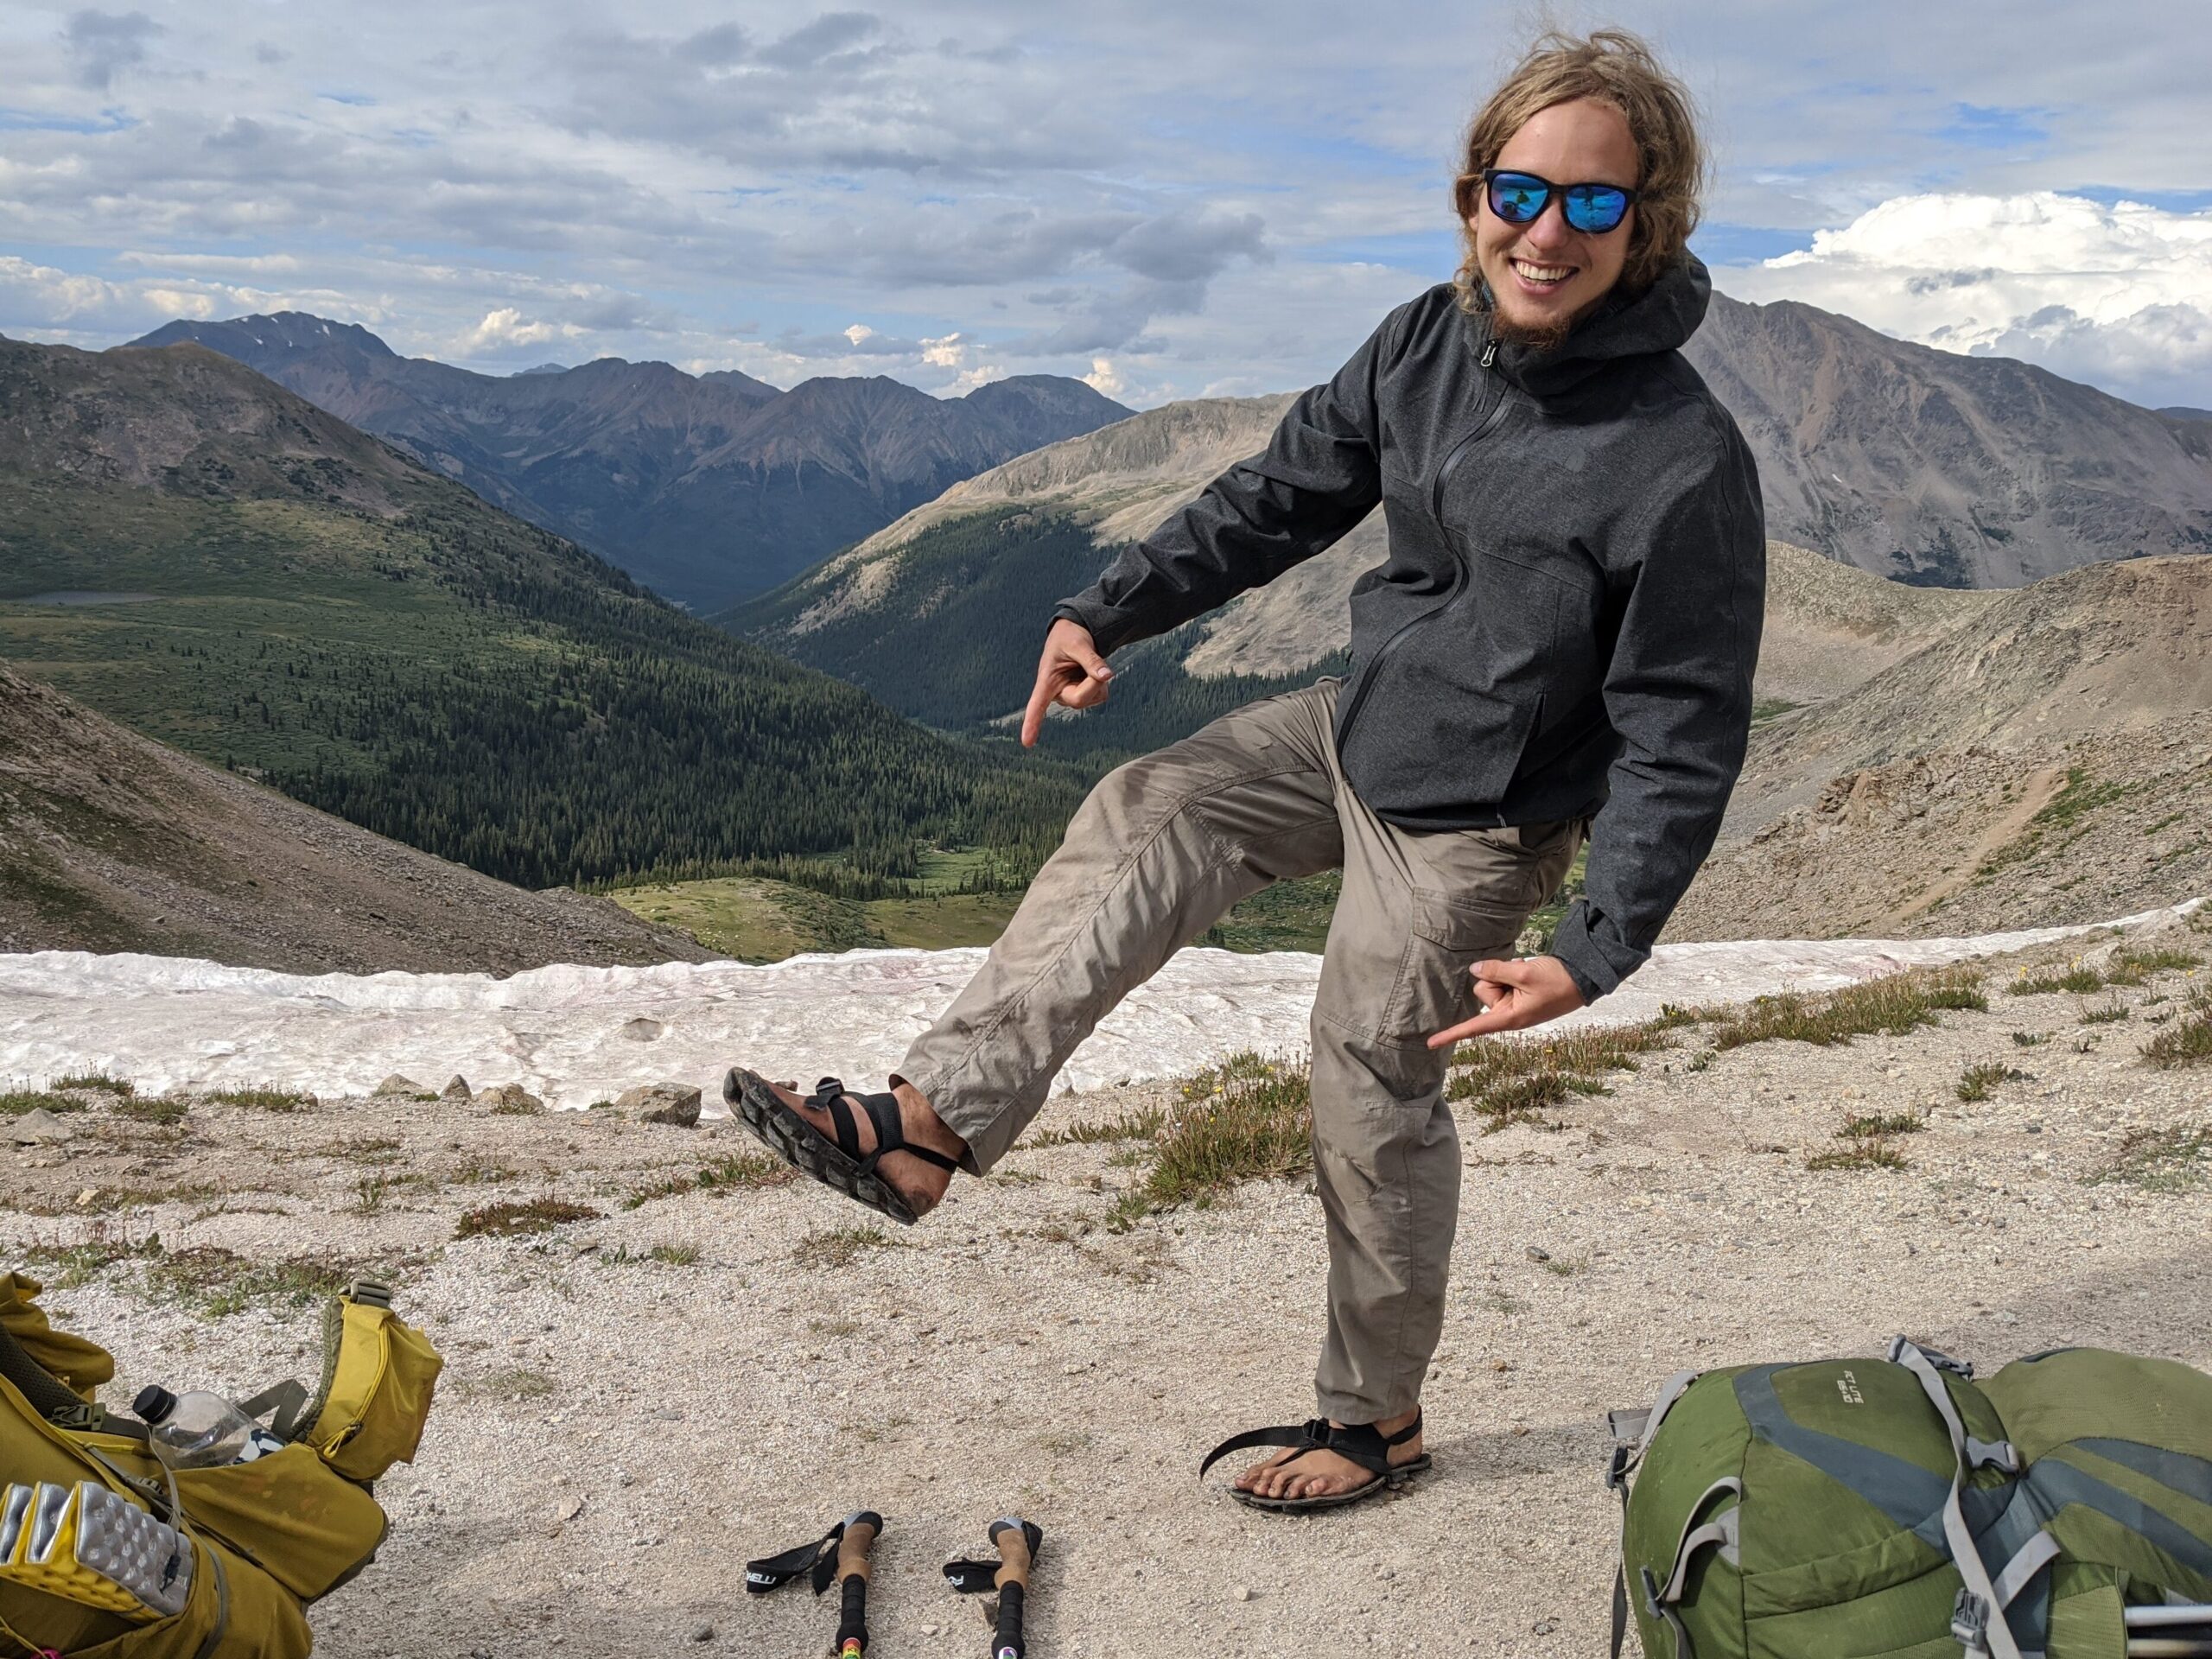
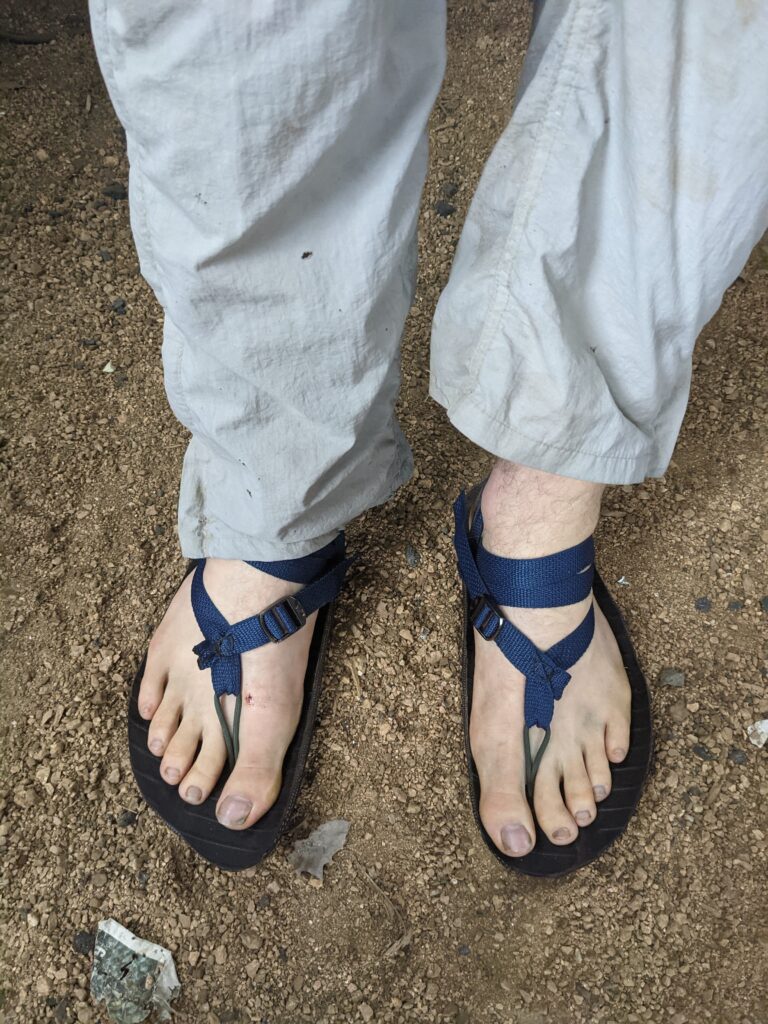
The images below show the shoes in use on the Colorado Trail, where I did a 100 mile stretch through the Collegiate Peaks wilderness from Breckenridge to Buena Vista. The shoes held up wonderfully, and
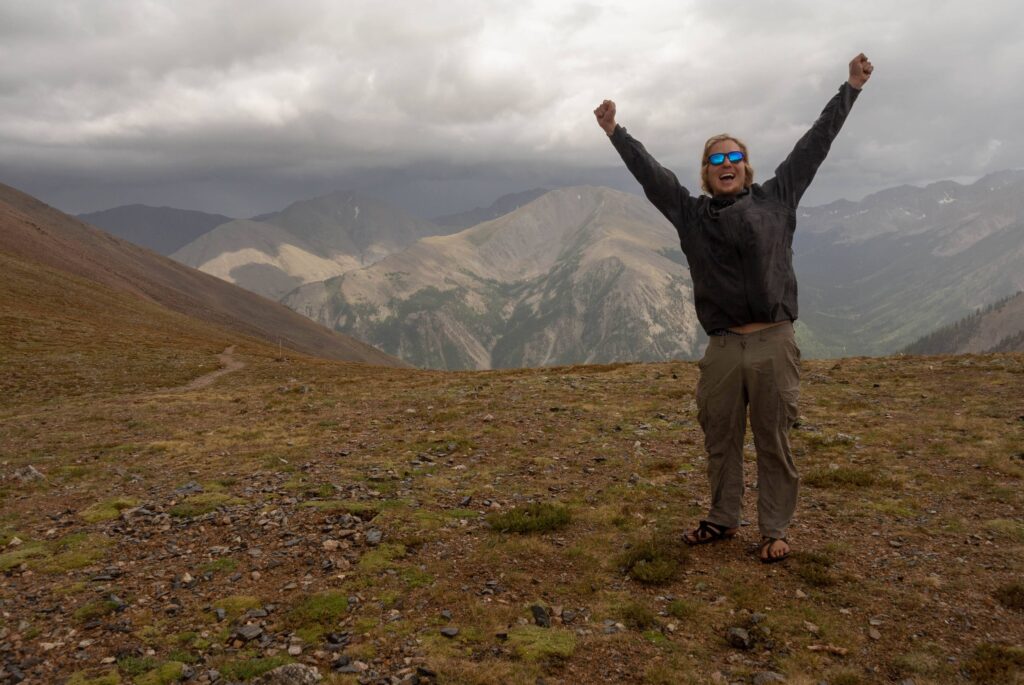
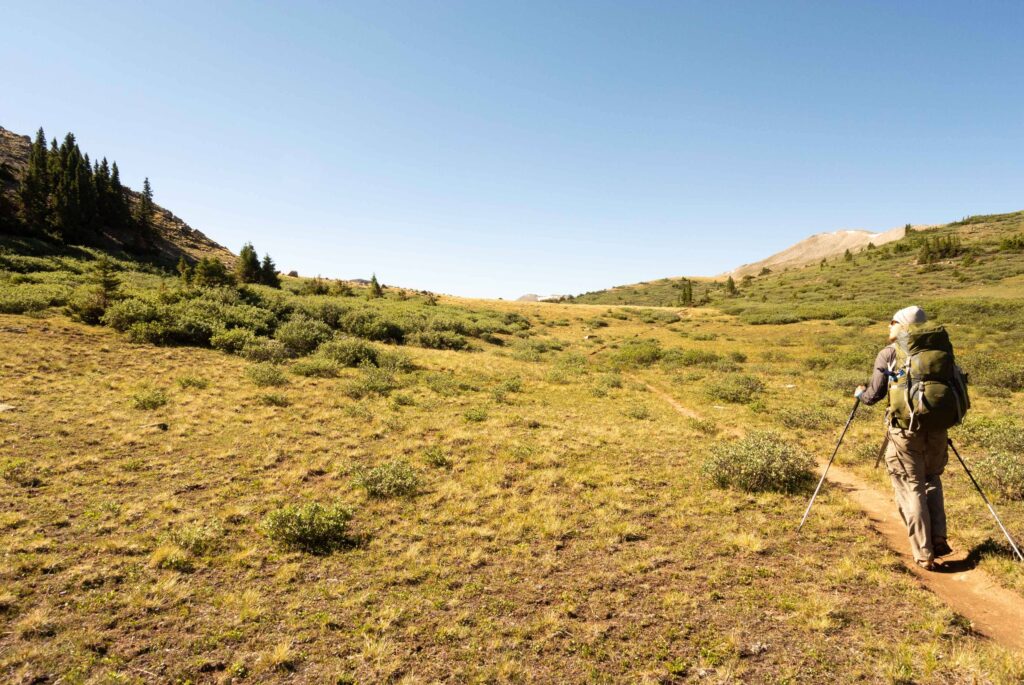
I love these sandals and wear them pretty much every day I can. I look forward to continually honing them – making them better for use, but also for manufacturing.
I have also learned a TON about how shoes of all kinds are made. The next steps to me are to make closed toed shoes with a tire sole. Working on this project has required me to learn much more about cobbling – and especially last making – that I otherwise would have.
Model House
One of the greatest shocks coming to Stanford was just how much the machines here involved computers. I grew up making things by hand – you and the machine in a dance together. The laser cutter and 3d printer were terra incognita to me – you mean you tell the machine what to do, and it does it?
So, while most of my peers had come across a 3d printer before, it was all new to me. I was lucky enough to be given projects and opportunities to learn.
One such opportunity was to make a model house for the class ME102.
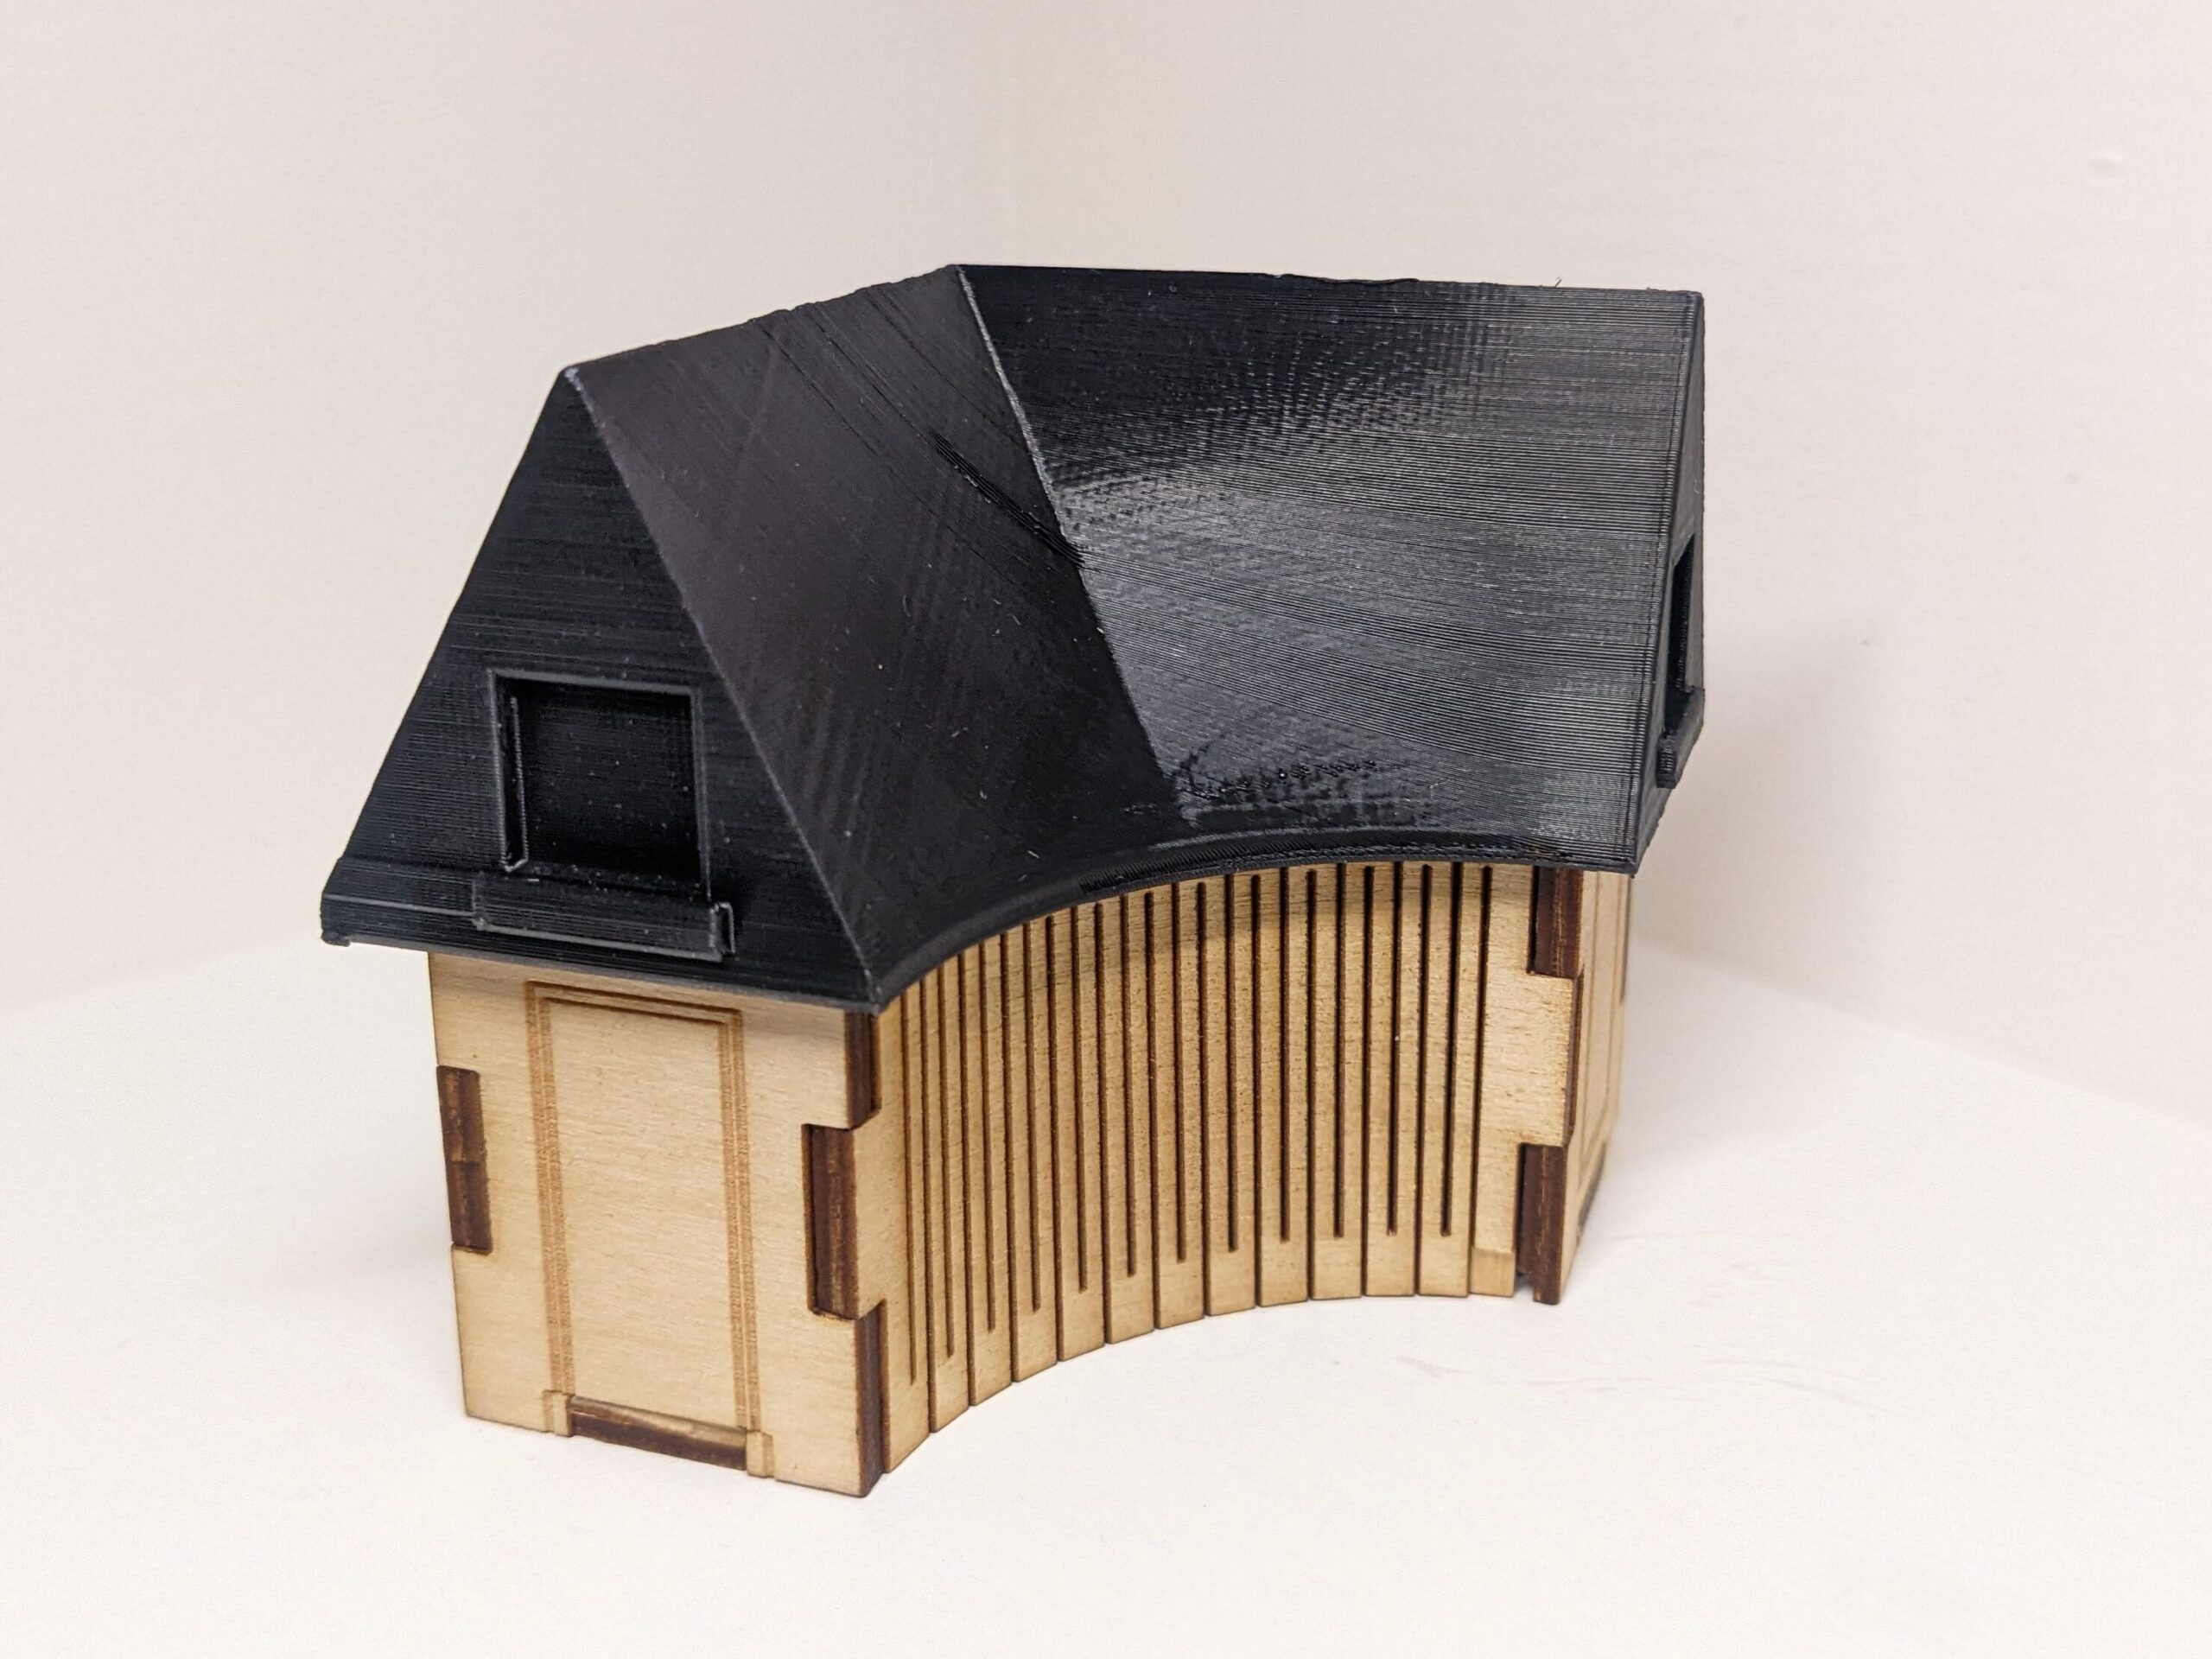
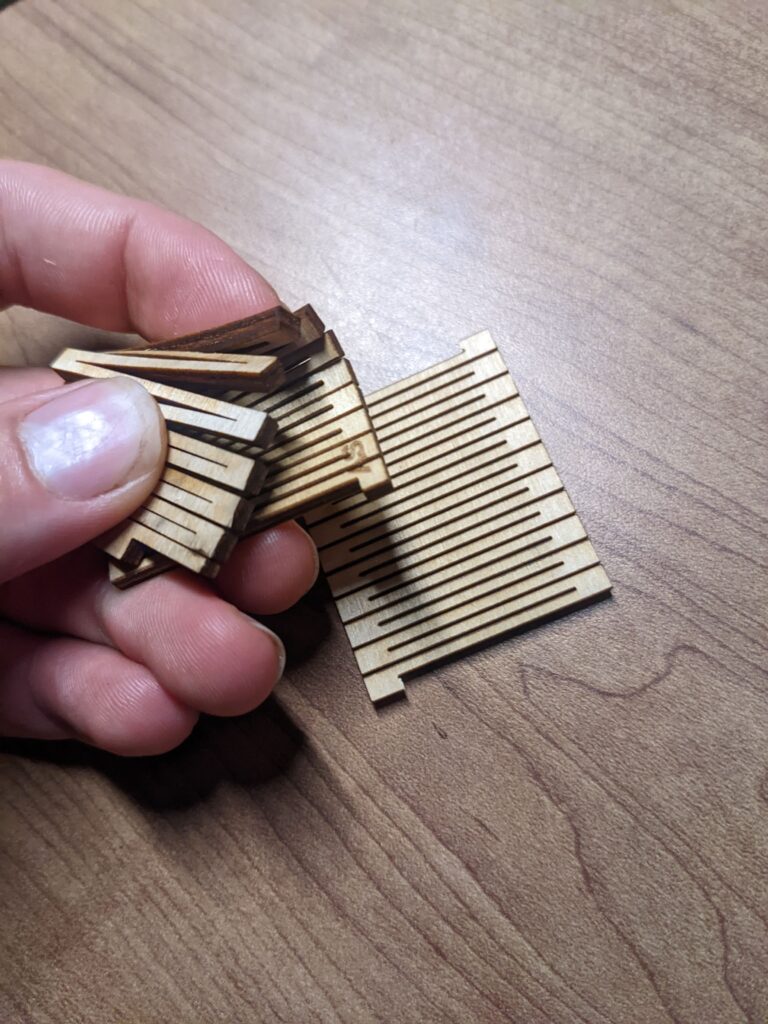
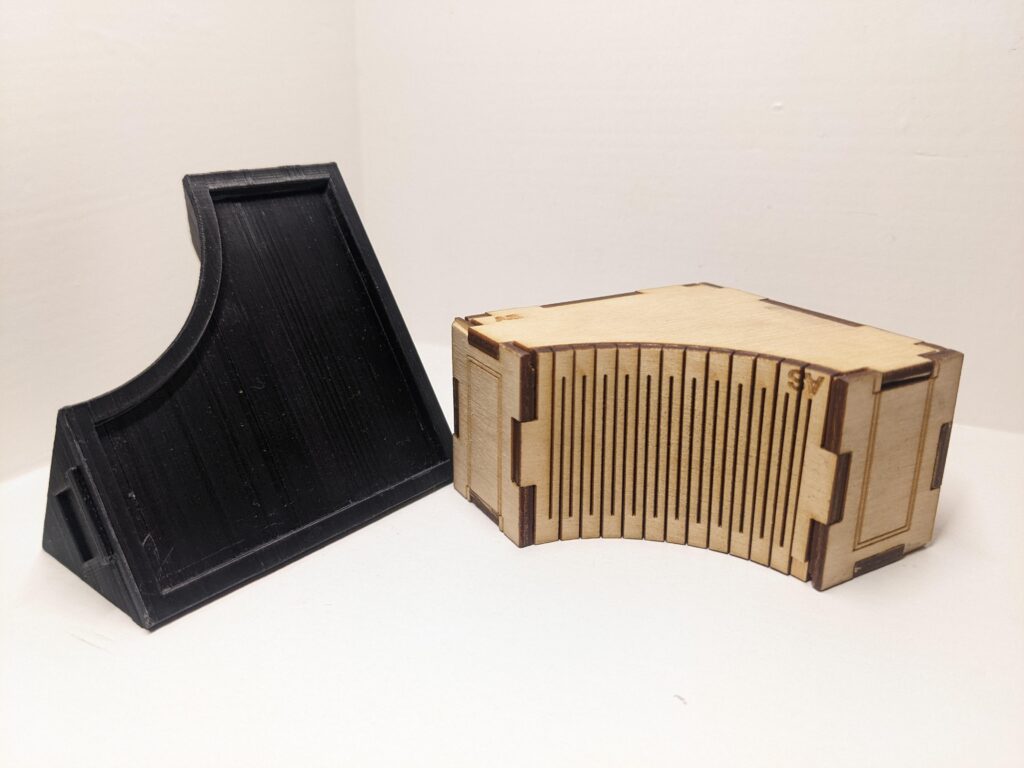
We were told to make a box (and CAD model) that anyone could print off and repeat our design. To this end, I parametrized the variable kerf width of the laser, created cut files, and created gcode for the roof. After much tinkering, I am proud to say I have a model that works.
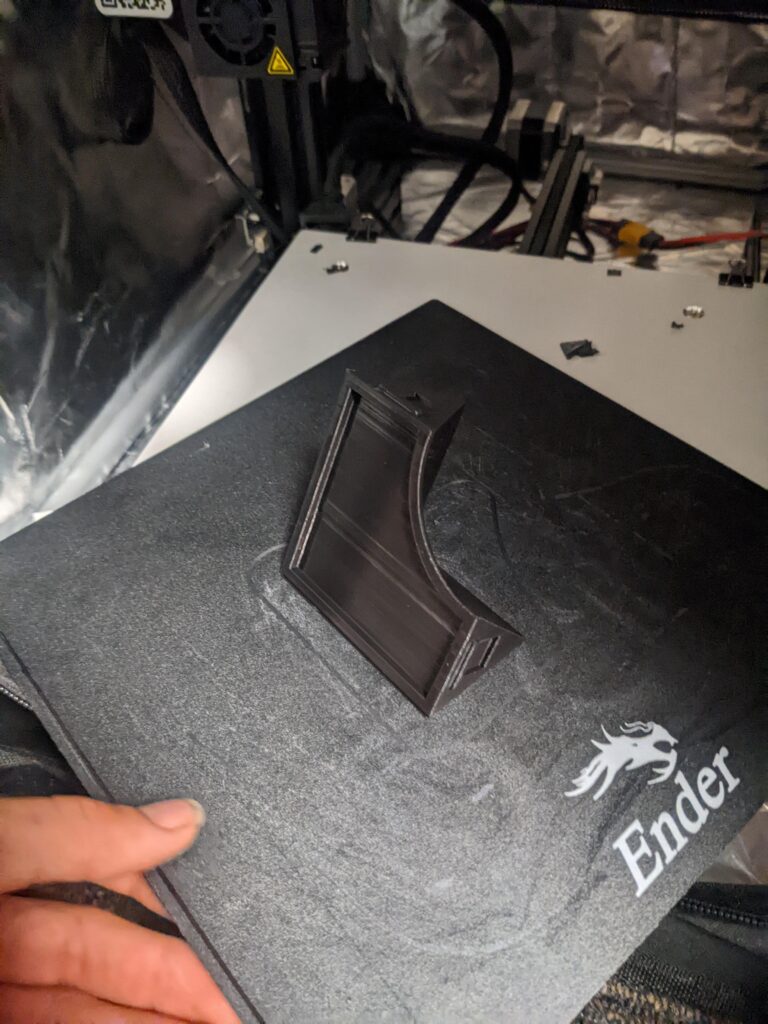
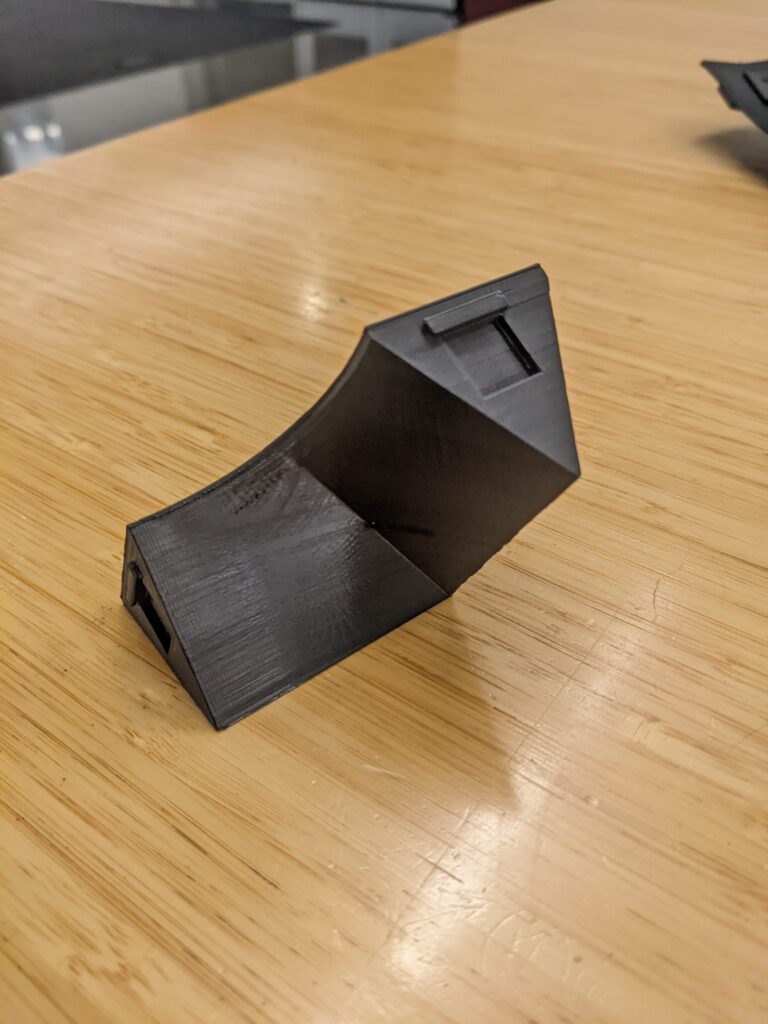
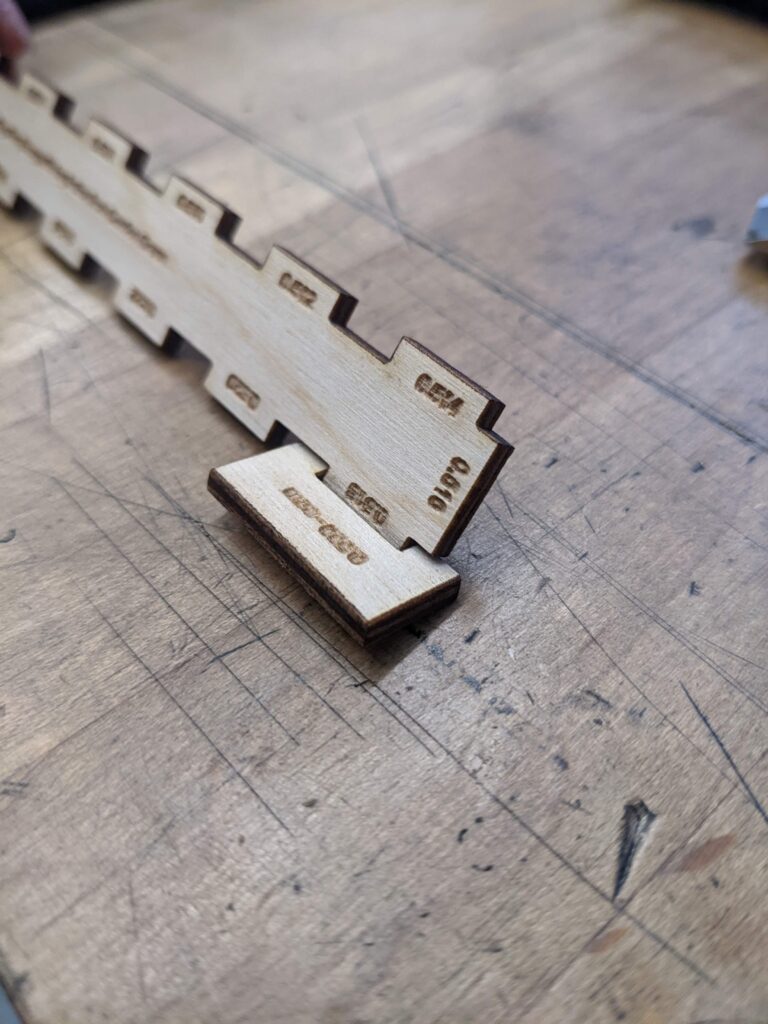
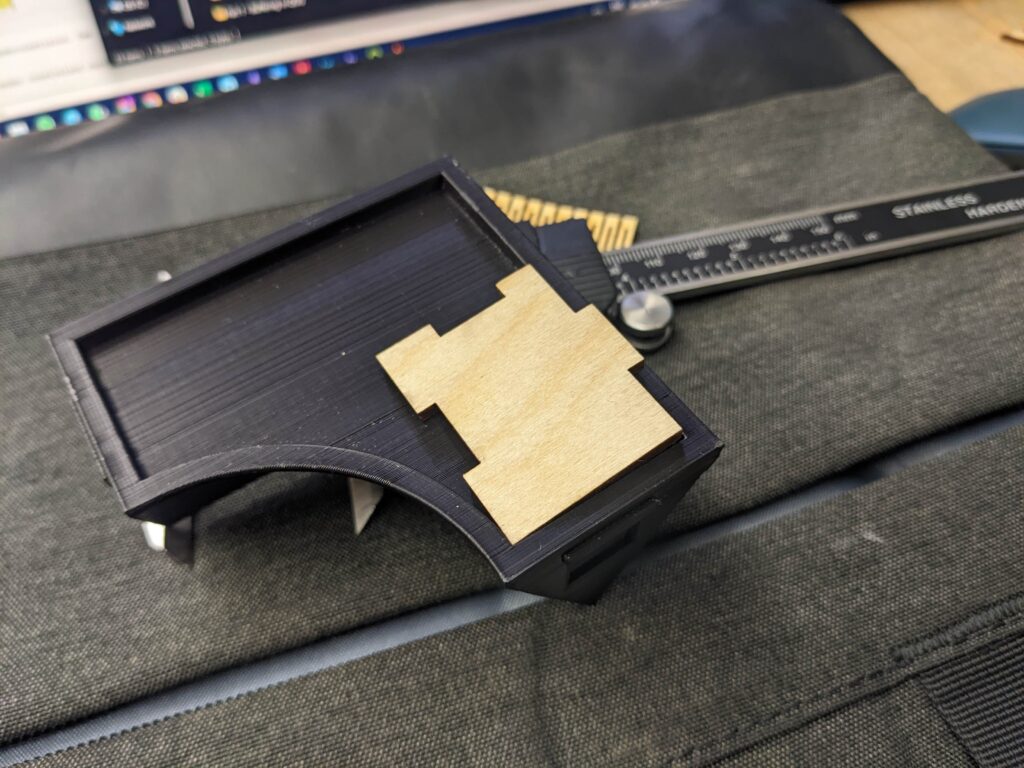
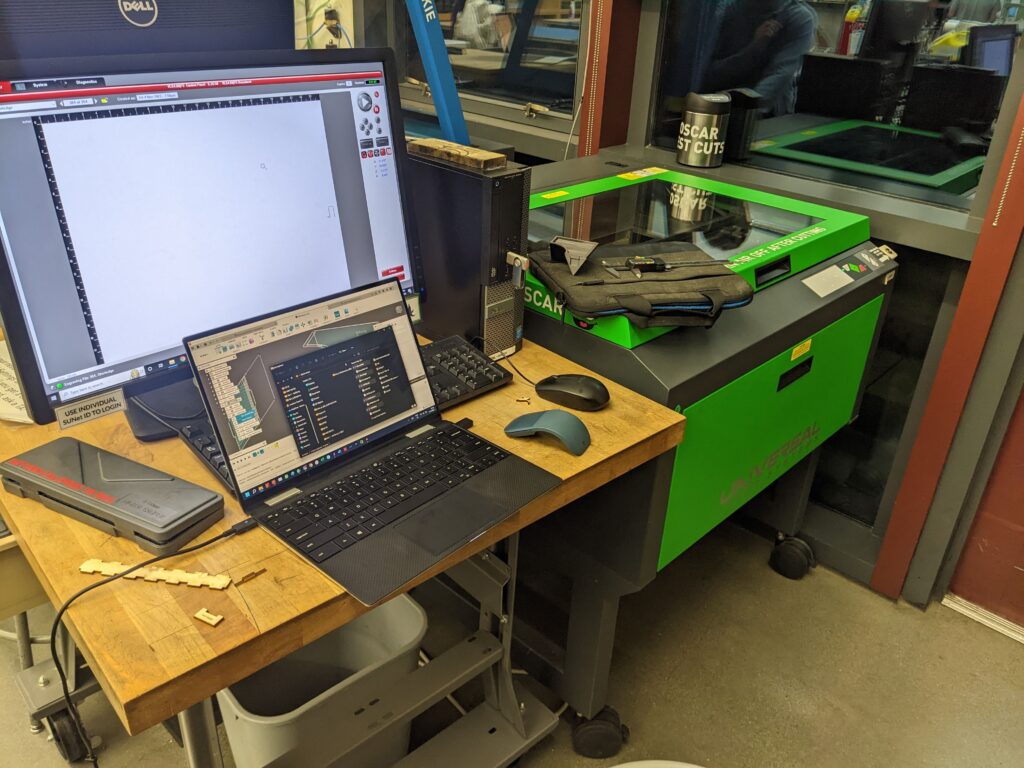
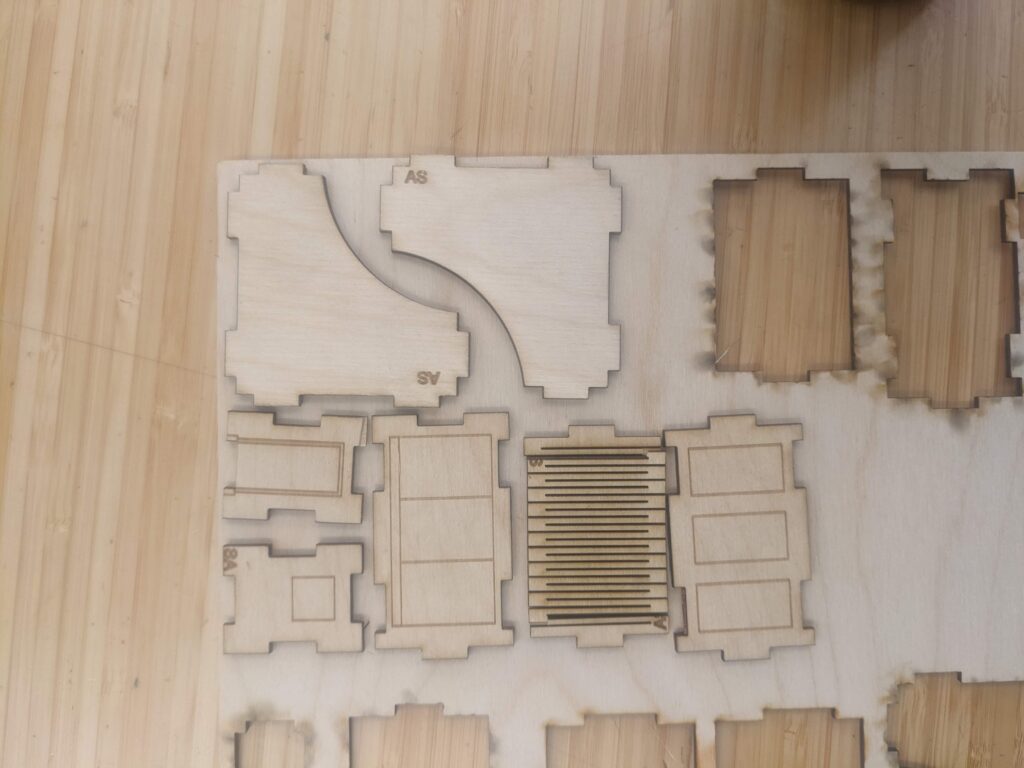
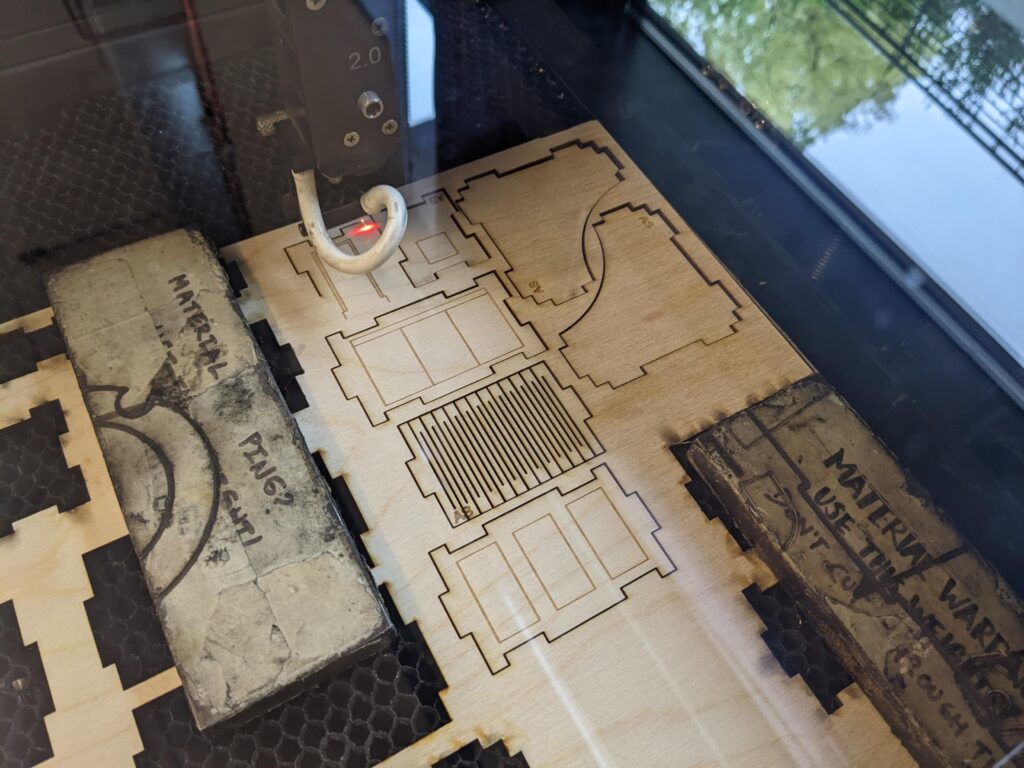

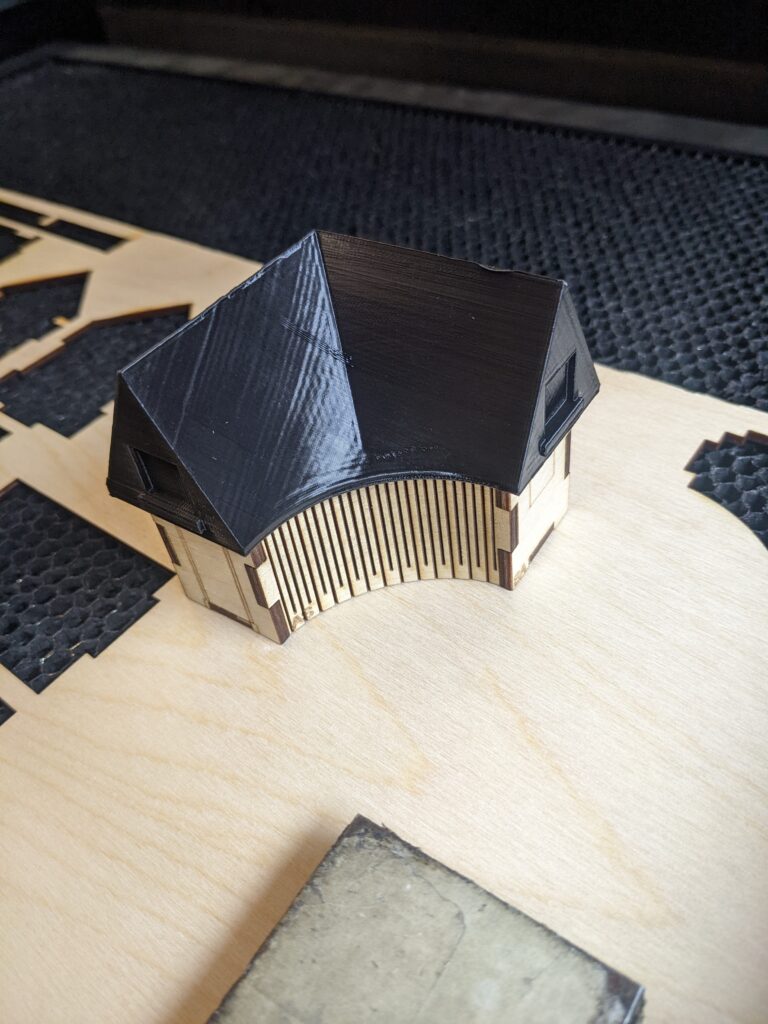

I decided to experiment with a new complex technique with the laser cutter – kerfing. This is where many cuts are made into a sheet of plywood to make it curve. I did this to make the side panel of the house.
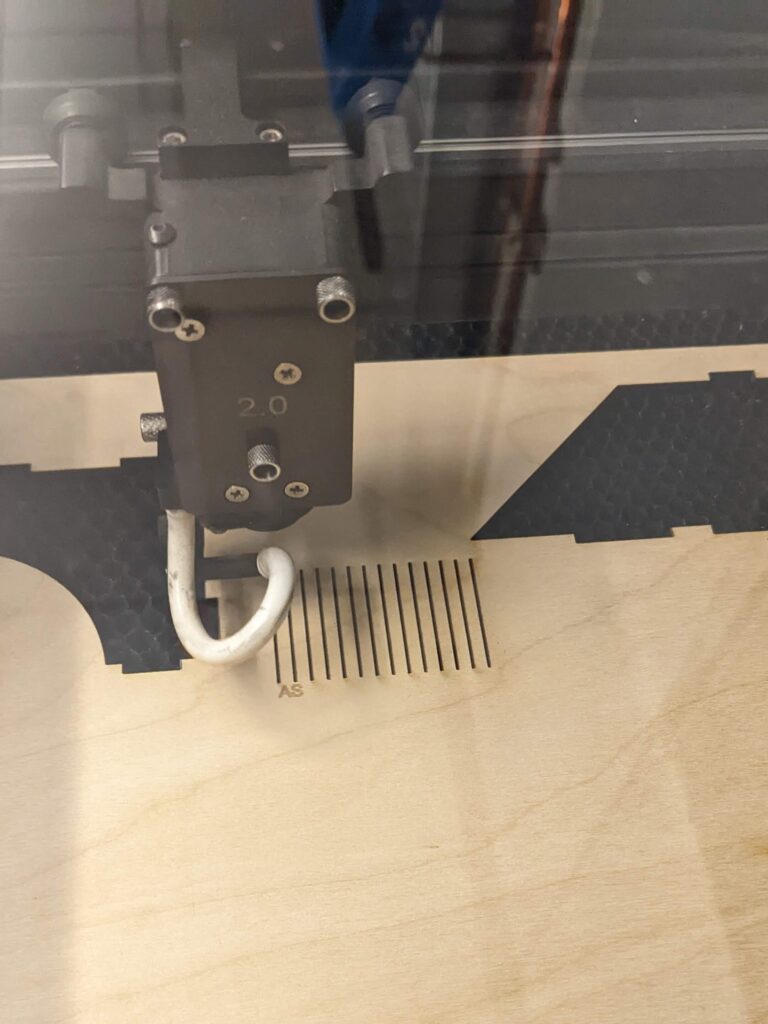
Above all else, in this project, I learned that I could tell the machine what to do, and it would do it. This was quite a different method I had used to make things before, where my skill and hands guided the machine’s work. Now, with the press of a button, and a few tweaks in CAD, I could set the machine and only have to oversee it. Of course, this is how modern manufacturing works, but it was new – and very exciting – to me.
2 Person Backpacking quilt
Though most of my skills revolve around wood and metal work, I love working in fabrics as well.
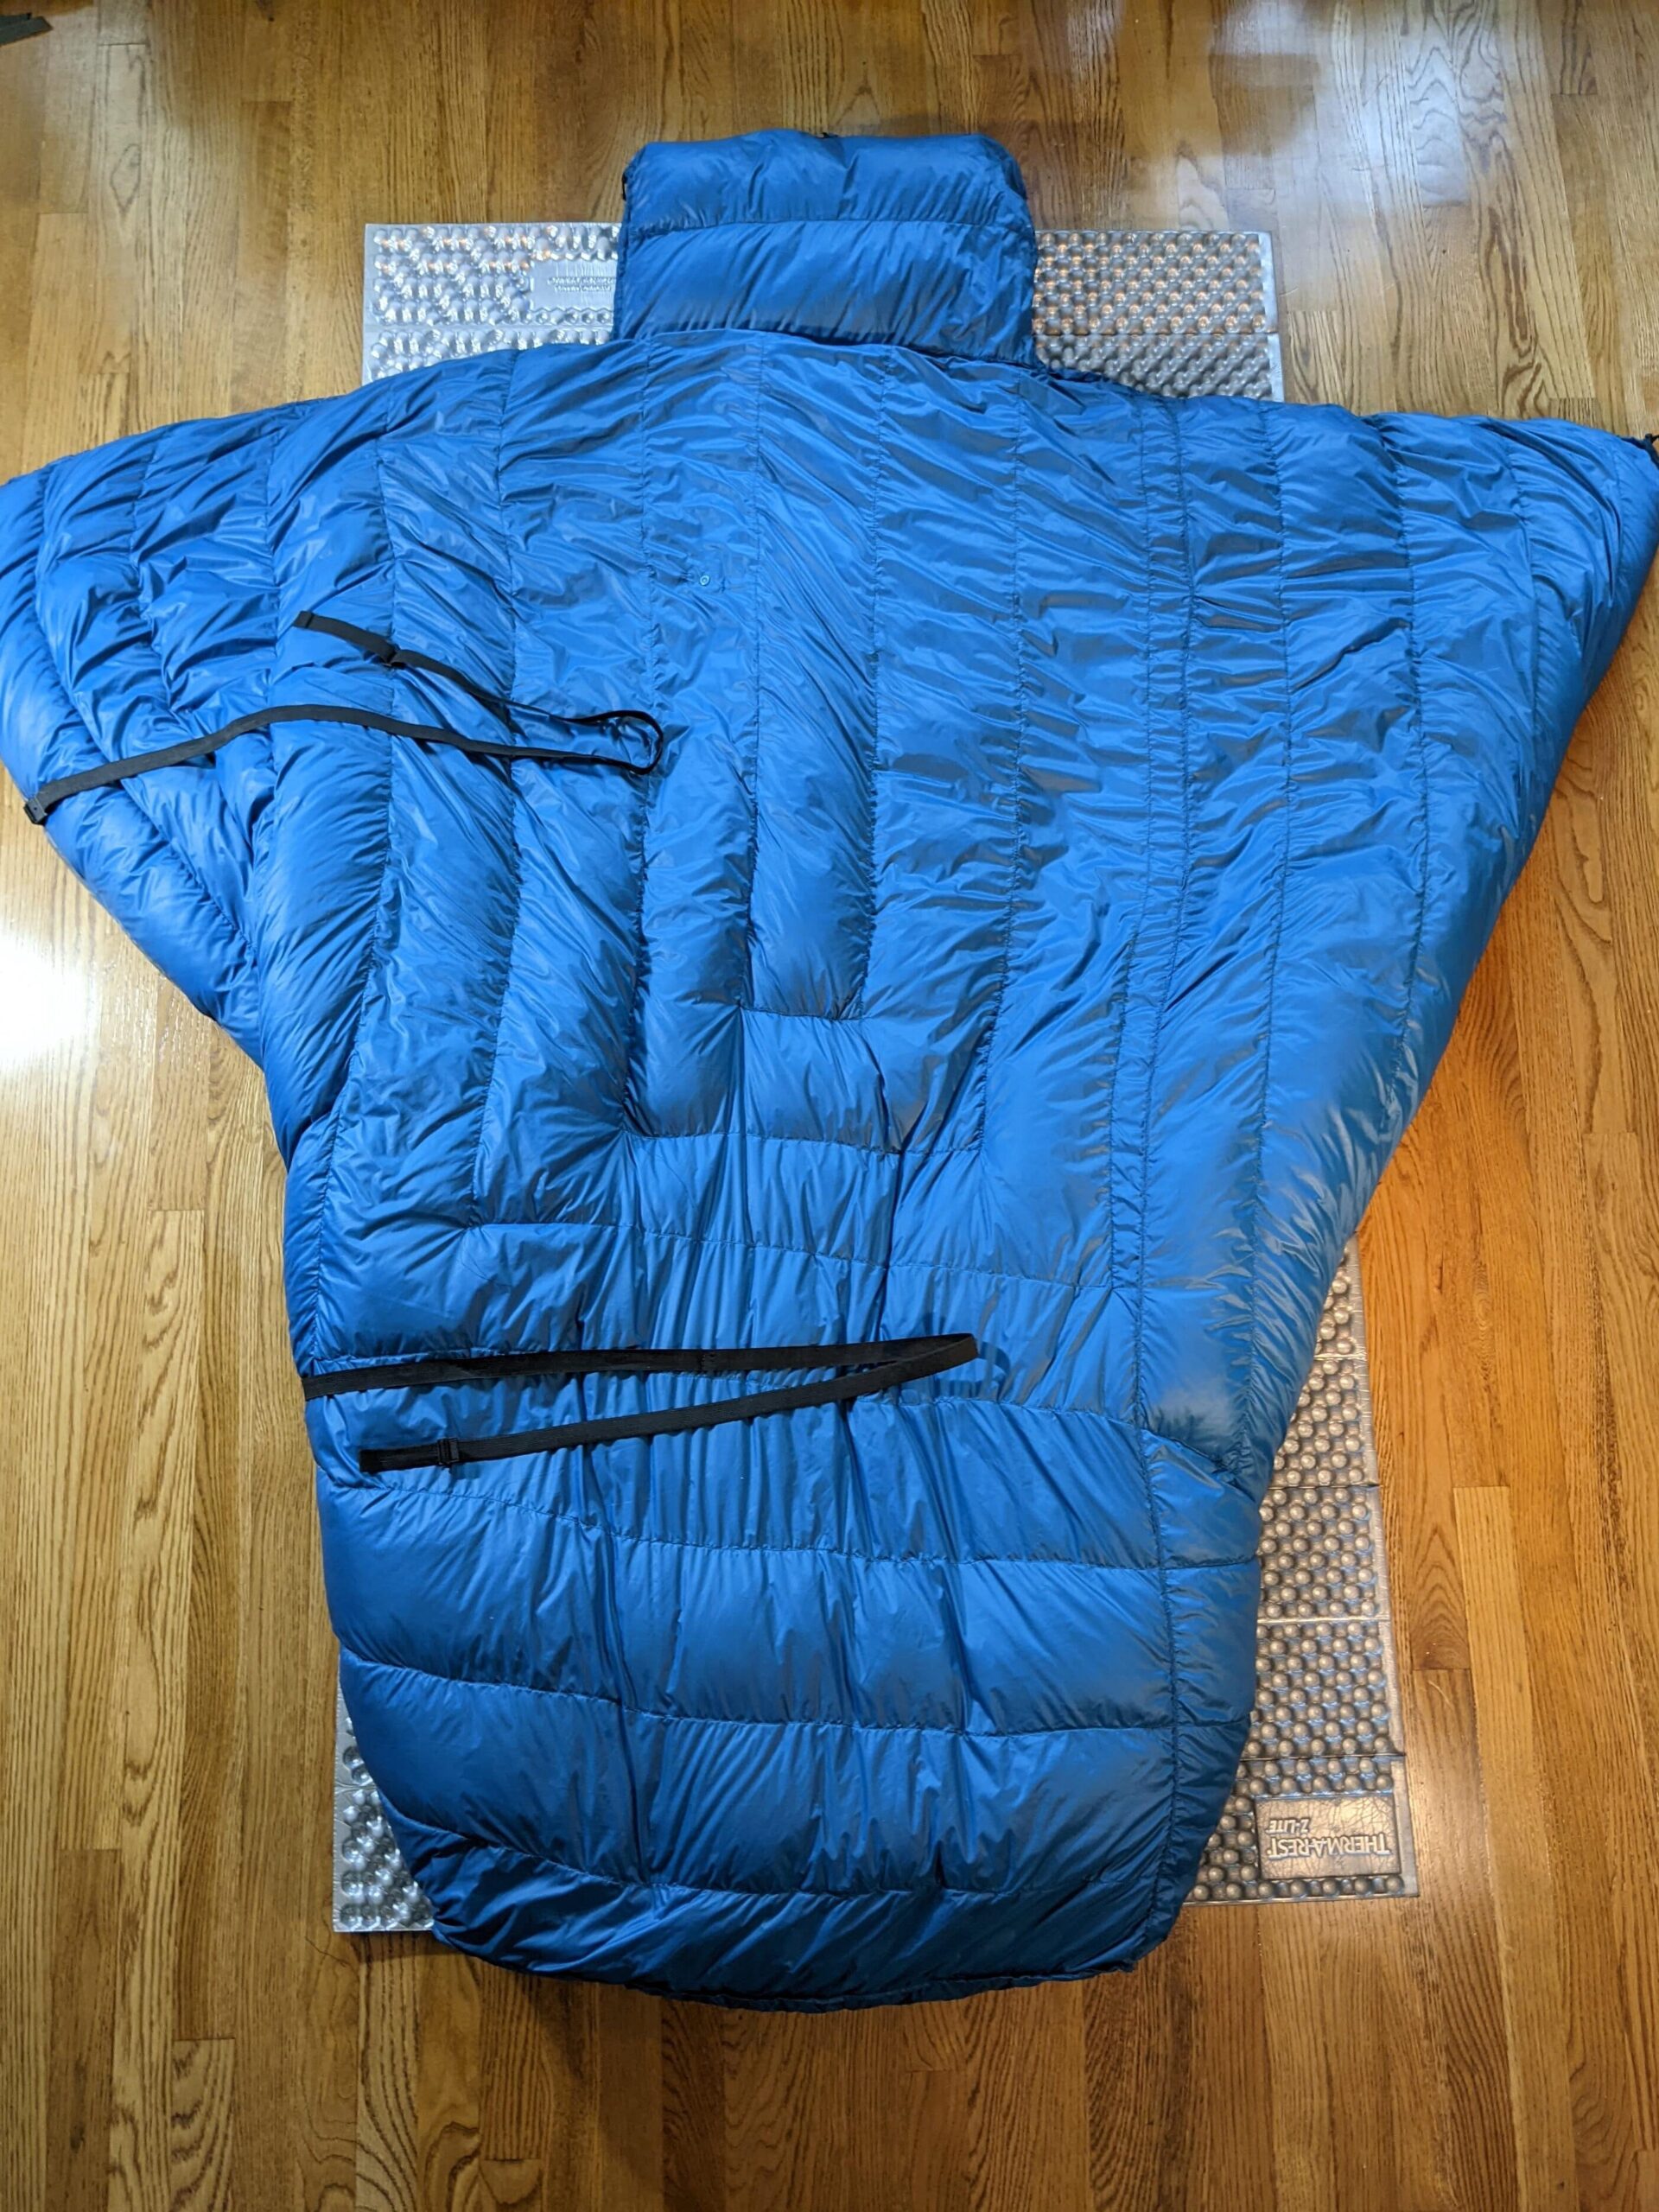
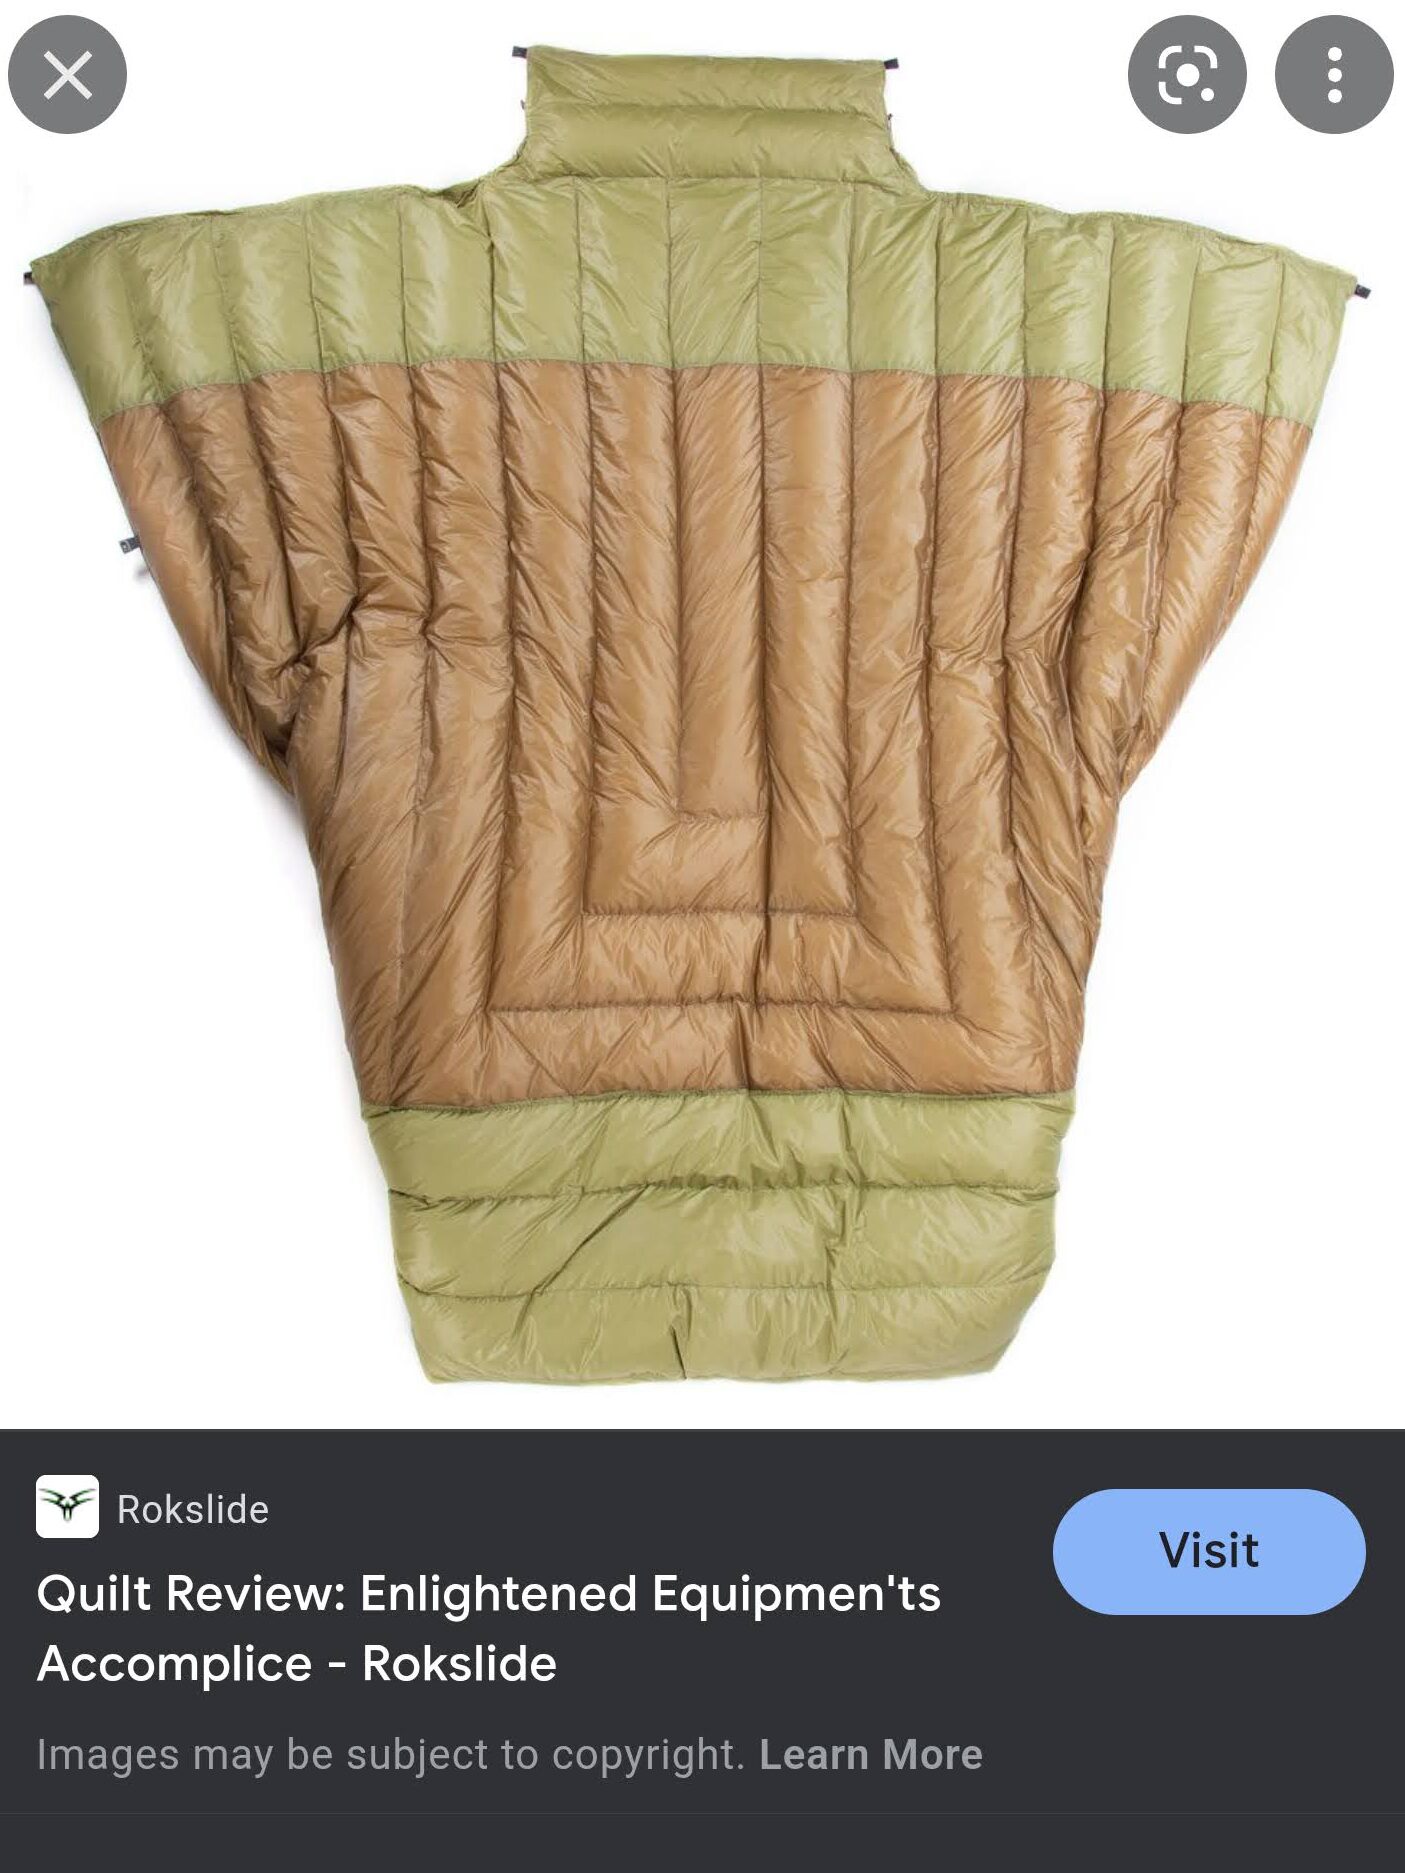
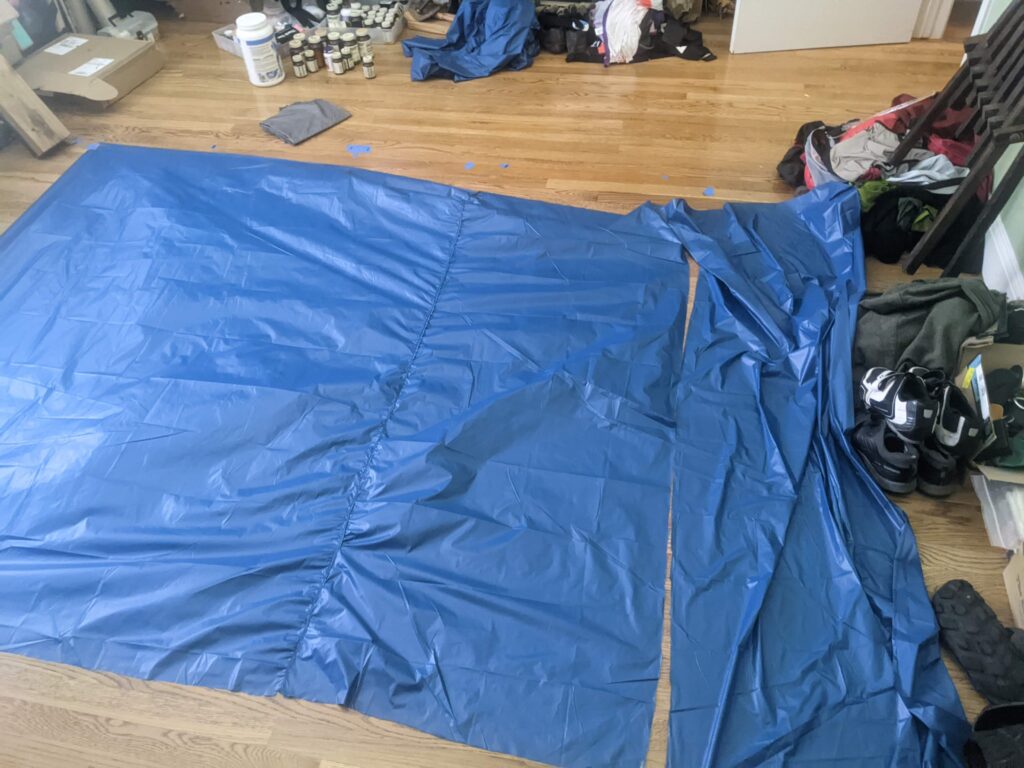
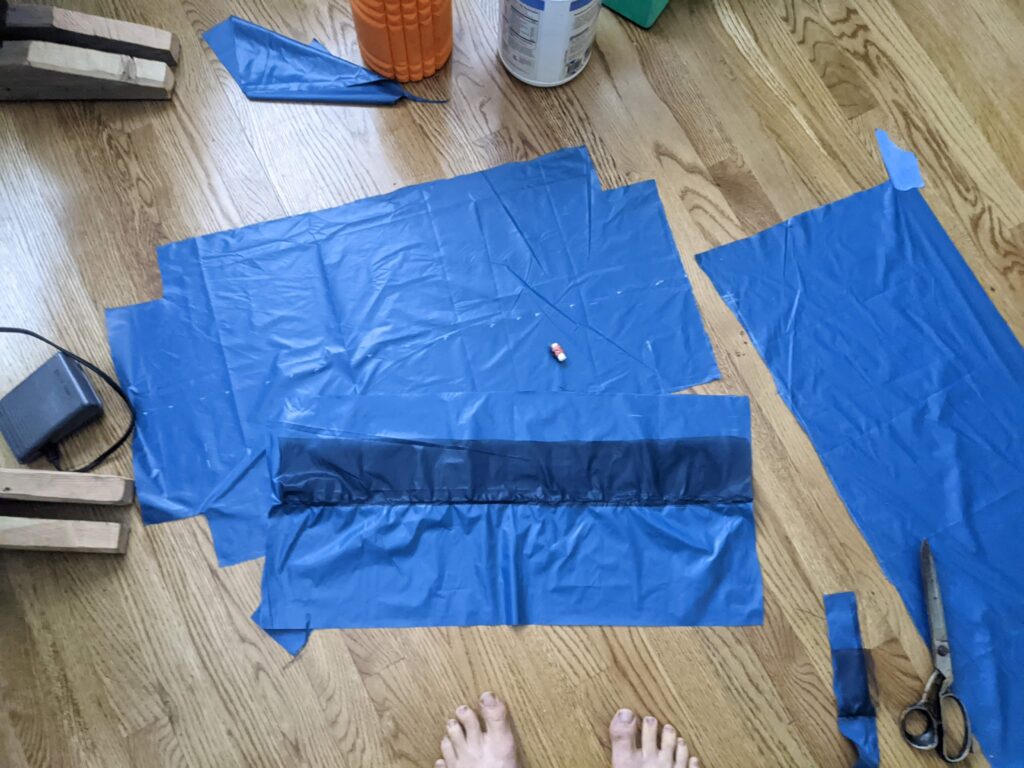
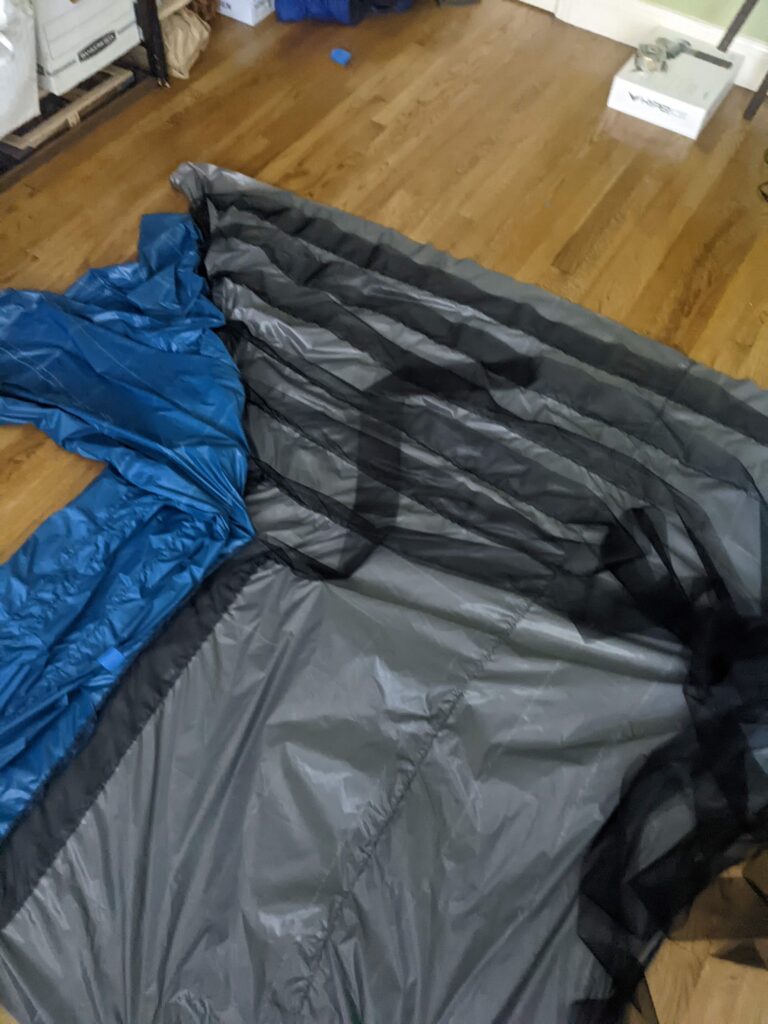
For this project, I decided to make a 2-person backpacking quilt (like a sleeping bag, but lighter) for my then partner and I to camp together in with.
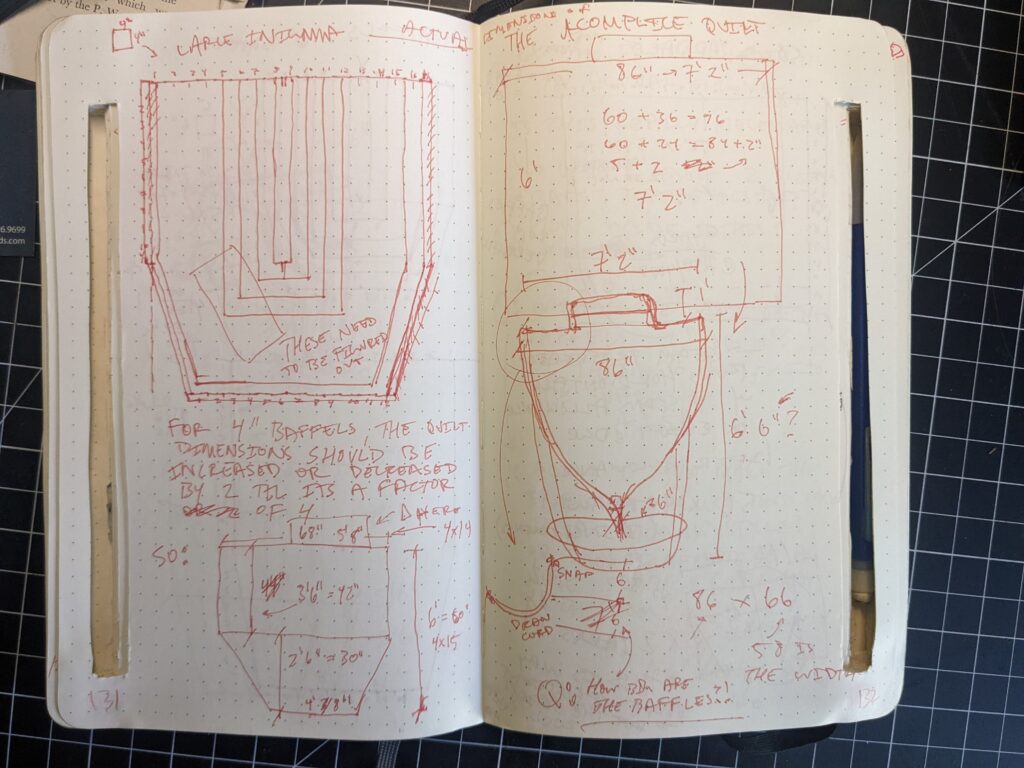
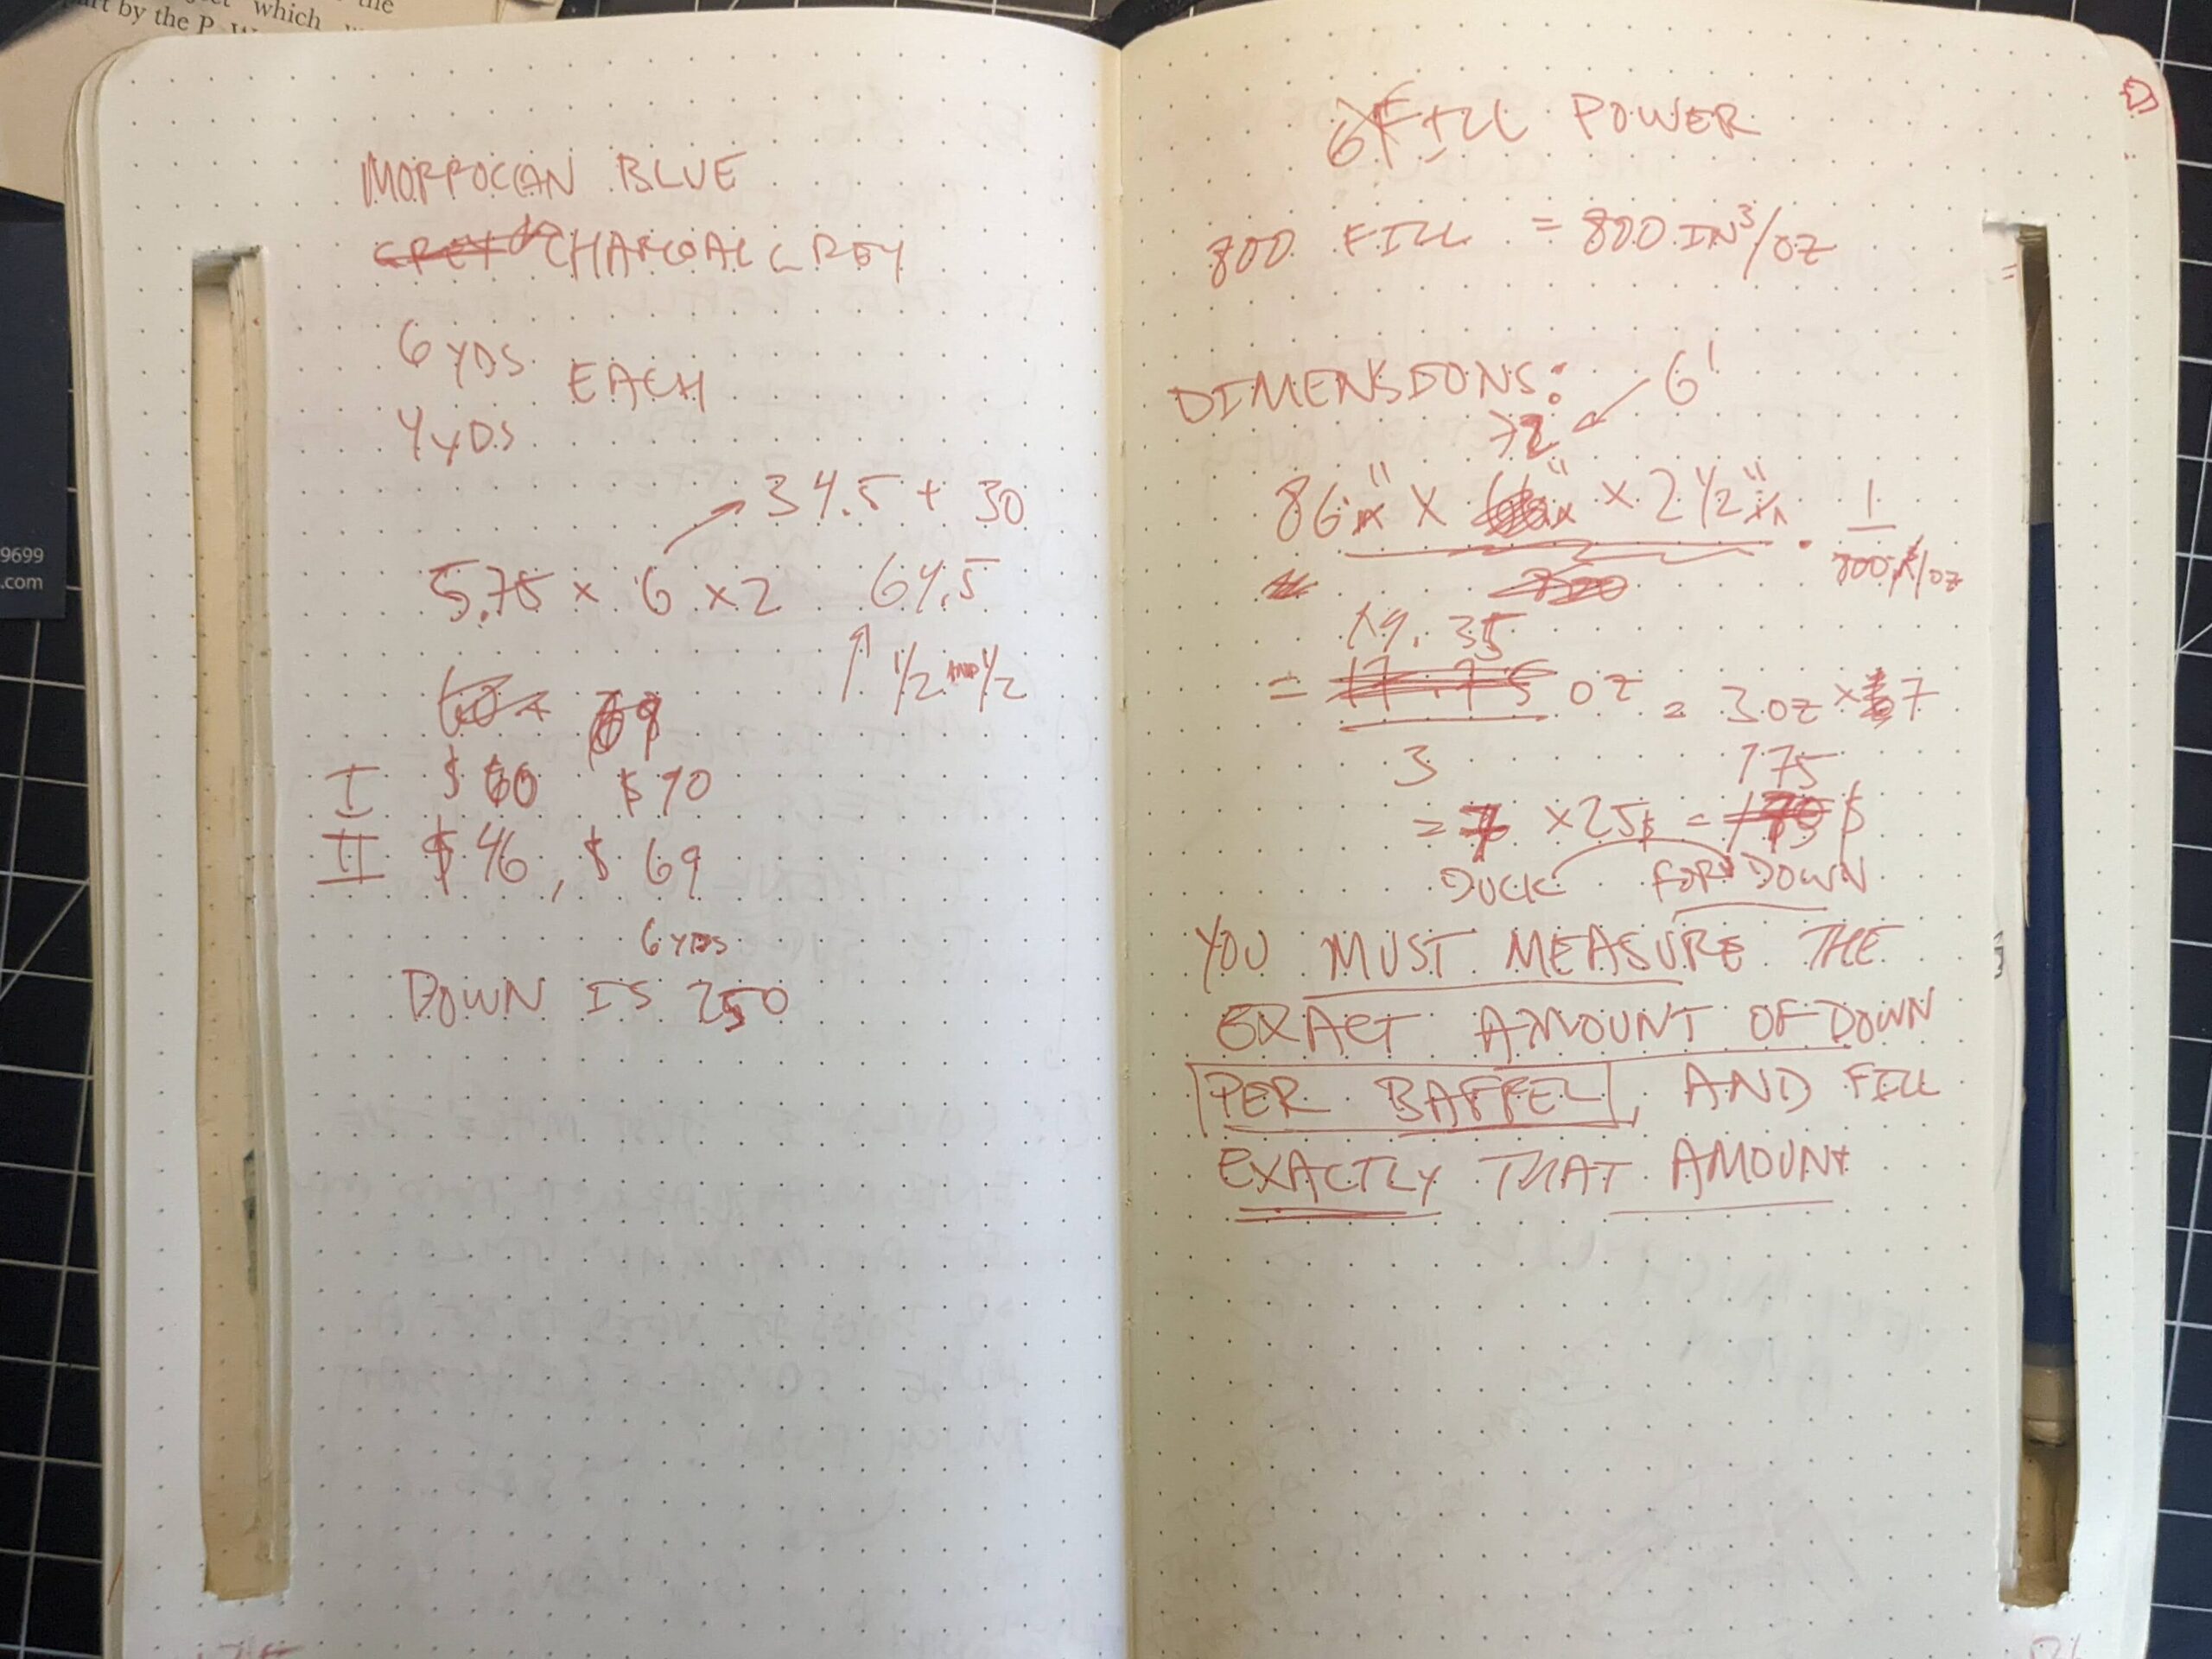
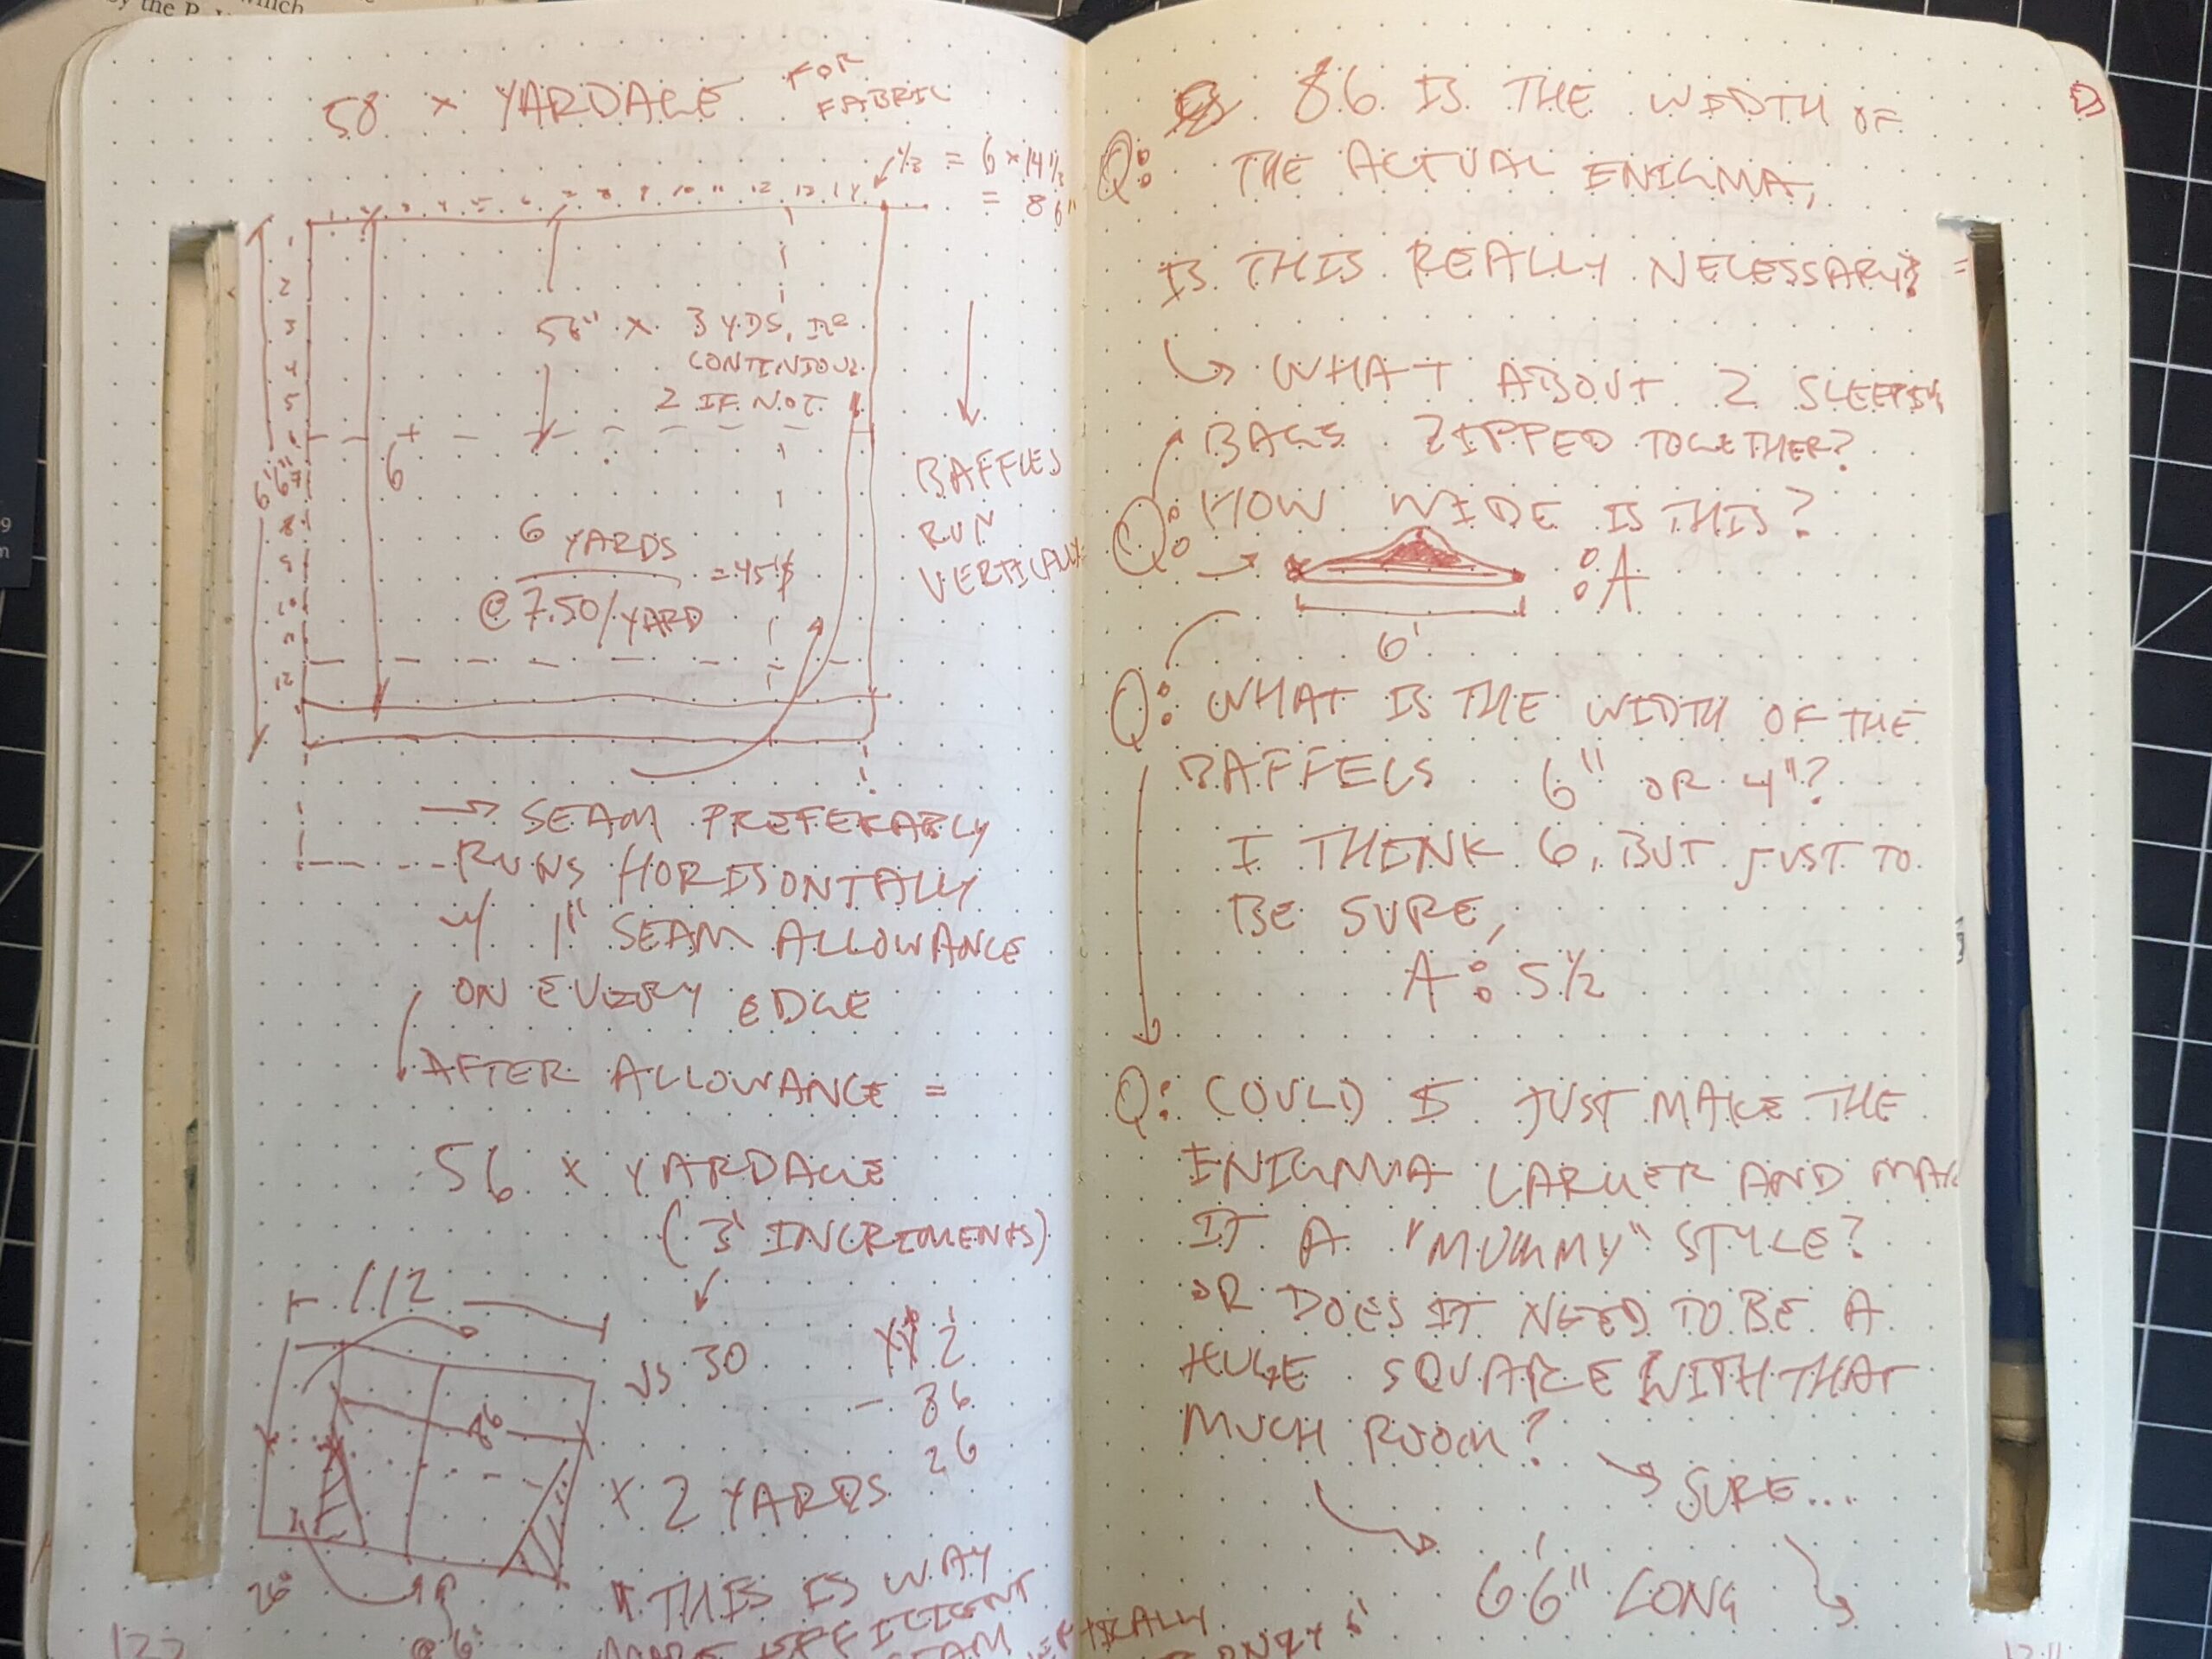
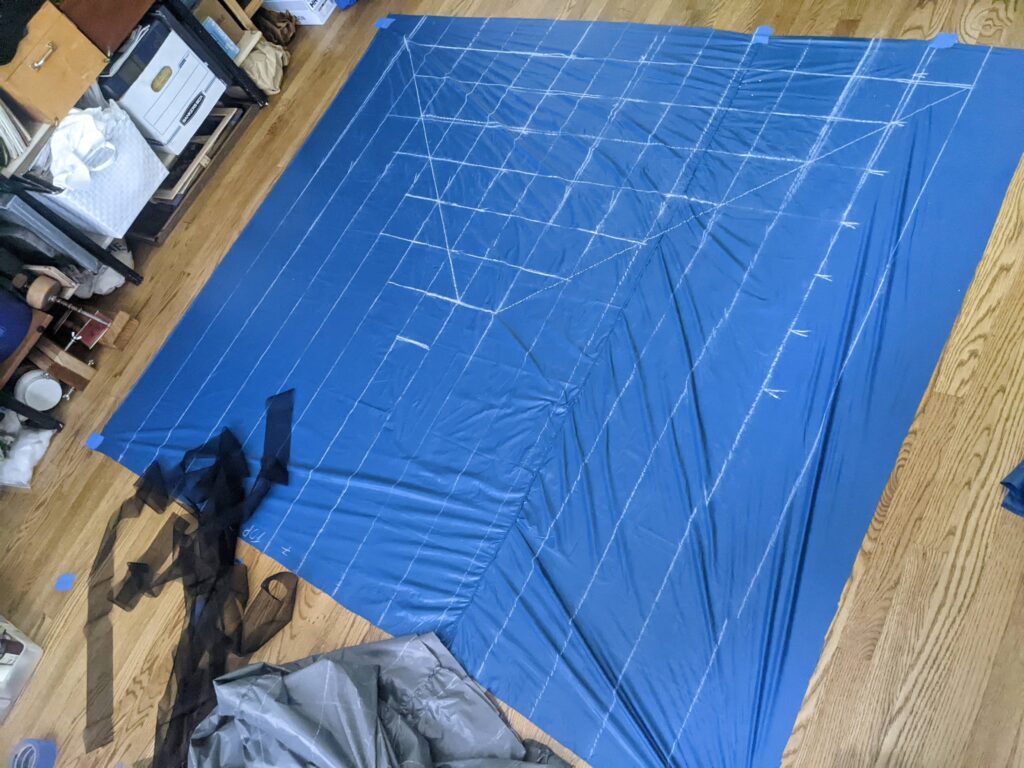
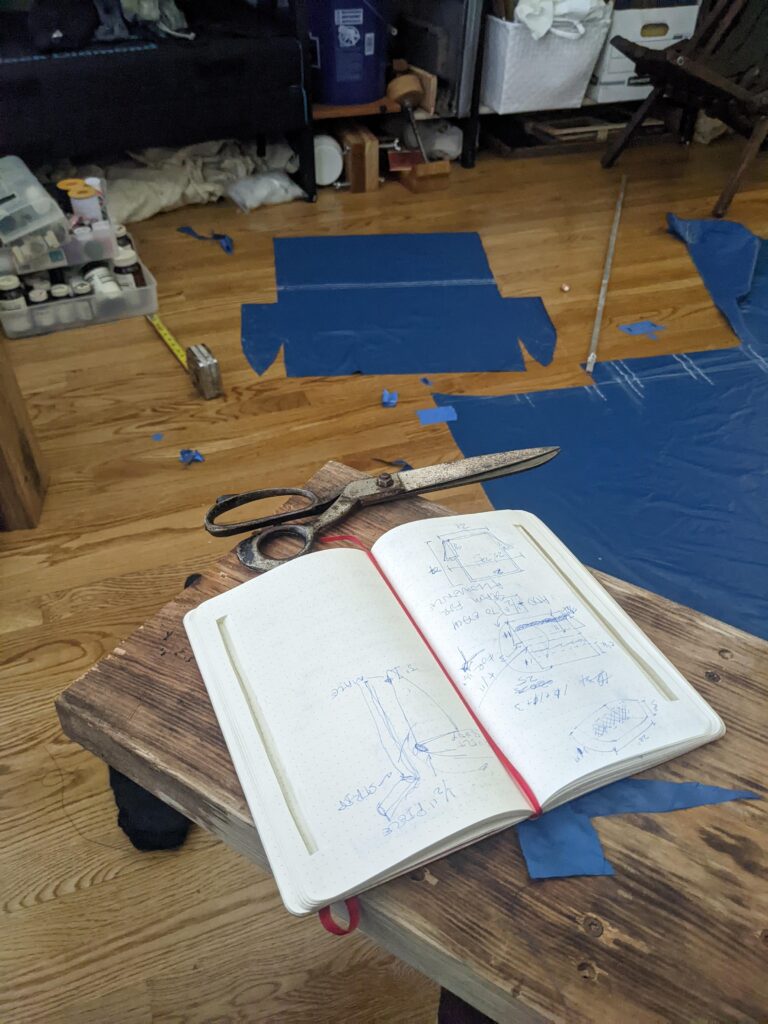
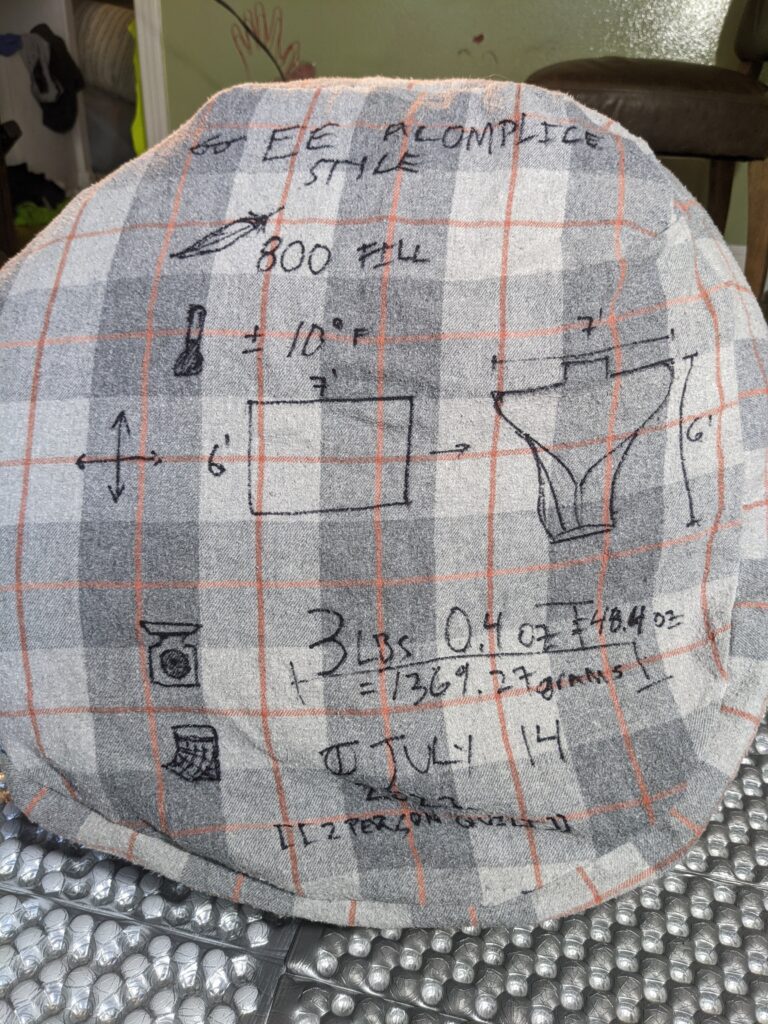
I knew nothing about fabrics, or sewing before starting the project, and had no one to consult with me on how exactly to do the work. Google and YouTube was my friend throughout the project. To start, I began to do some research, and some drawing.
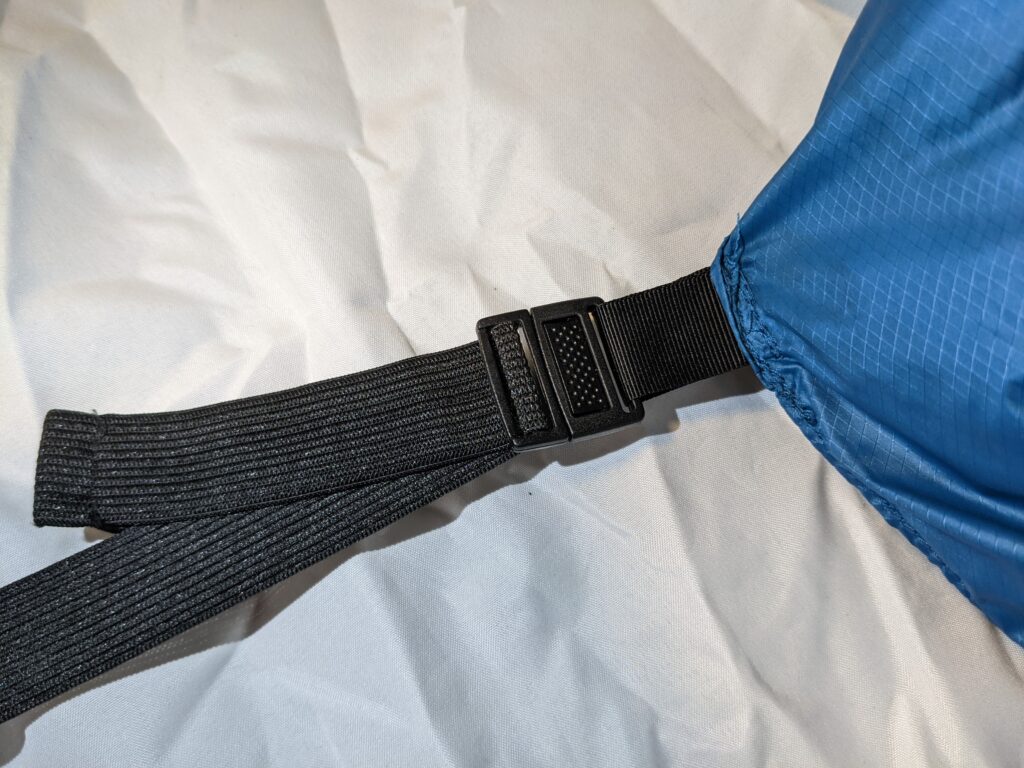
Having decided my design, and worked out, at a high level, some of the details, I needed to find a source of fabric and down. I found Ripstop By the Roll to be amazing! It felt designed for makers like me to get what I needed for my project.
With that, I began sewing!
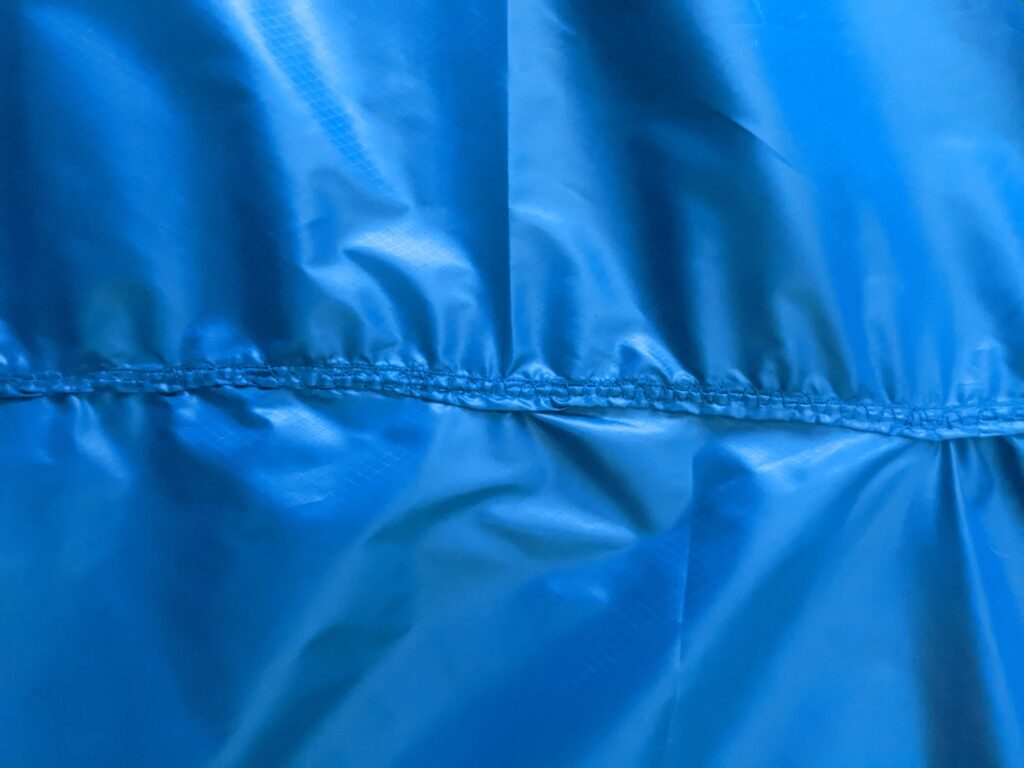
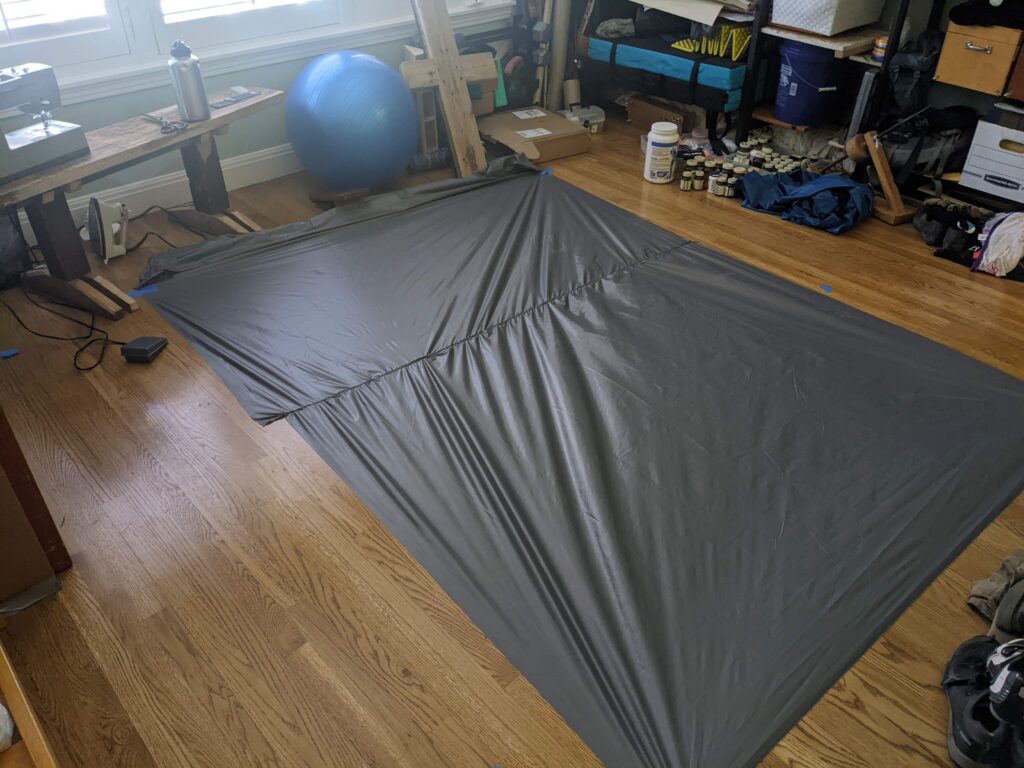
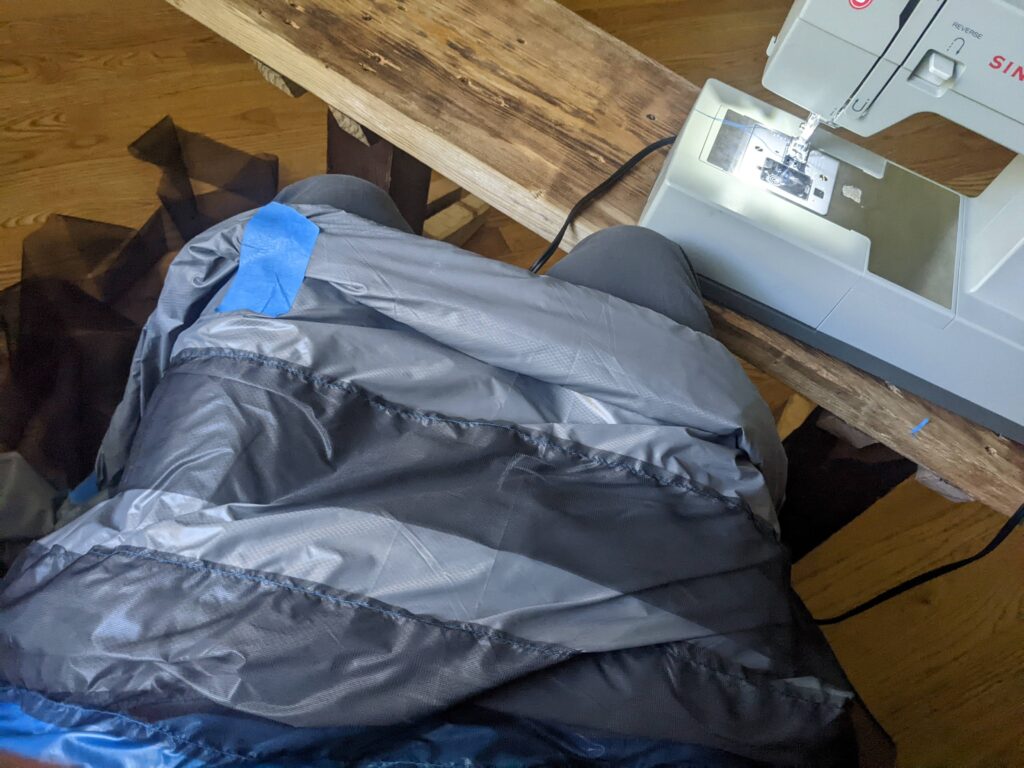
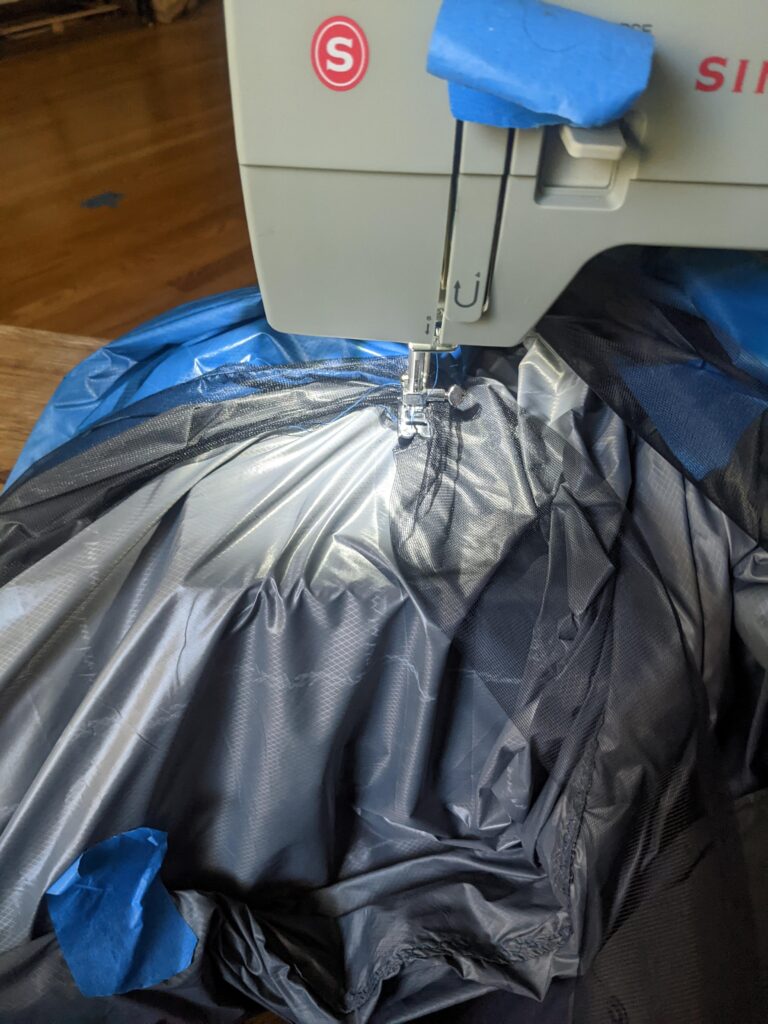
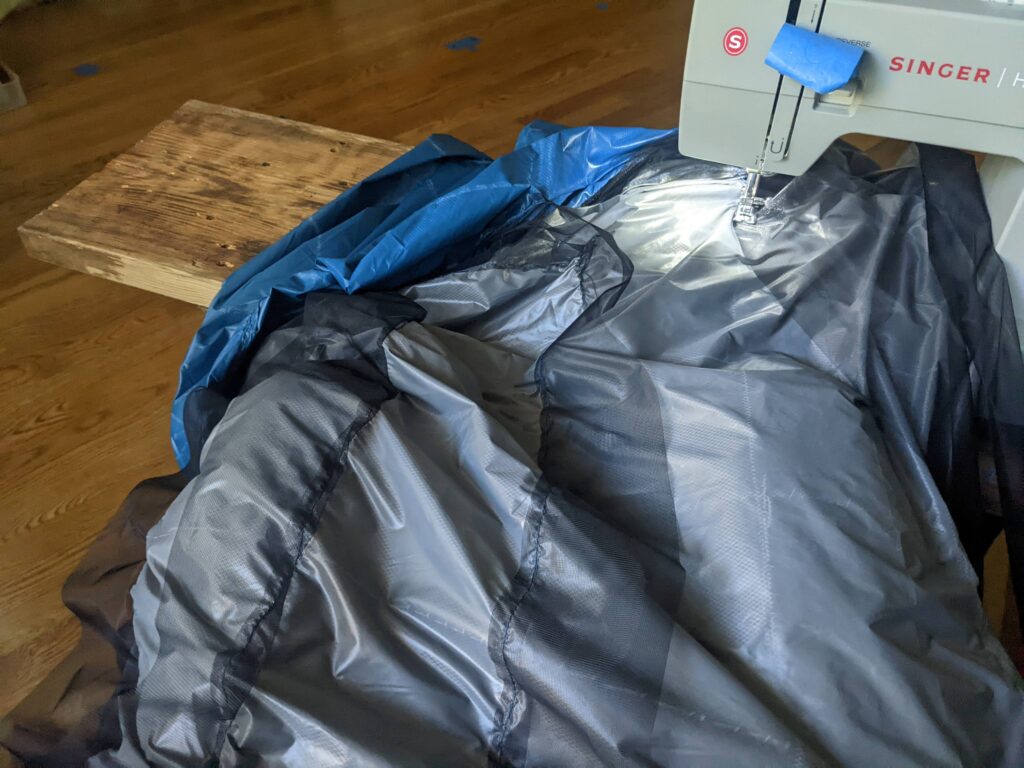
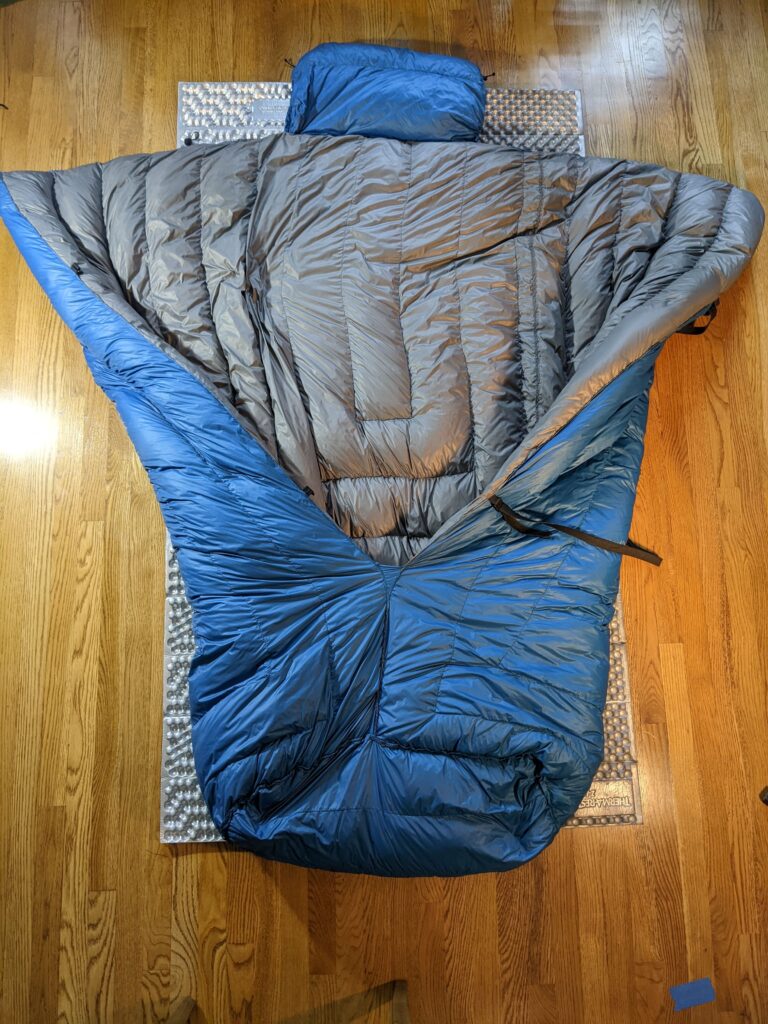
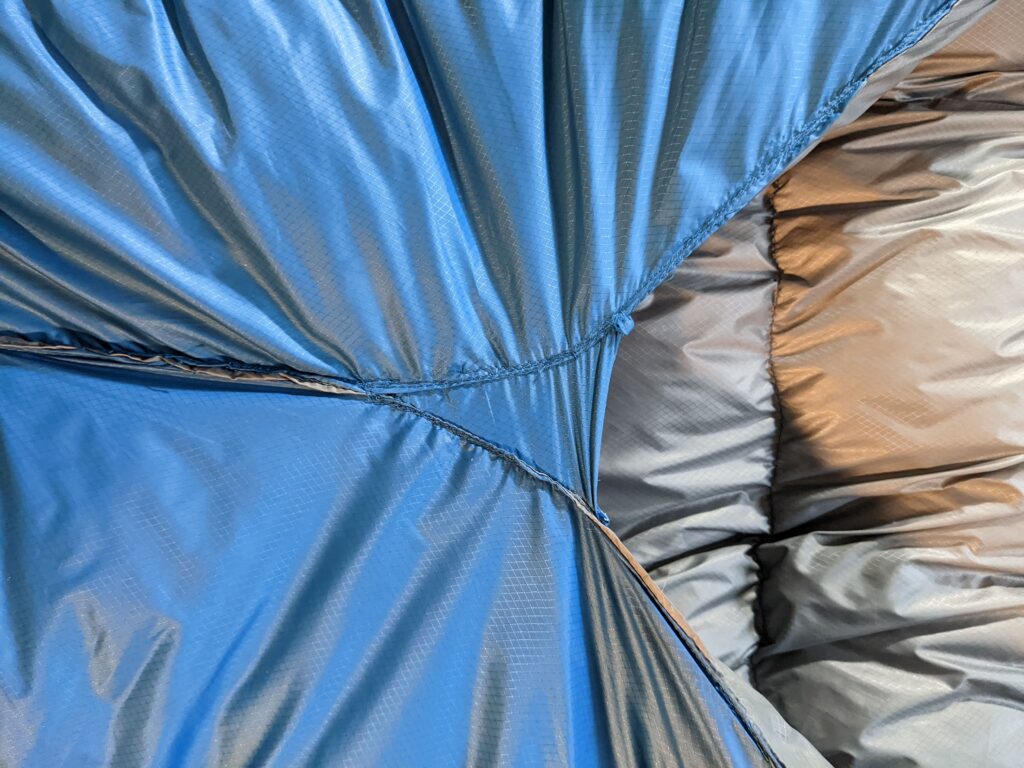
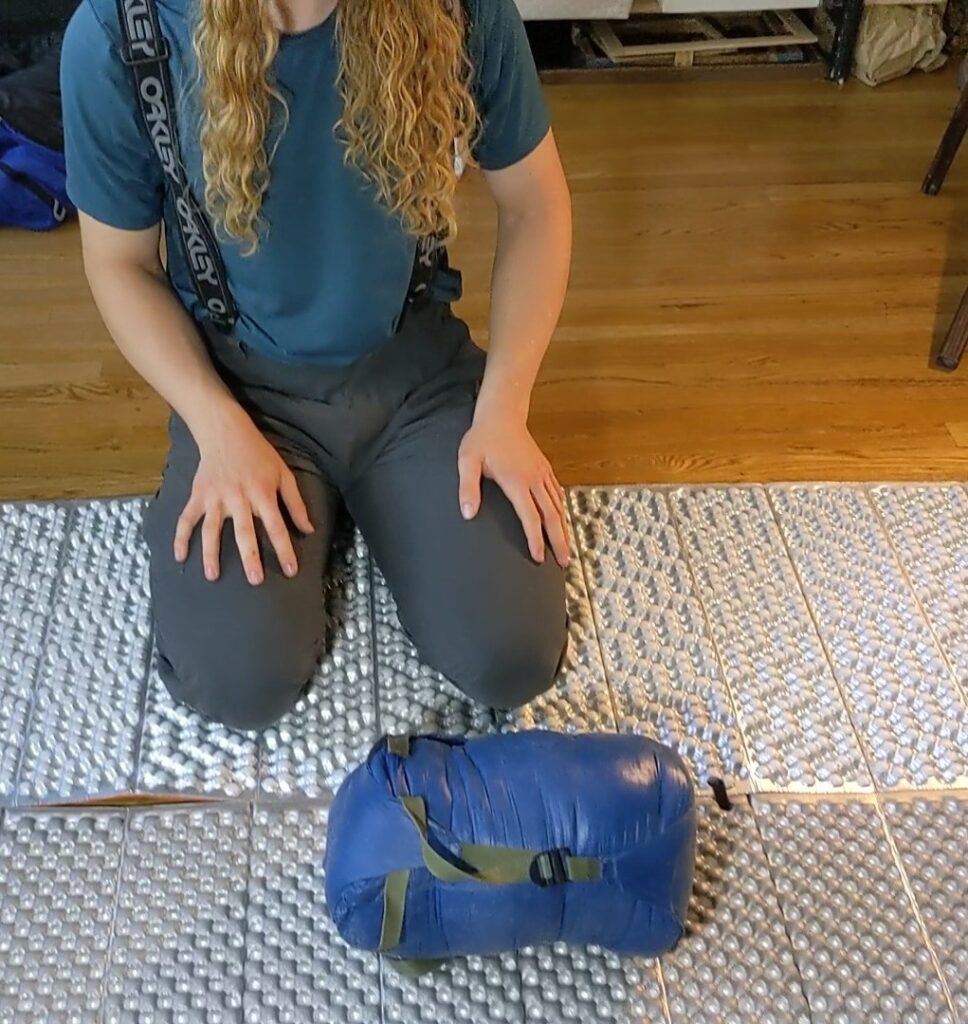
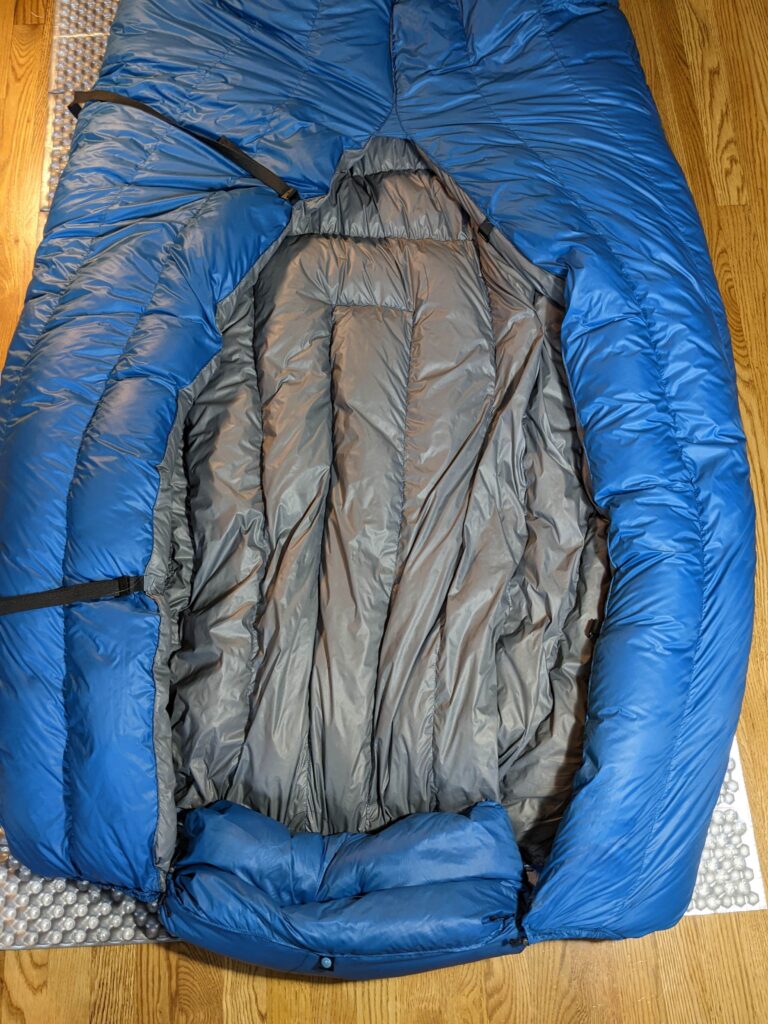
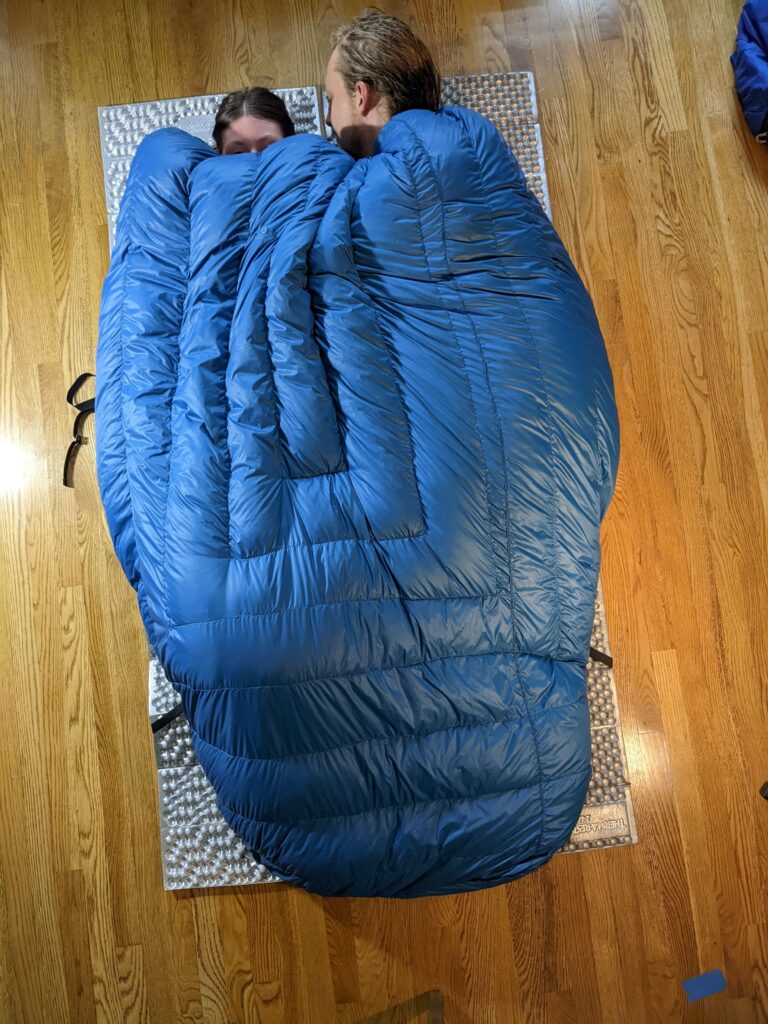
As an initial jump into sewing, the quilt was excellent! I was very impressed with the result, all told, and stoked that I made it happen. At the end of the day, the cost was similar to buying new, but the value of learning how to do it – and my entry into making my own outdoor equipment was absolutely worth it!
Marco’s Paint Holder
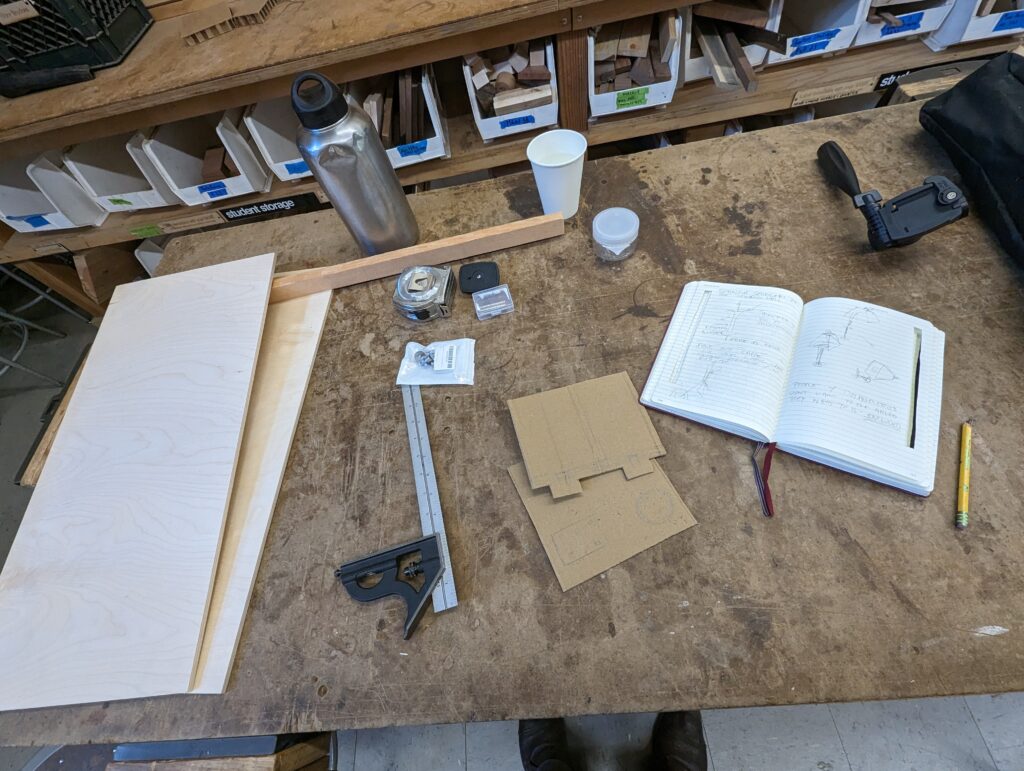
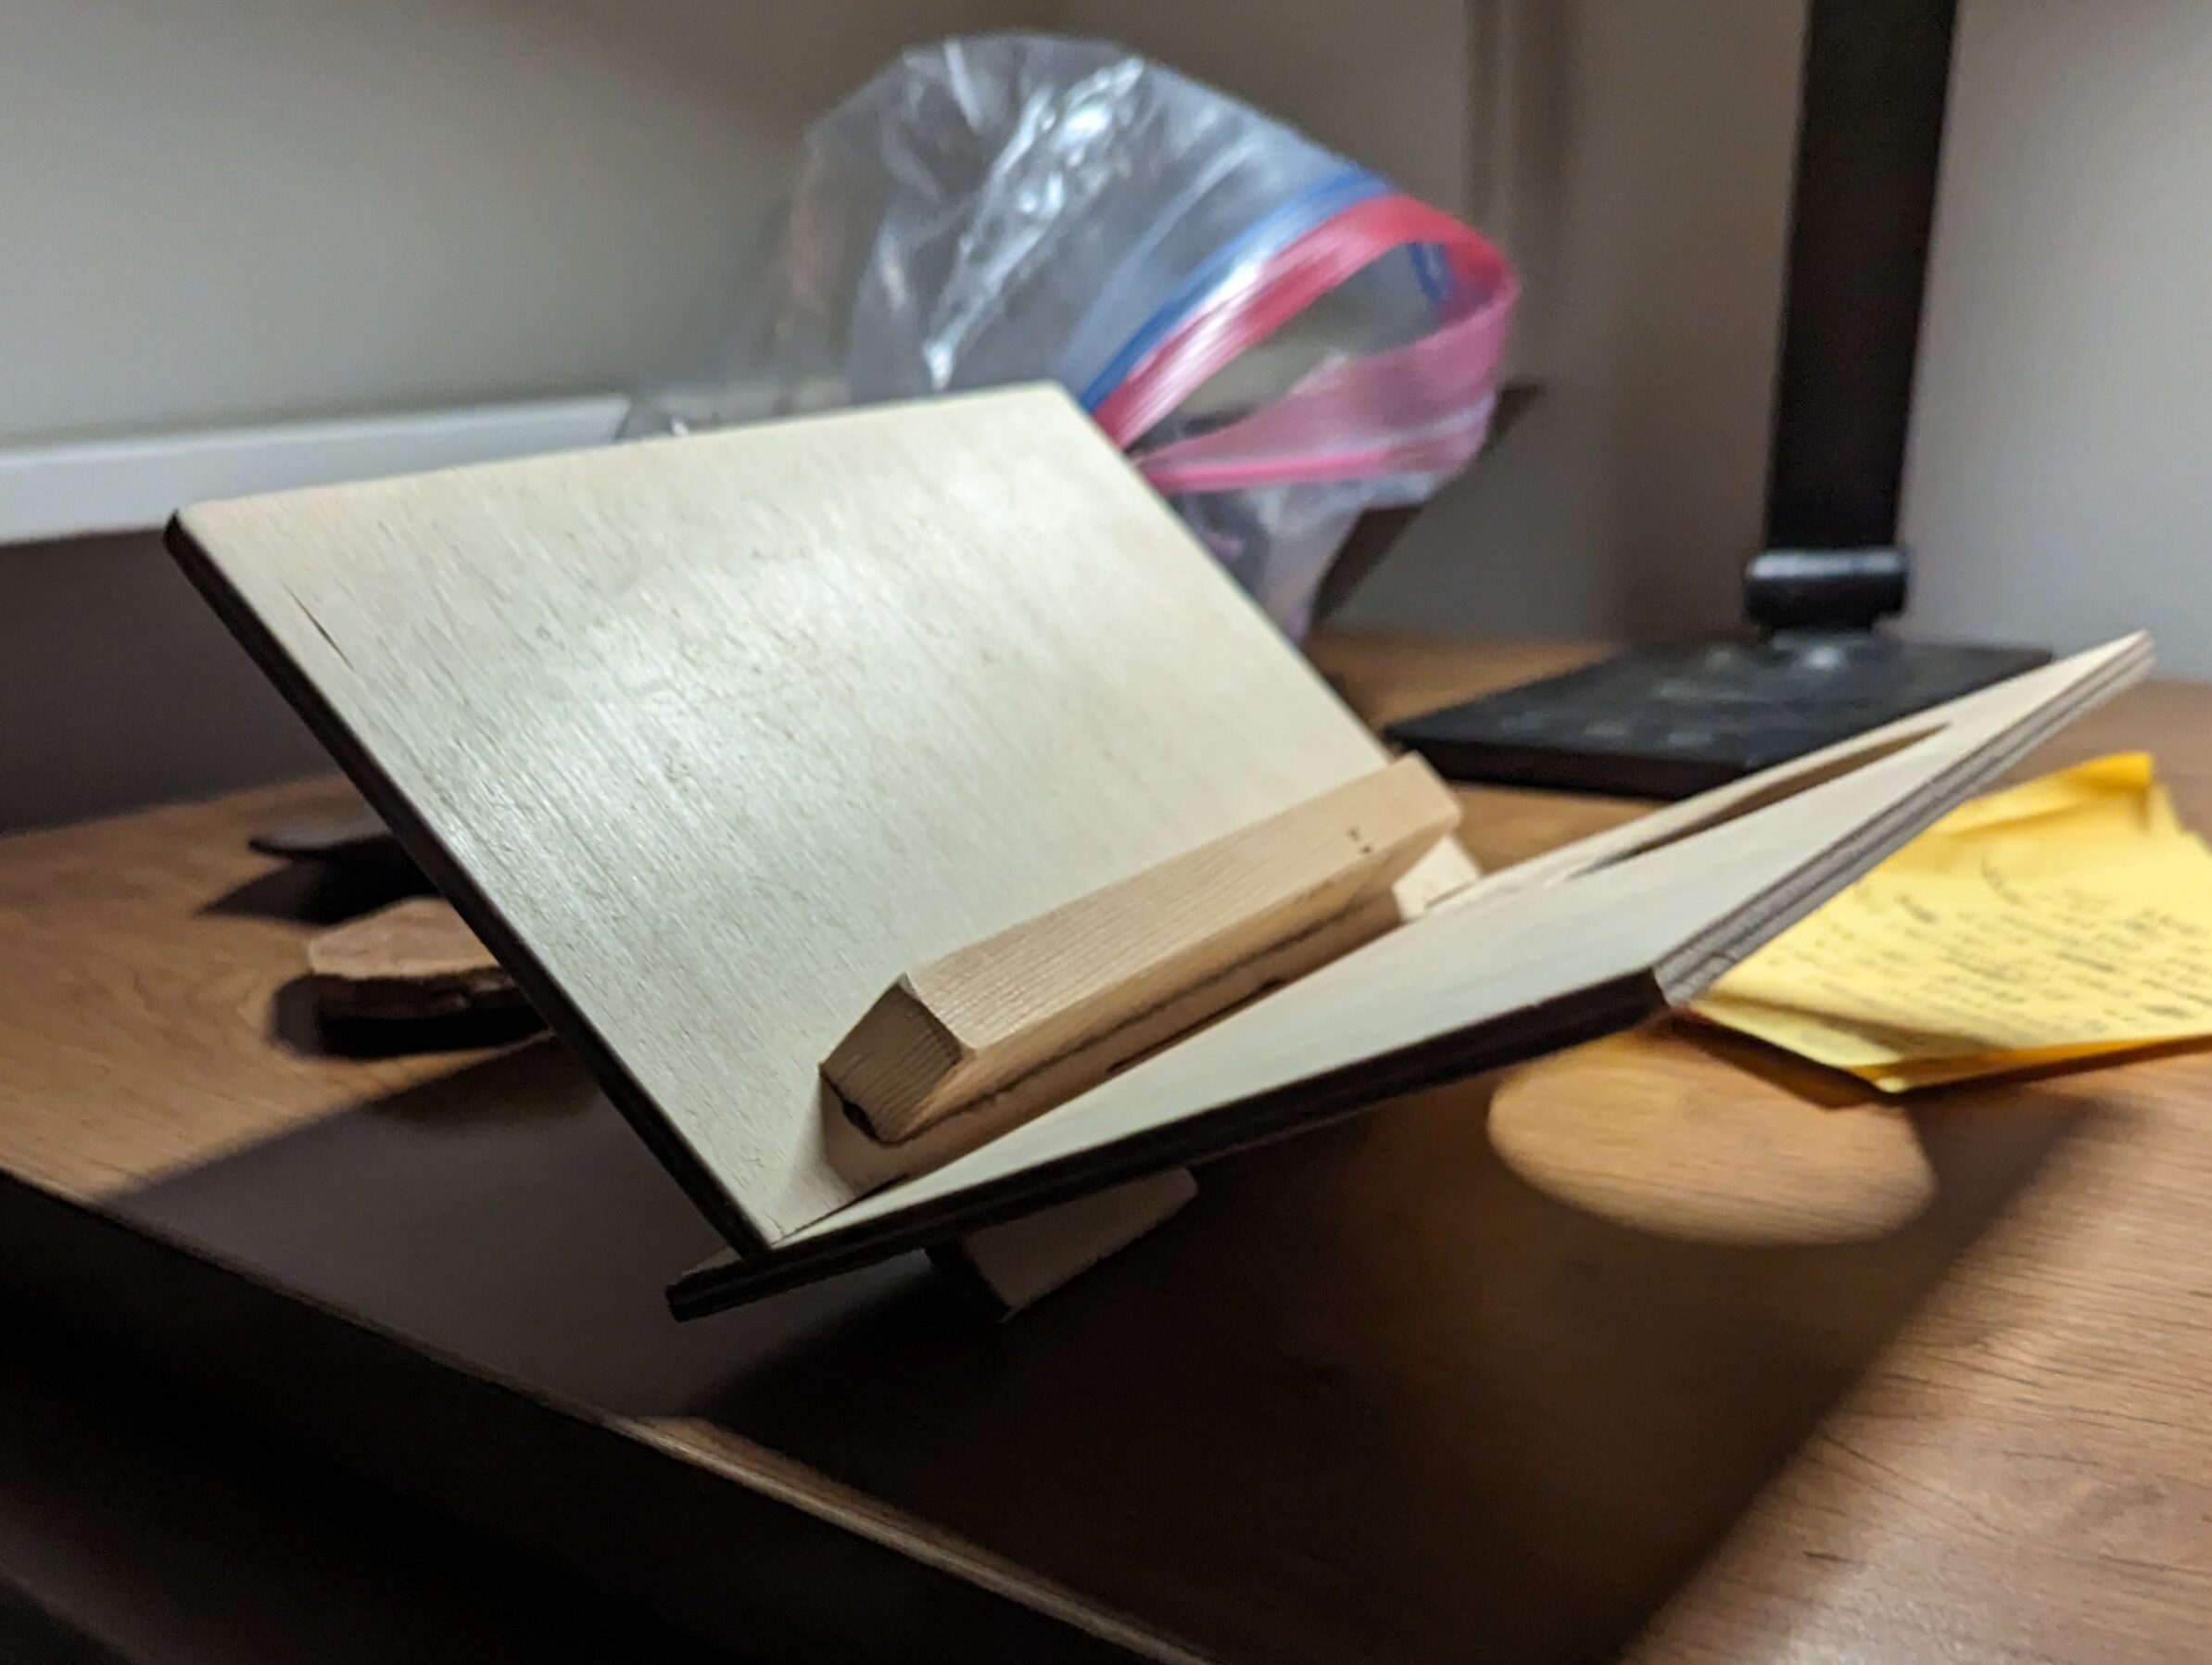
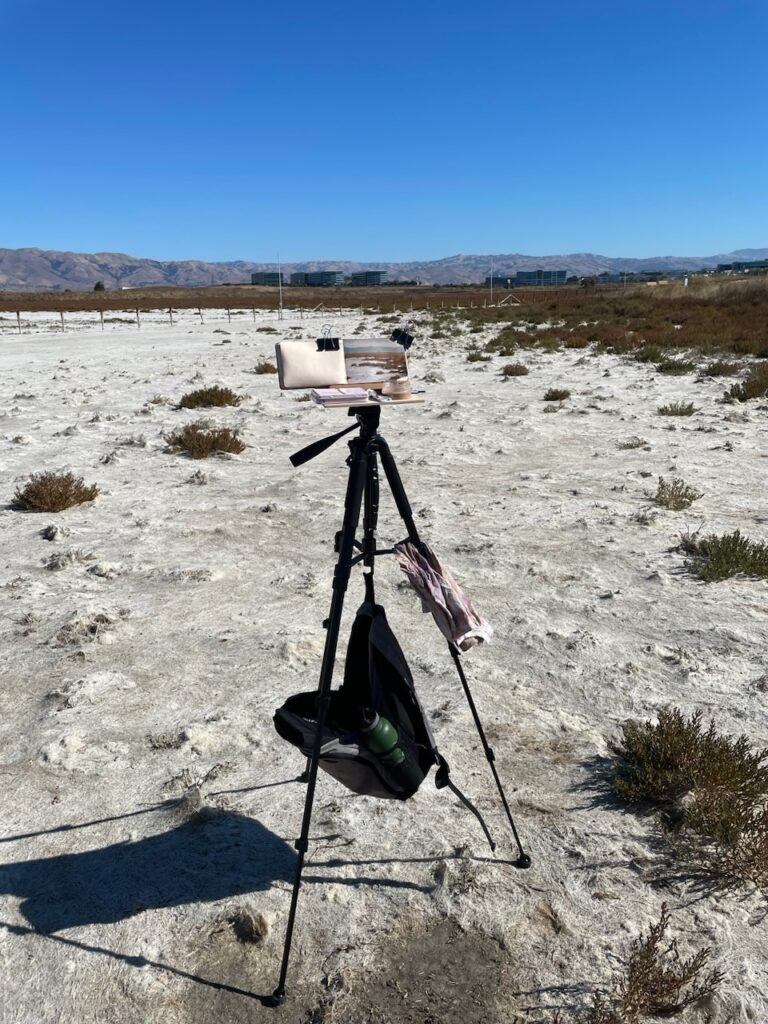
Marco D’ario is a painter who loves to paint outside. He came to me with an idea after joining me in the Field Geology Course in 2023. He had a problem: he wanted to be able to paint AND hold his canvas at eye level; he needed an easel, but he wanted it to fit onto a typical camera tripod, and fit a small sketch book.
I did a bit of drawing, and we made a carboard mockup, before he joined me in Stanford’s Product Realization Lab to make it real. In line with the rest of my making process, we used scrap material to make it happen.
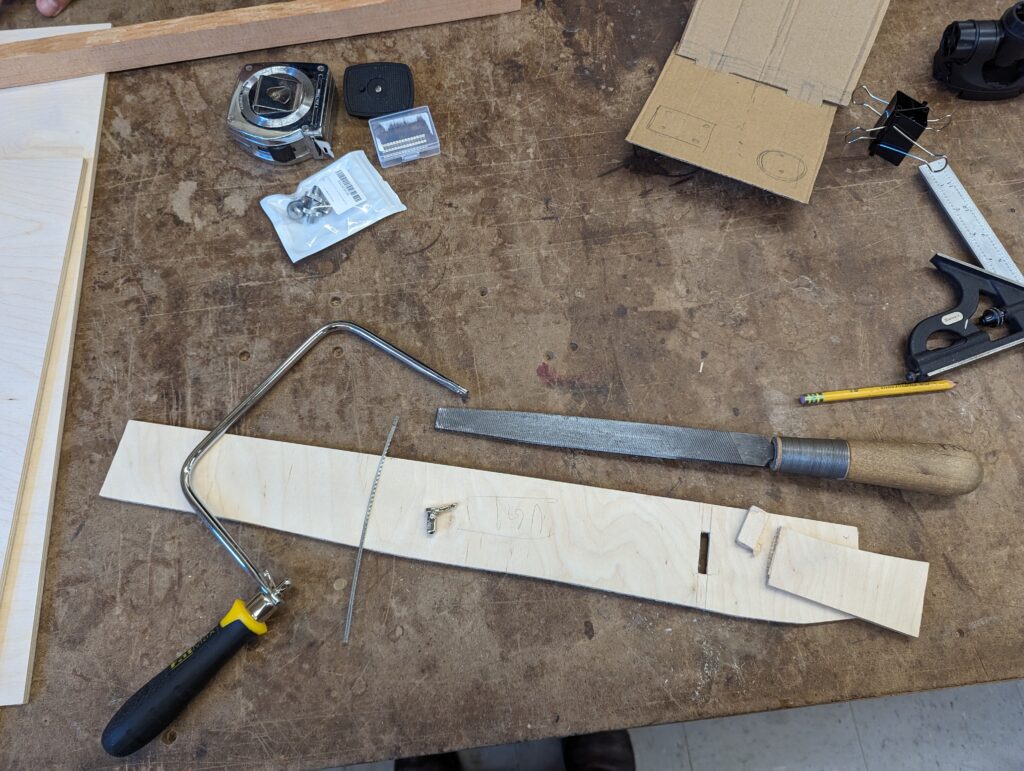
The final product worked great, and Marco was very glad to have it. I have one for myself.
Leather Wallet
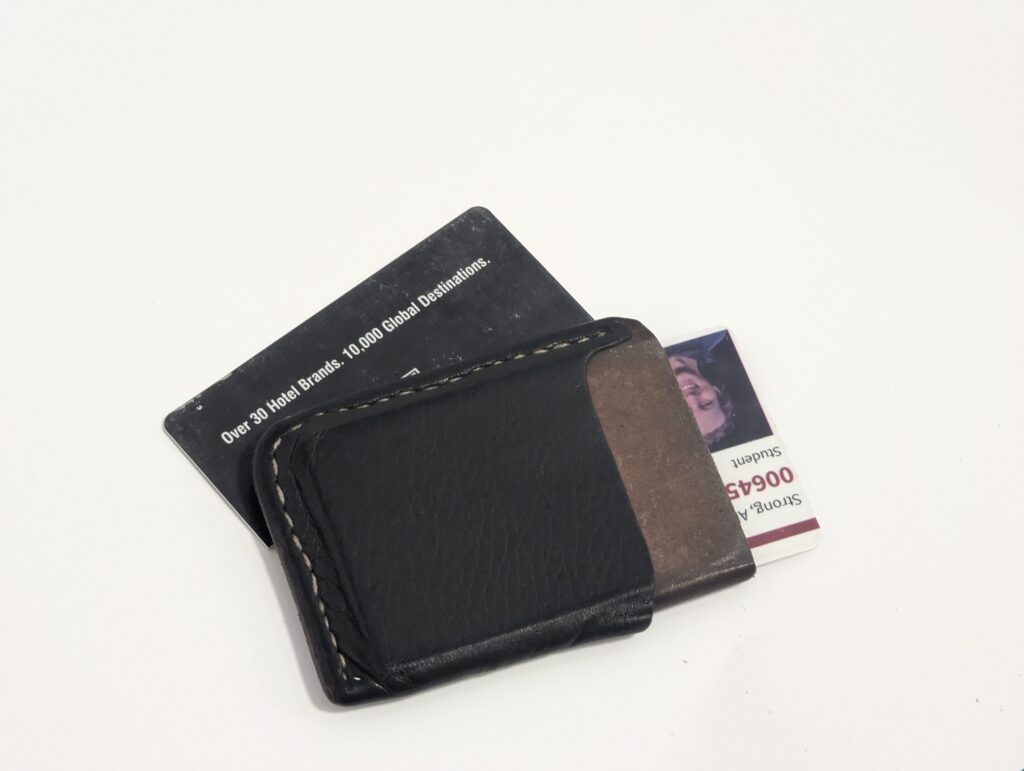
I got tired of my last wallet, especially its thickness. I decided to make my own.
I designed the wallet based on a thin model. I needed it to hold all the cards that make up my bare essentials – my credit card, my state ID and my Stanford ID, along with an insurance card, and some cash.
I chose to use a 2-3 oz veg tanned cow hide for the inside, and a thin goat skin for the outside. Both were harvested from existing upcycled material I had on hand. A saddle stitch was used to attach them together.
The project shows my willingness to jump in and make things that help my world. I find myself doing this often.
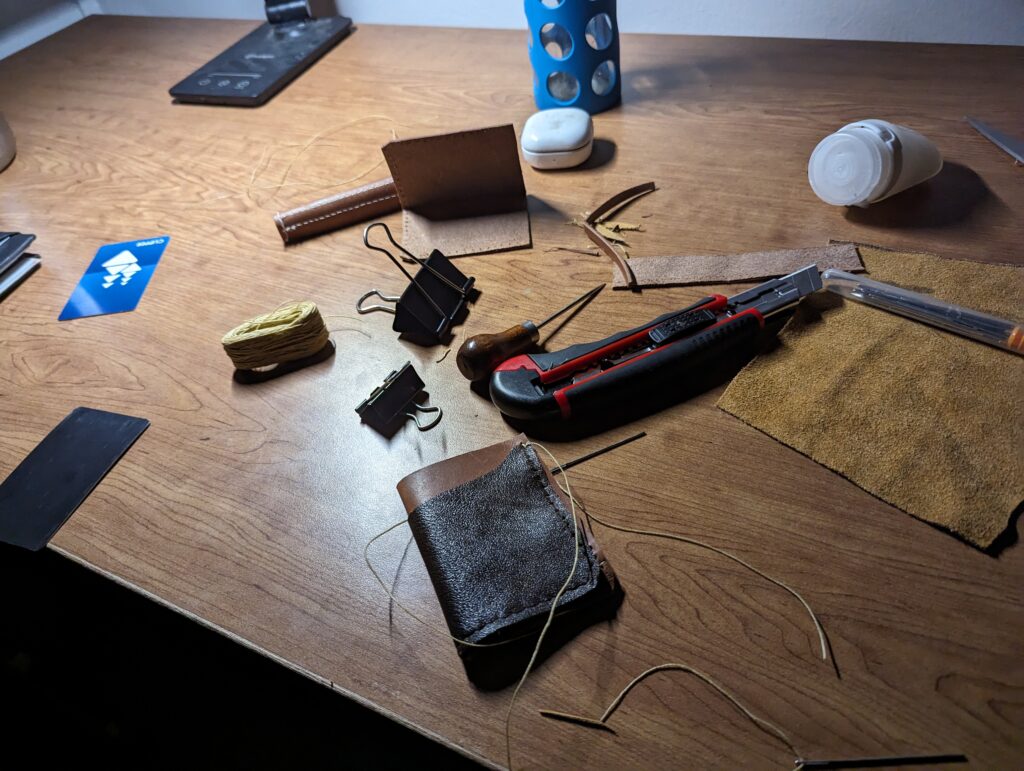
I ended up making a few more for friends once I got home for break. All told I was very happy with the product, so much so that I use them every day.
Other Tinkering
No where is my propensity for random repairs on display better than when I am backpacking. I often find myself repairing and making more with the limited material pallet in the backcountry than I do when I am in the front country.
In this repair, my friend Paxton had just evaporated his nice down puffy jacket on the stove we were using to cook dinner. Down spilled from the gaping hole in two of the cells. I jumped up and said “Paxton, I can fix that. Give me a few minutes”. That evening, I did just that, and the repair follows.
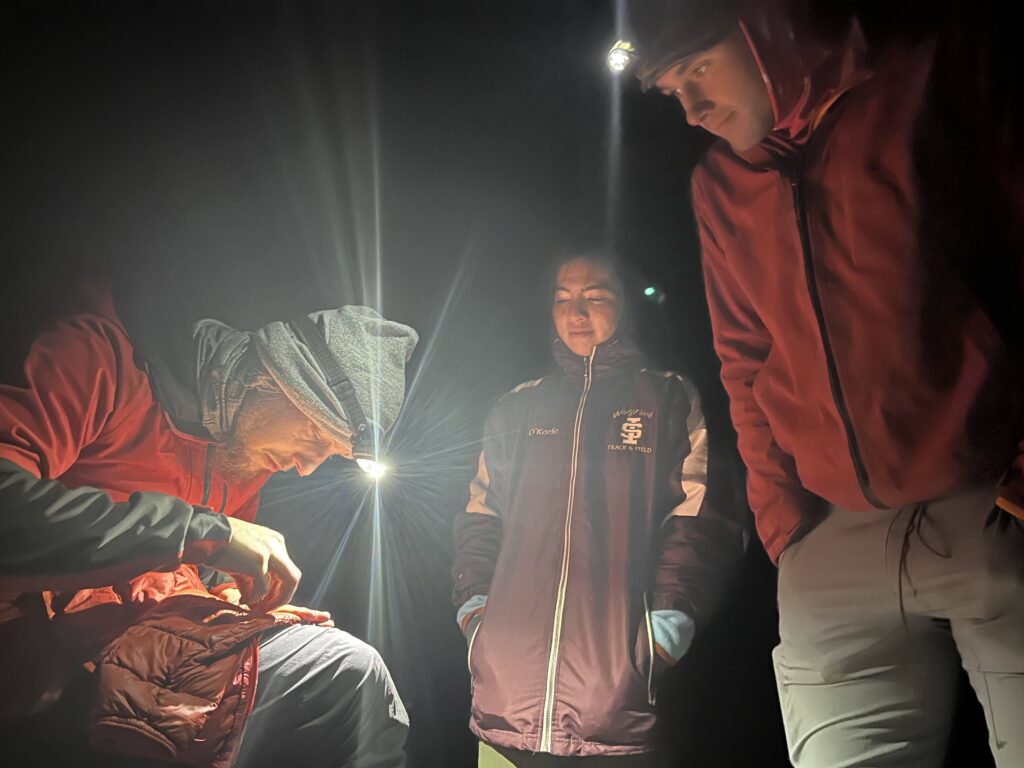
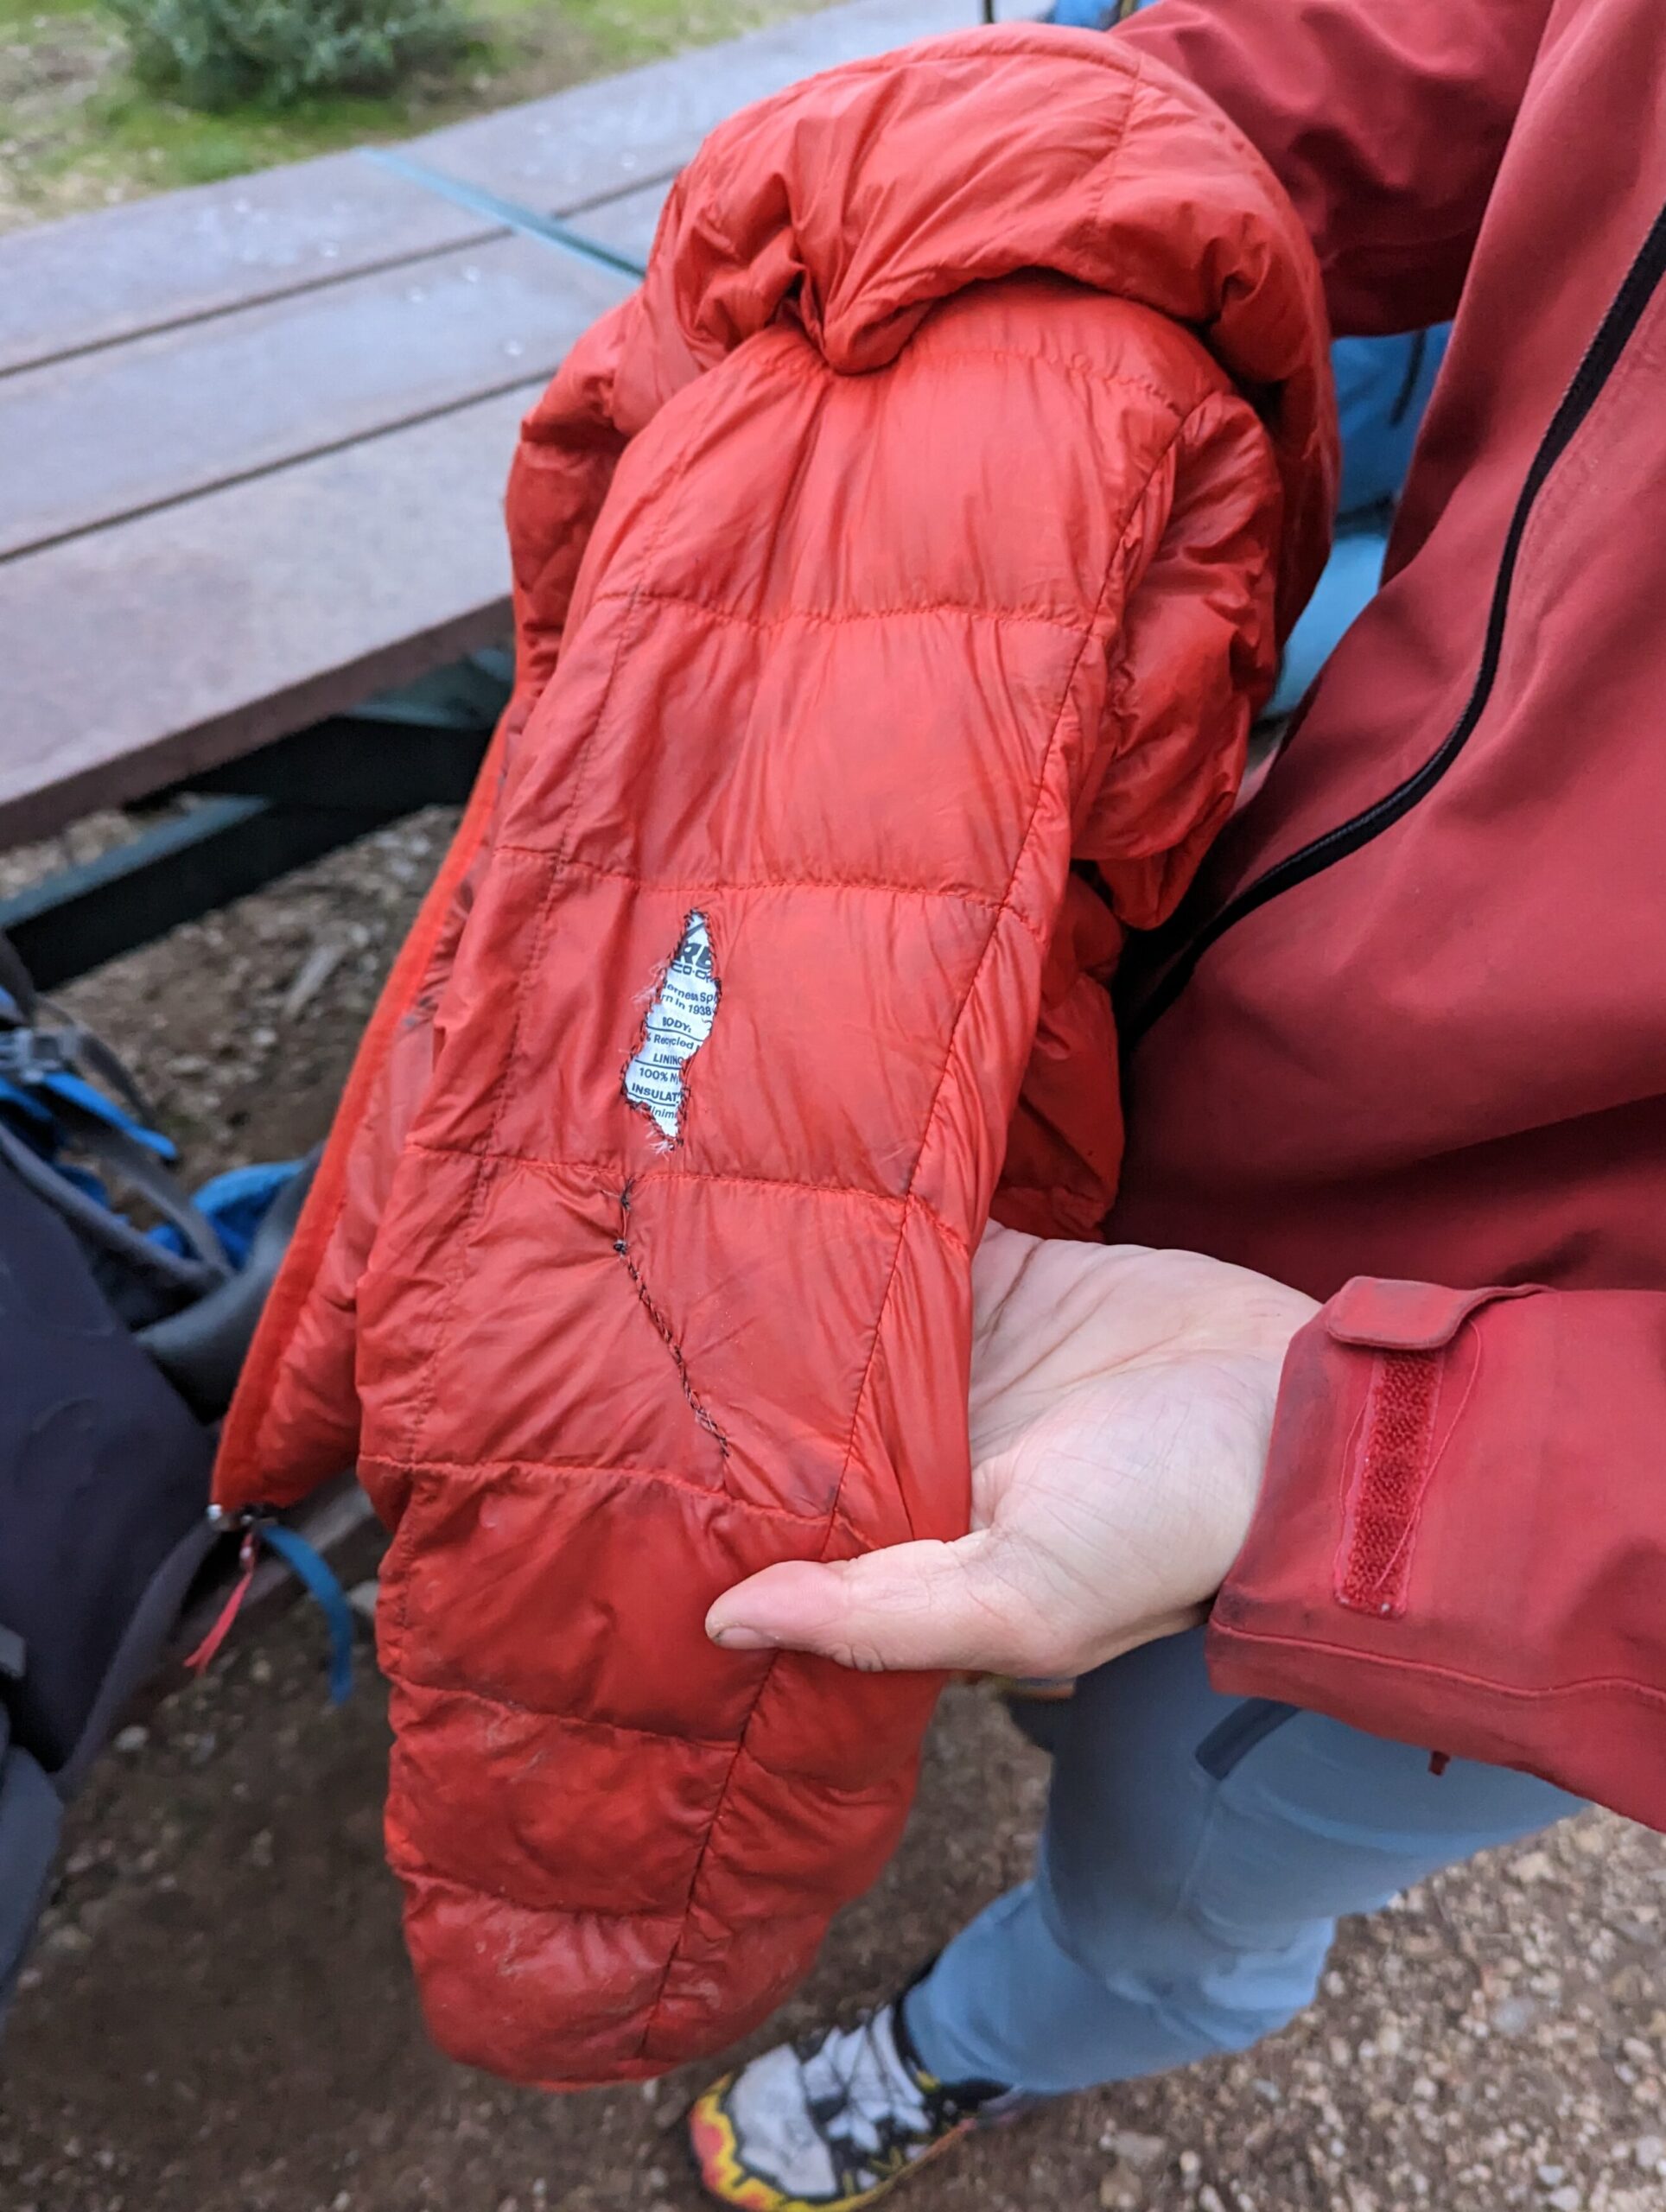
The repair involved stitching the tag of the jacket into the hole as a patch. The other hole was drawn together with stitches. I did my best to ensure that the repair was permanent and serviceable in the long run.
Ultimately, I love making things, and this is but a small sampling of the breadth of my work. I have generally figured out how to make things with a willingness to just jump right in.